1st grade Foil Relief Sculptures

Part One demonstration video.
Part two demonstration video.
For this project you need cardboard, peel and stick foam shapes, glue, pieces of yarn, foil and permanent markers. I purchased EcoSwift 5" x 7" corrugated cardboard filler inserts sheet pads 1/8" thick (200 a box) and 9" x 10 3/4" pop up foil sheets (box of 500) from Amazon. If you use washable markers they rub right off on the aluminum foil.
On the first day students planned and assembled their sculptures.
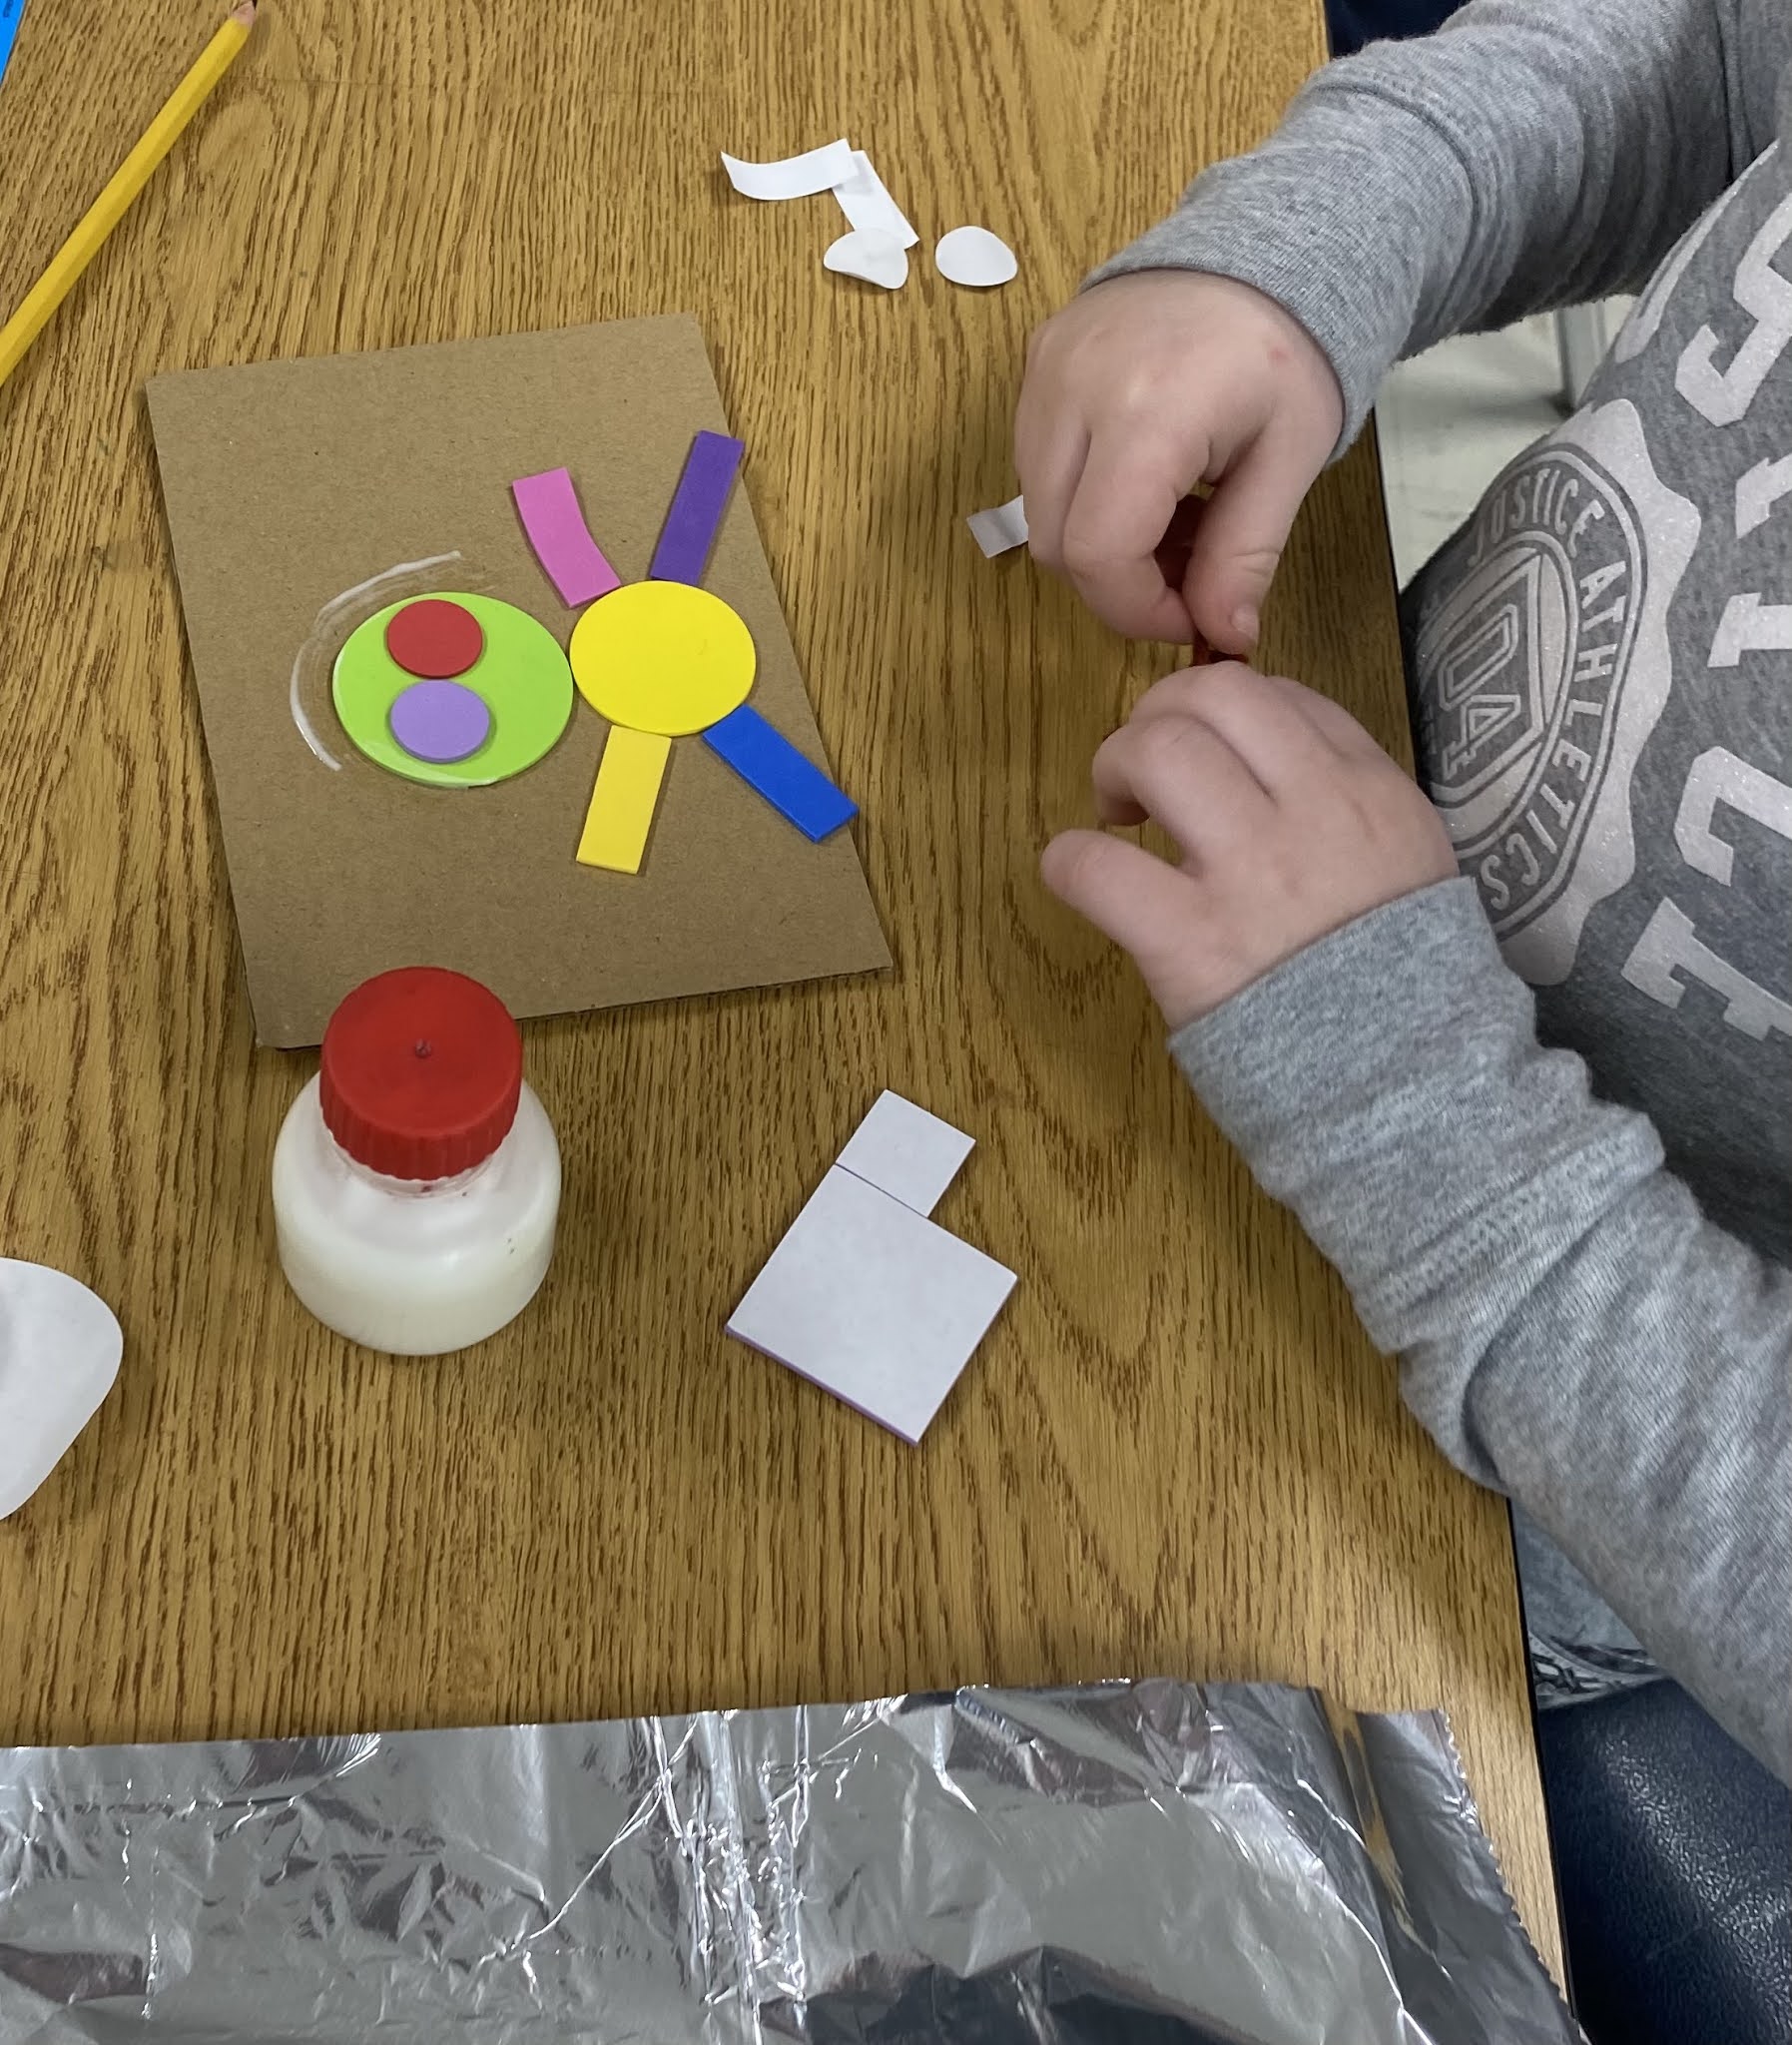
I had them put glue all over their shapes and on the cardboard before they put the foil on top. This would keep the foil from moving when they started to color it. Glue jars are the best for this level! Again, I got them on Amazon. They are actually called "Colorations Glue Jars". They come in sets of 12 for $30. They are worth it! Kiddos just brush the glue on instead of squirting it. I had them then flip their cardboard over so it is on top of the foil and then they just folded the edges around it.


On the next day students used permanent markers and added color.


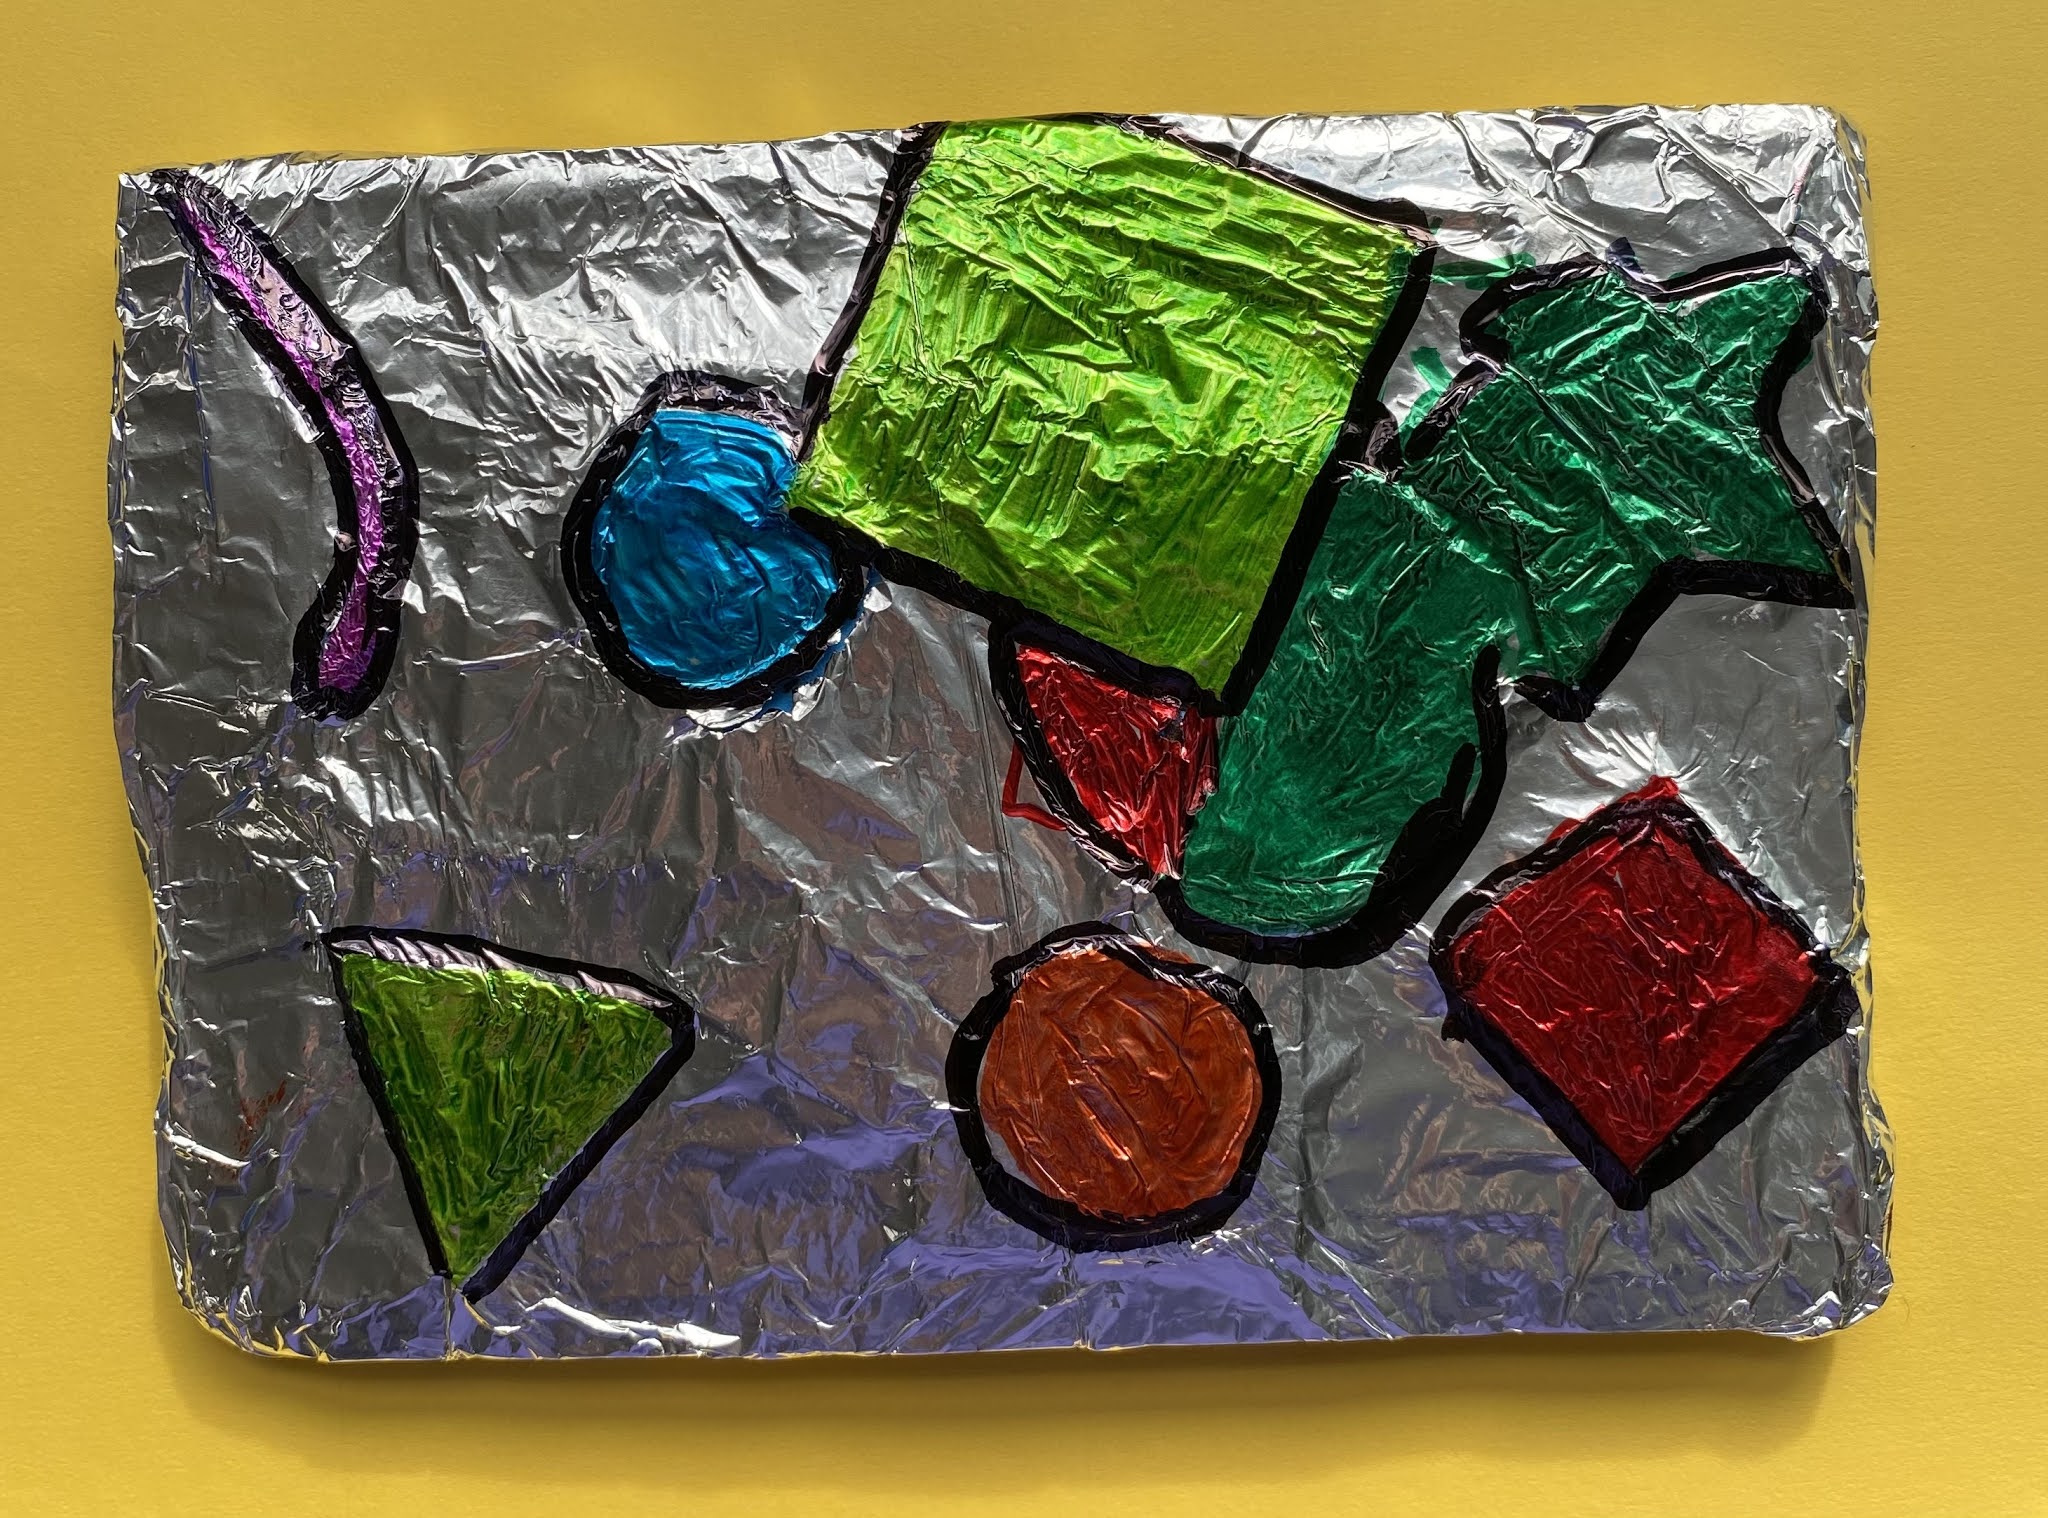

I think they turned out great and the kids loved making them.
No comments:
Post a Comment