Students were given a 6" x 9" piece of scrap paper to make their owl pattern. They folded the paper in half and then I demonstrated how to draw half of an owl so that when they cut it out it would be the same on both sides.
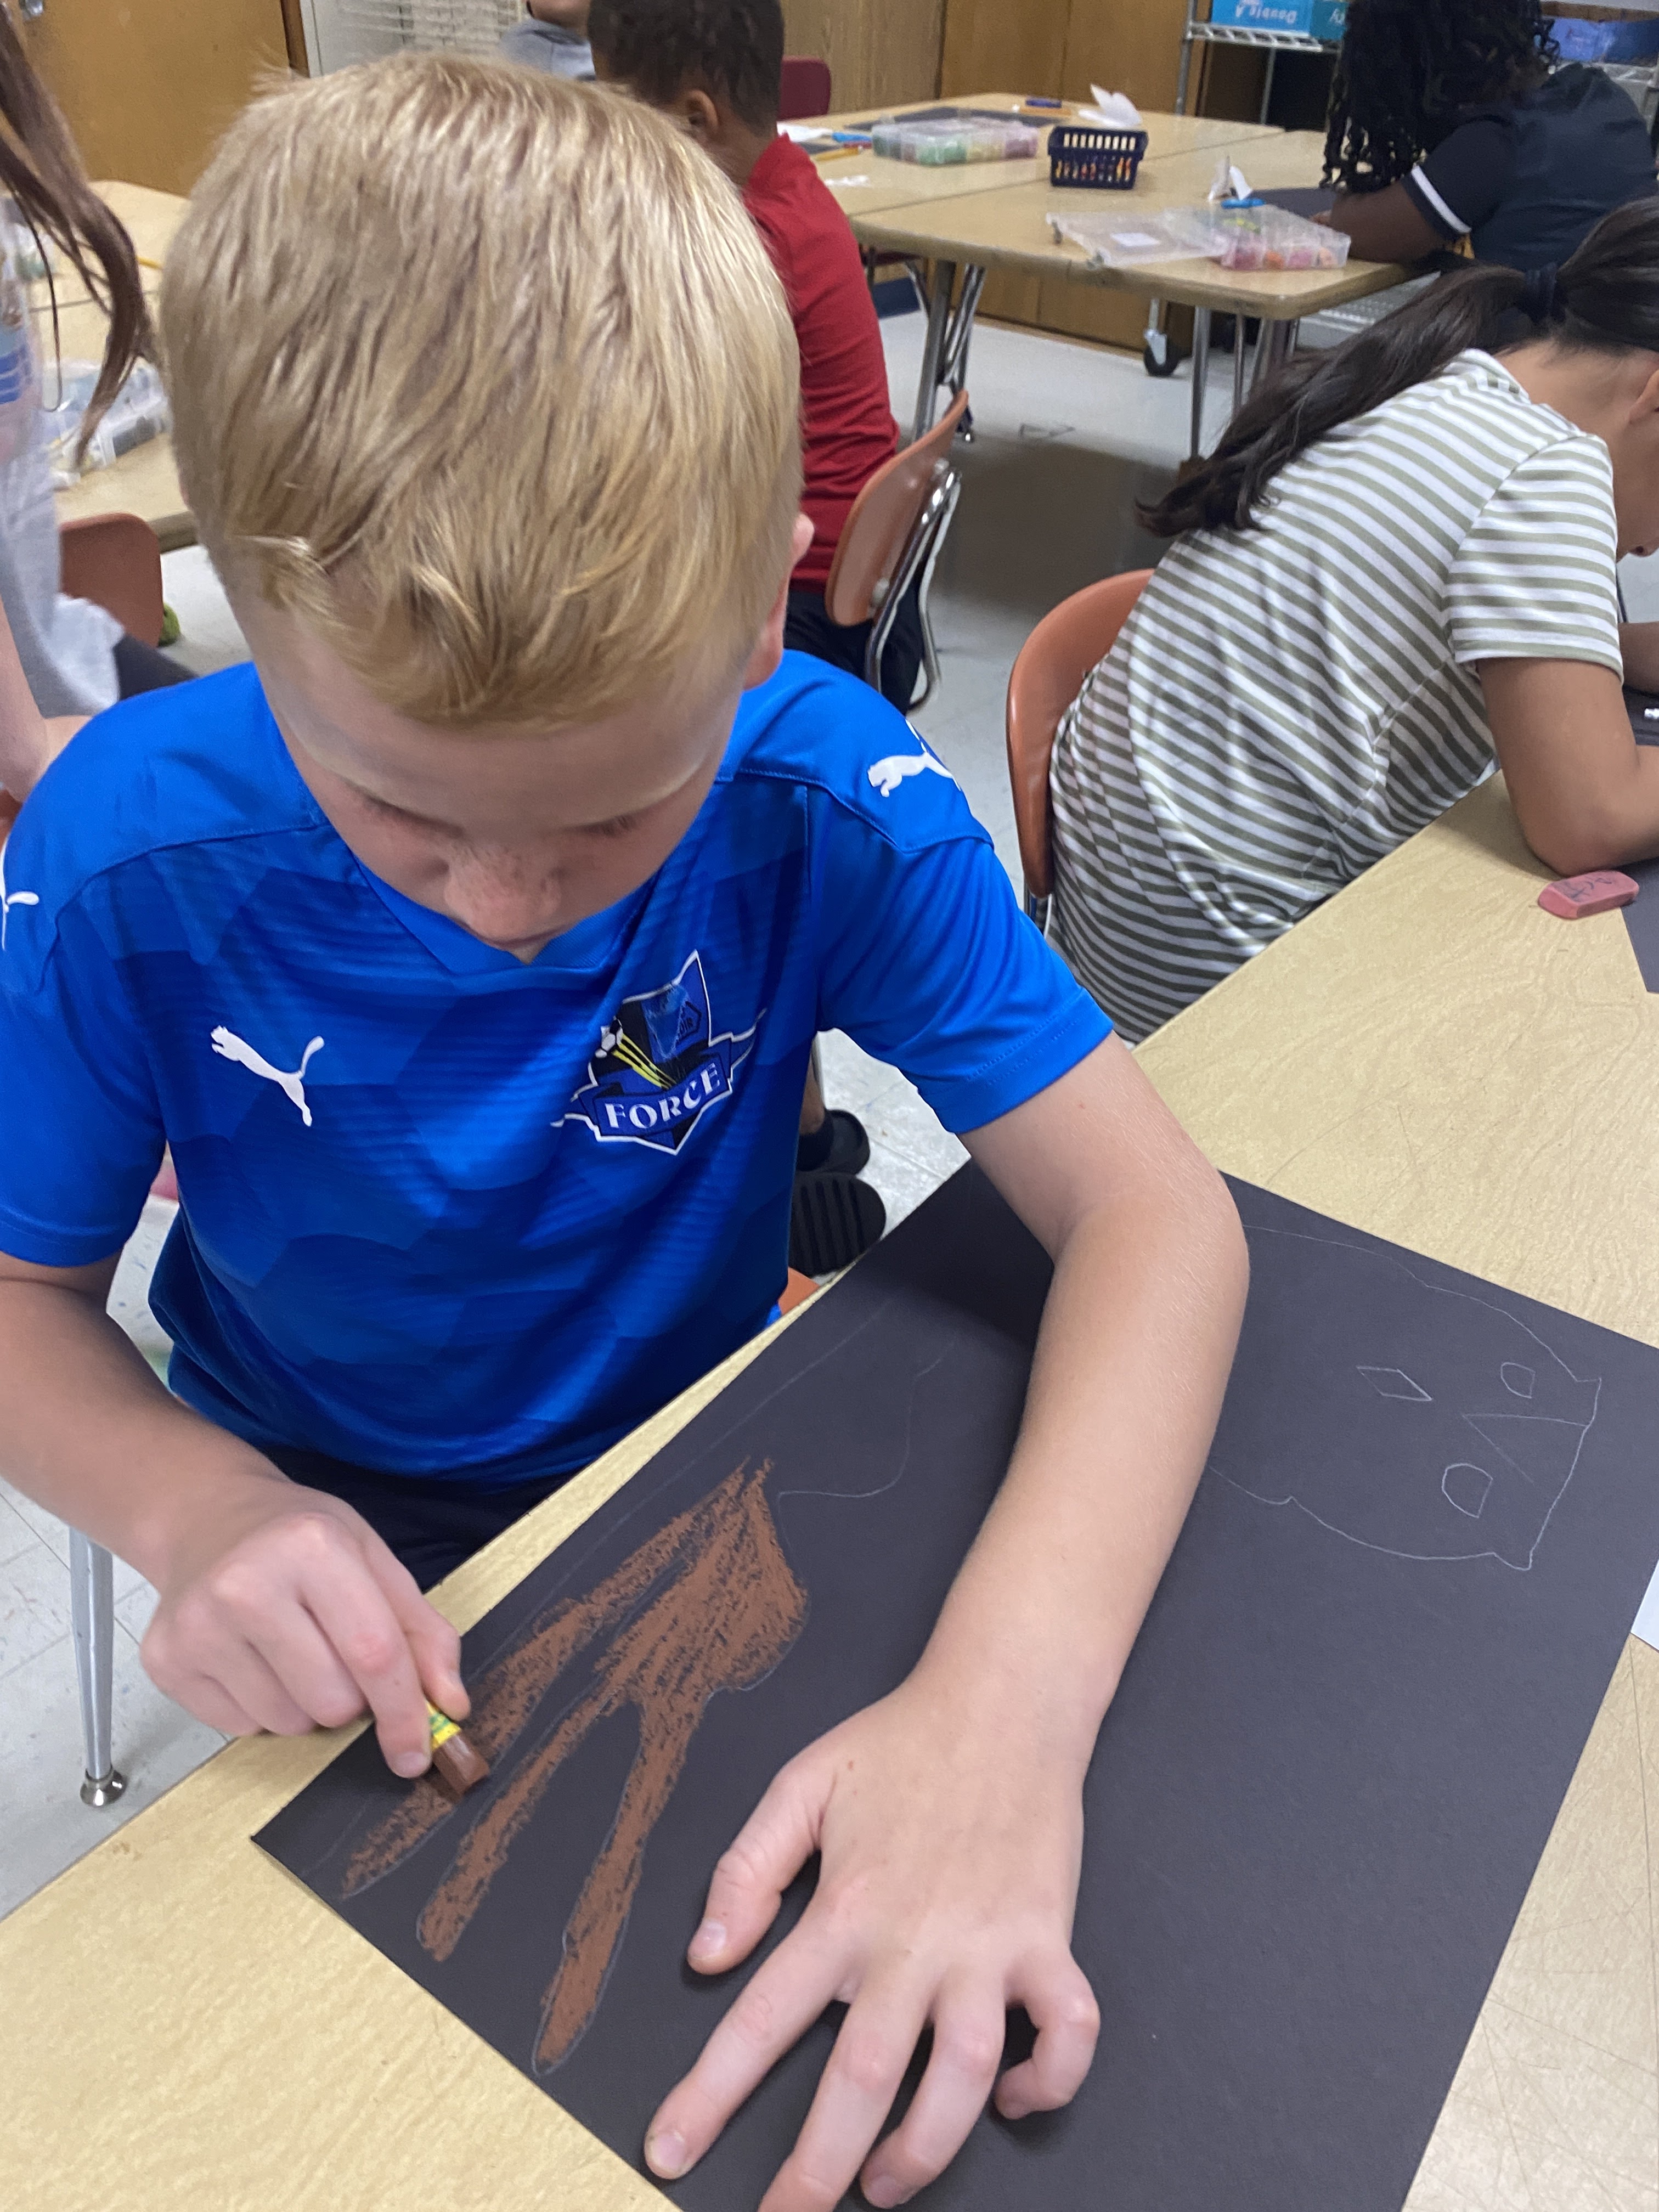
3rd graders drew a large tree branch across their 12" x 18" black paper and colored it with oil pastels. They traced their owl pattern on the branch and then they could use neon oil pastels or regular oil pastels to color them. The last step was to add a starry night to the sky like Vincent Van Gogh!
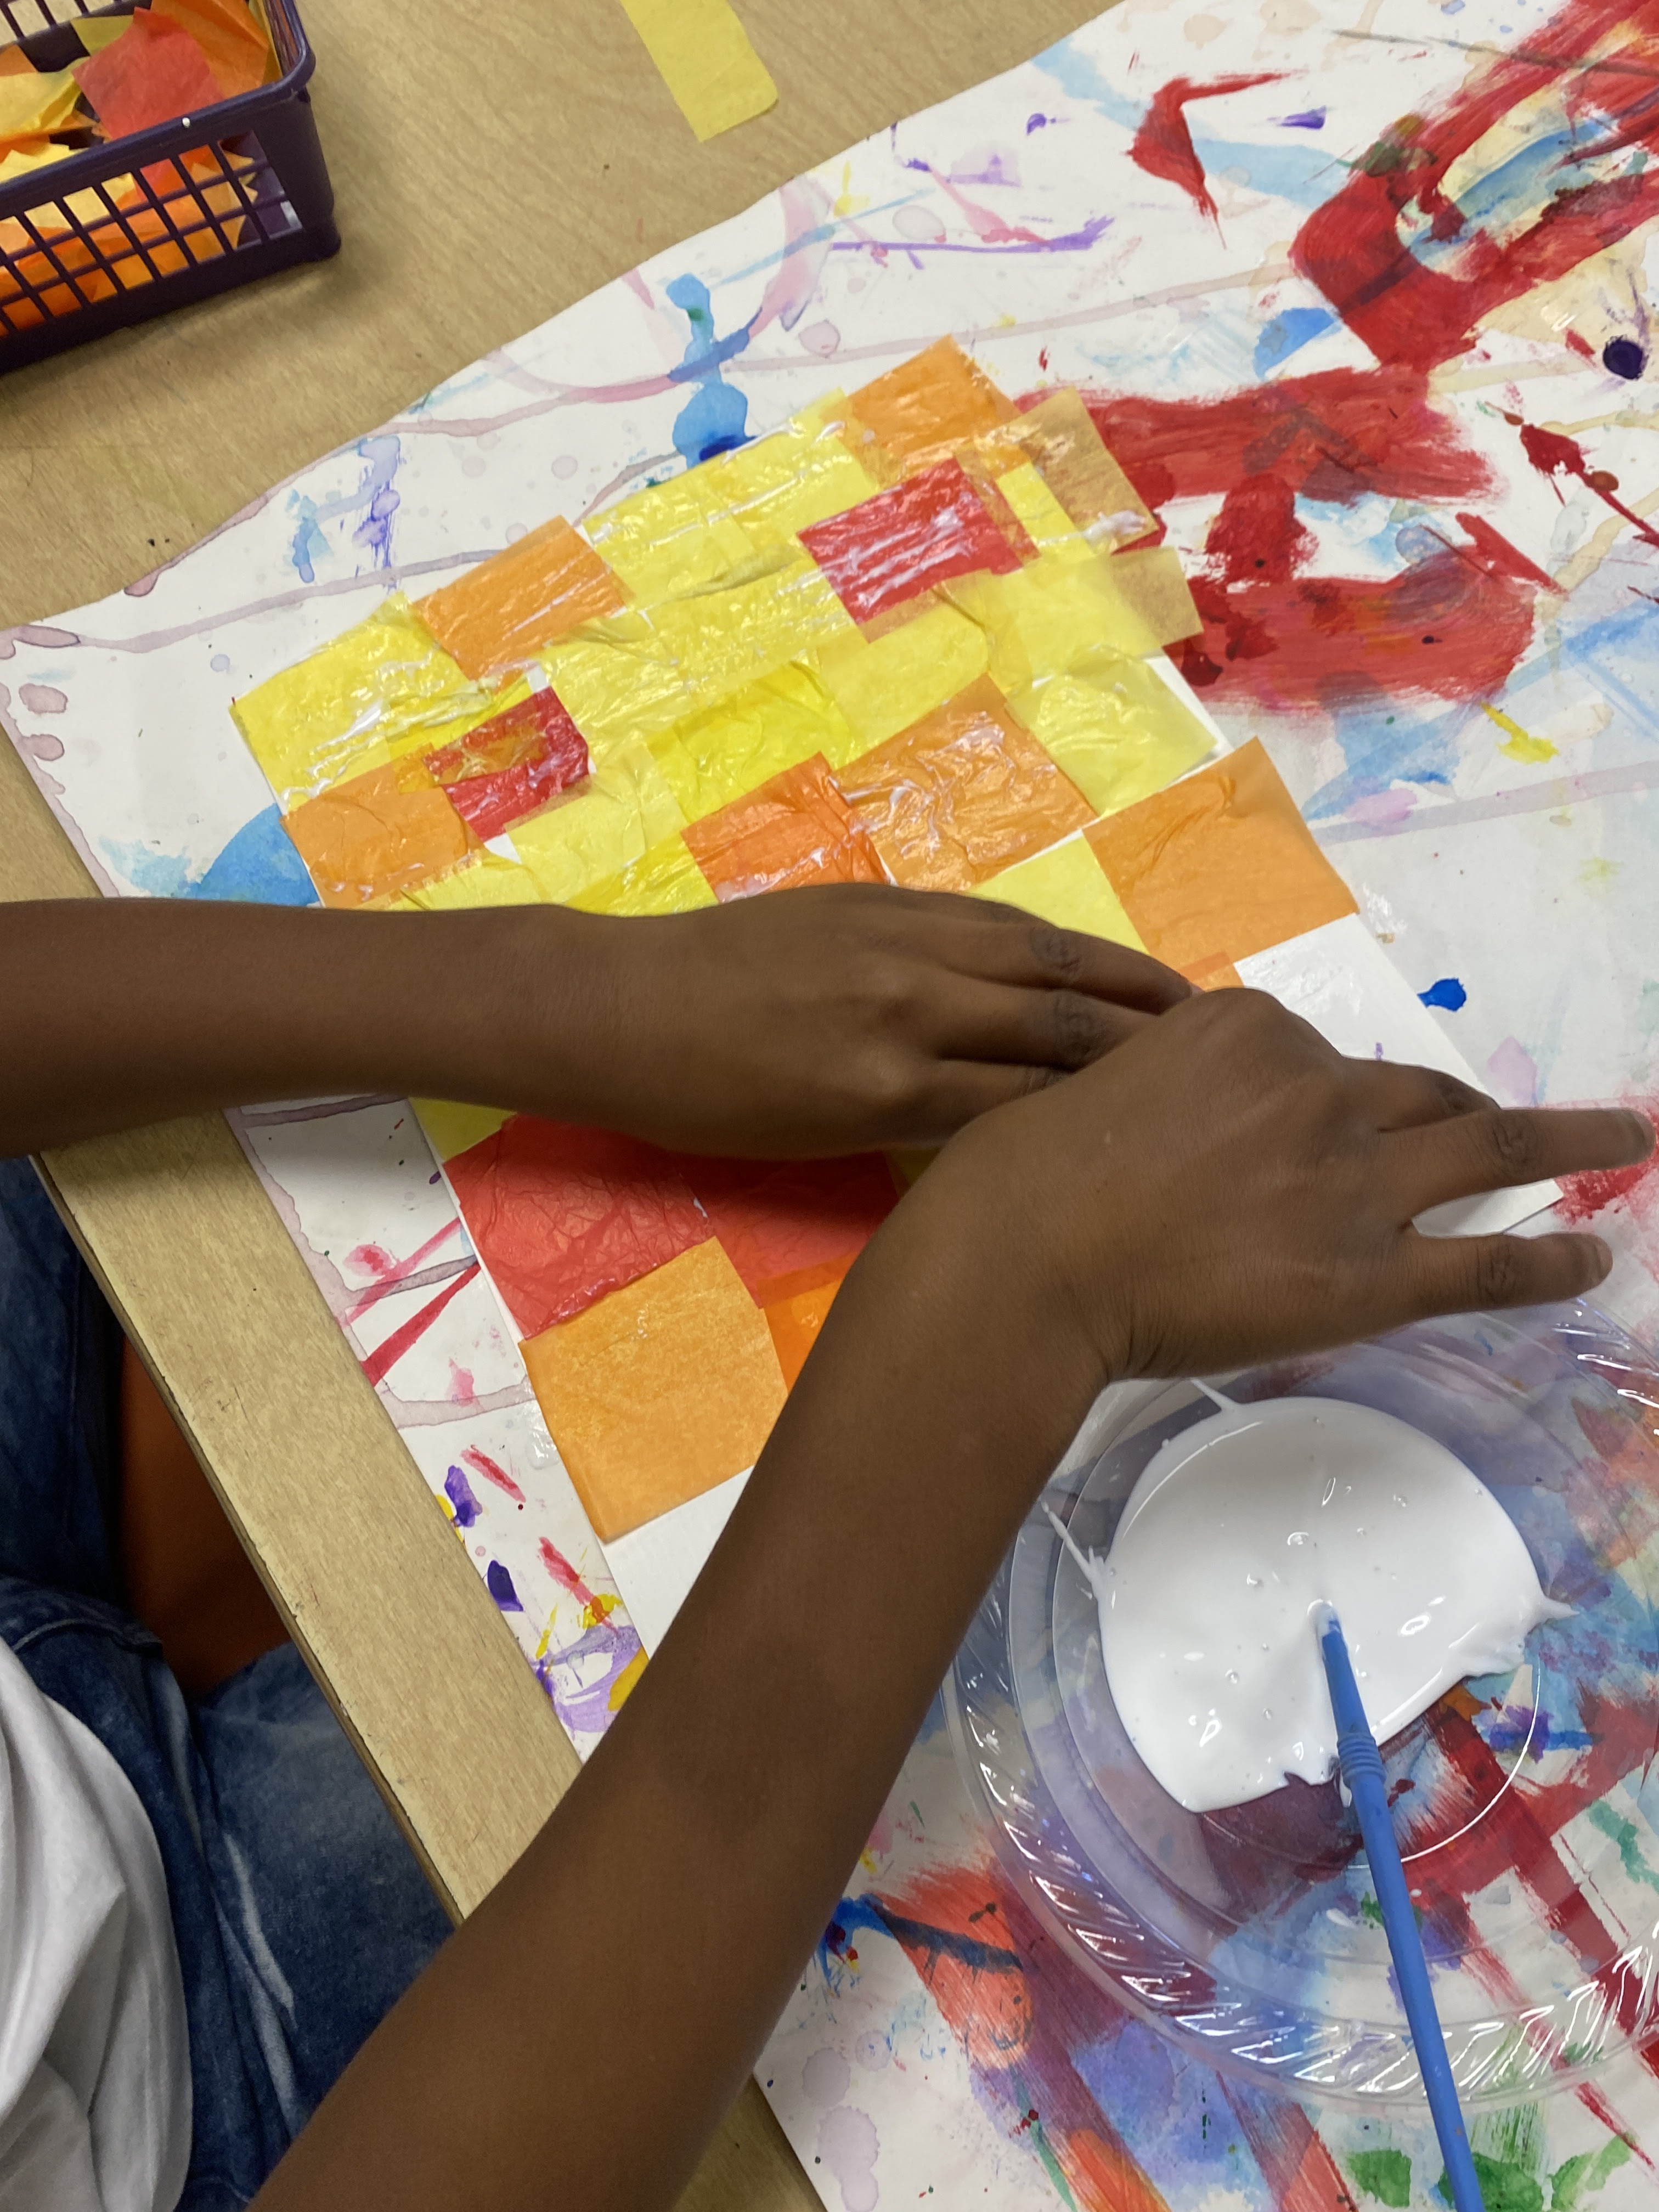
This is always a favorite lesson. Students get to use tissue paper, mod podge and oil pastels. This idea came from Mrs. Picasso's art room. For some reason it won't let me share the link to the original idea. This is how we made ours.
Students used mod podge and attached warm colored tissue paper squares onto a multi media 12" x 9" piece of paper. When I ran out of mod podge I made the homemade version of just glue and water.
On day two, students glued a 12" x 9" piece of blue construction paper onto a piece of black construction paper. I think the size was around 18" x 12".
They drew swirls with oil pastels (only cool colors) all around the blue paper.
On the tissue paper collage they turned it on the back and drew a large leaf. They cut this out and then drew the veins on the front (sorry I forgot to take pictures). The last step was to glue it in the middle of their blue paper. They loved these!
My kindergarteners really love Vincent Van Gogh. This is an easy art project that can be done in one class period (mine are 50 minutes).
We critiqued "Starry Night" and discussed all the swirly lines, stars, moon and wind. Students colored a snow ground at the bottom of their blue 12" x 9" construction paper, drew a snowman (without the arms) onto a 6" x 9" piece of white paper, cut it out and glued it on their snow covered ground. They then drew the arms on their snowmen. The last step was to add the beautiful sky in the style of Van Gogh's "Starry Night".
You can watch my demonstration videos below. Sorry I couldn't find my finger painting video!
Part one. I don't know why it seems like I am yelling!
Part two.
On the first day of the project we discussed Van Gogh's Starry Night.
Students then finger painted their version of the painting on 12" x 18" multi-media paper using blue and purple finger paint. We painted it vertically since we would be gluing an owl in the middle. We discussed the wind, the village and of course the stars.
All kids need to experience finger painting! Yes it's a lot of work but the kids love it. Cover your tables with newspaper and then I went around to each student and gave them a spoon full of purple and blue paint to mix. This took one fifty minute class period.
On the second day I instructed students on how to draw an owl from the letter "U". They traced them with a black marker and colored them with neon oil pastels. We talked a lot about using good craftsmanship (coloring all the spaces) and doing our best.
On day three students finished coloring their owls and cut them out. I have found if I teach them to concentrate on just cutting off the white paper then they are less likely to cut off the feet and ears. Works like a charm (well most of the kids it does!).
Students glued a tree branch about midway down the paper and then their owl on top.
This lesson is based on Vincent Van Gogh's beautiful still life paintings of sunflowers.
I introduced the lesson with showing students the many paintings of Van Gogh's sunflowers and the video on YouTube titled "Art With Mati and Dad-Van Gogh". The video is only around seven minutes long and it is perfect for this age.
I gave each student 4, 4 1/2" x 6" pieces of brown construction paper and demonstrated how to make sunflowers using orange, yellow, black and white tempera paint.
On the next day I demonstrated how to fold a 12' x 9" piece of yellow construction paper to make a vase. Make sure you walk around the room and check each vase before they cut! They glued the vase to a 12" x 18" piece of blue construction paper that I had glued a strip of orange 4 1/2" x 12" paper to the bottom. This saved so much time!
I provided brown strips of paper for the stems. Students cut out their flowers and assembled them into a beautiful still life! The last part was to add a little highlight with an oil pastel.