Please hang tight while I reload all the photos back.

My photo
I currently work at Davenport A+ Elementary School in Lenoir, NC.
Showing posts with label fall. Show all posts

Wednesday, November 20, 2024

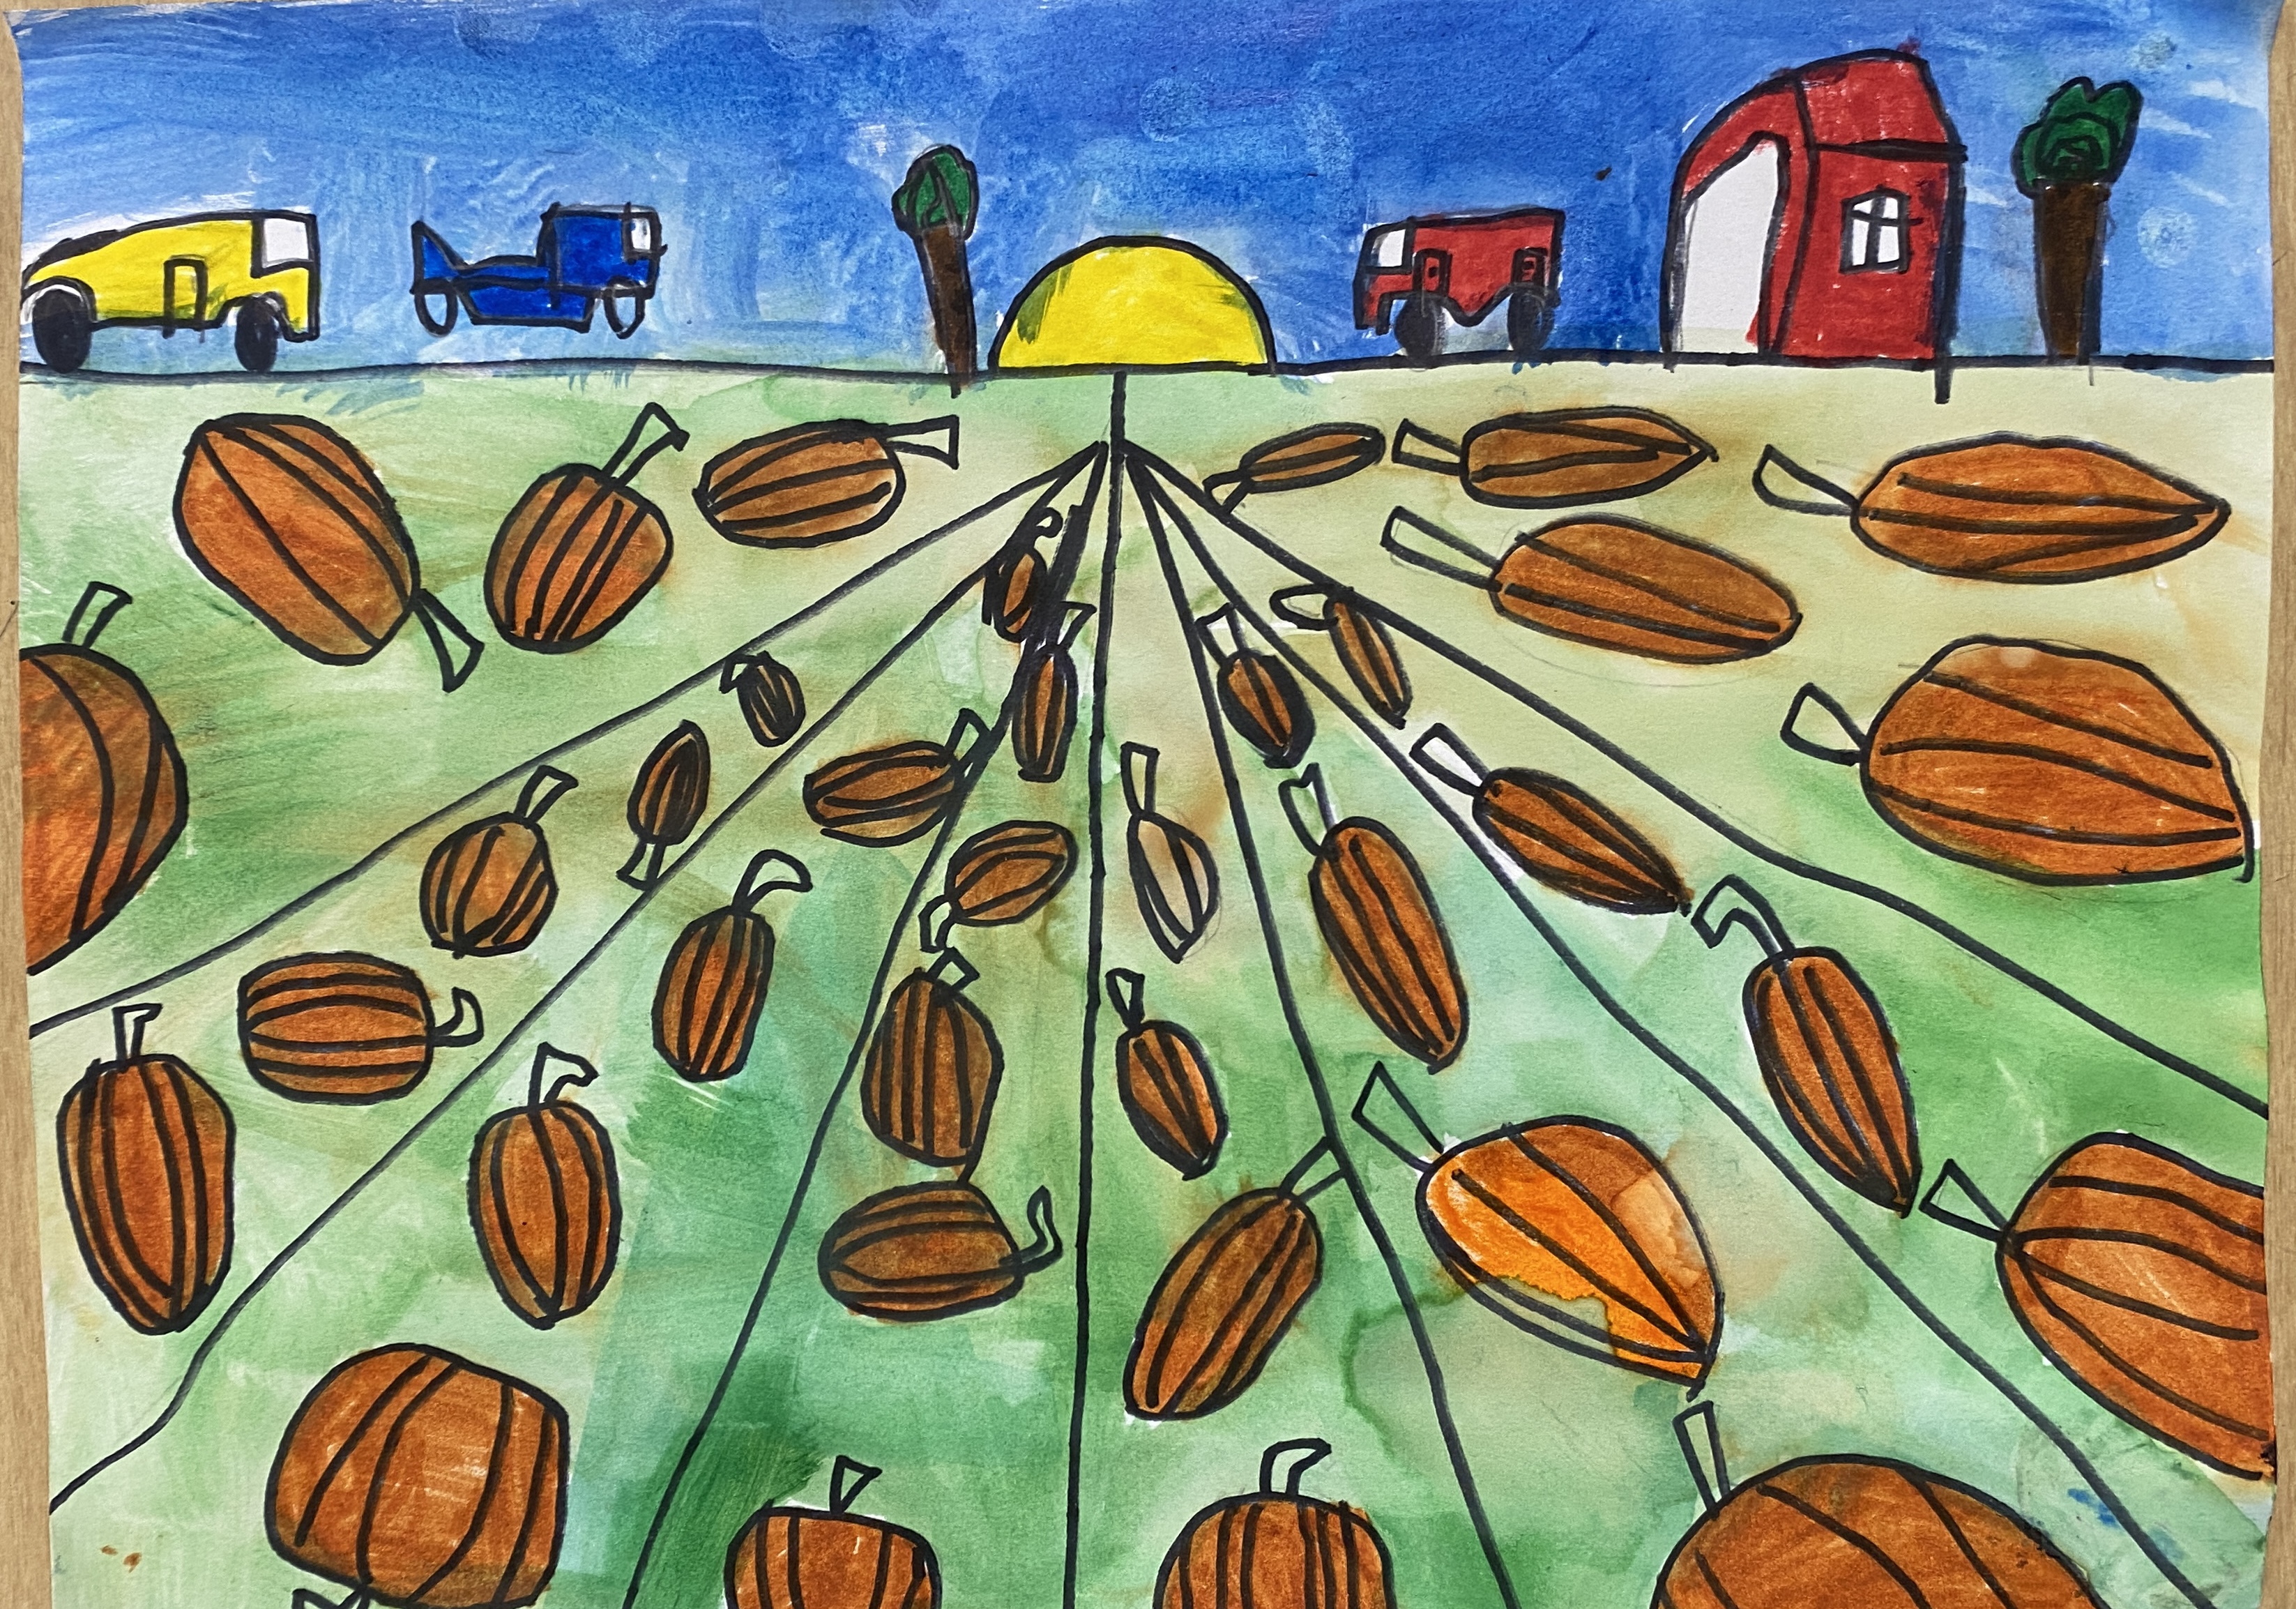
4th Grade pumpkin patches

 4th Grade Pumpkin Patches

I found this lesson from Mrs S Art room on YouTube. Thanks for the idea! 
We viewed the many examples of one-point perspective in art and images of pumpkins in a pumpkin patch especially the lines and shapes of a pumpkin. 
Students drew a horizon line in the middle of their paper and a point in the middle for the vanishing point. Using a ruler, they drew diagonal lines coming from the vanishing point to represent the rows for their pumpkin patch. Students drew pumpkins in the rows and added a farm on the horizon line. They were given a choice of markers, crayons, colored pencils, or watercolors to complete their drawing. I think they did great! 


Tuesday, November 19, 2024

4th Grade patterned Leaves

 4th Grade Patterned Leaves

4th graders learned how important it was to consider both positive and negative spaces in art. We viewed the art of Georgia O'Keeffe, especially studying her leave paintings. Students made a large leaf of their choice on a 6" x 4 1/2" piece of scrap paper for their pattern. They cut the pattern out and then traced it four times on their divided 12" x 9" piece of multi-media paper. 
The next step was to add patterns on the positive and negative spaces with oil pastels. Lastly, they painted over them with liquid watercolors. They are perfect for a Fall lesson! Thanks to Art With Trista's blog for the idea! 


Thursday, November 30, 2023

4th Grade Fall Leaf collage

 4th Grade Fall Leaf Collage 

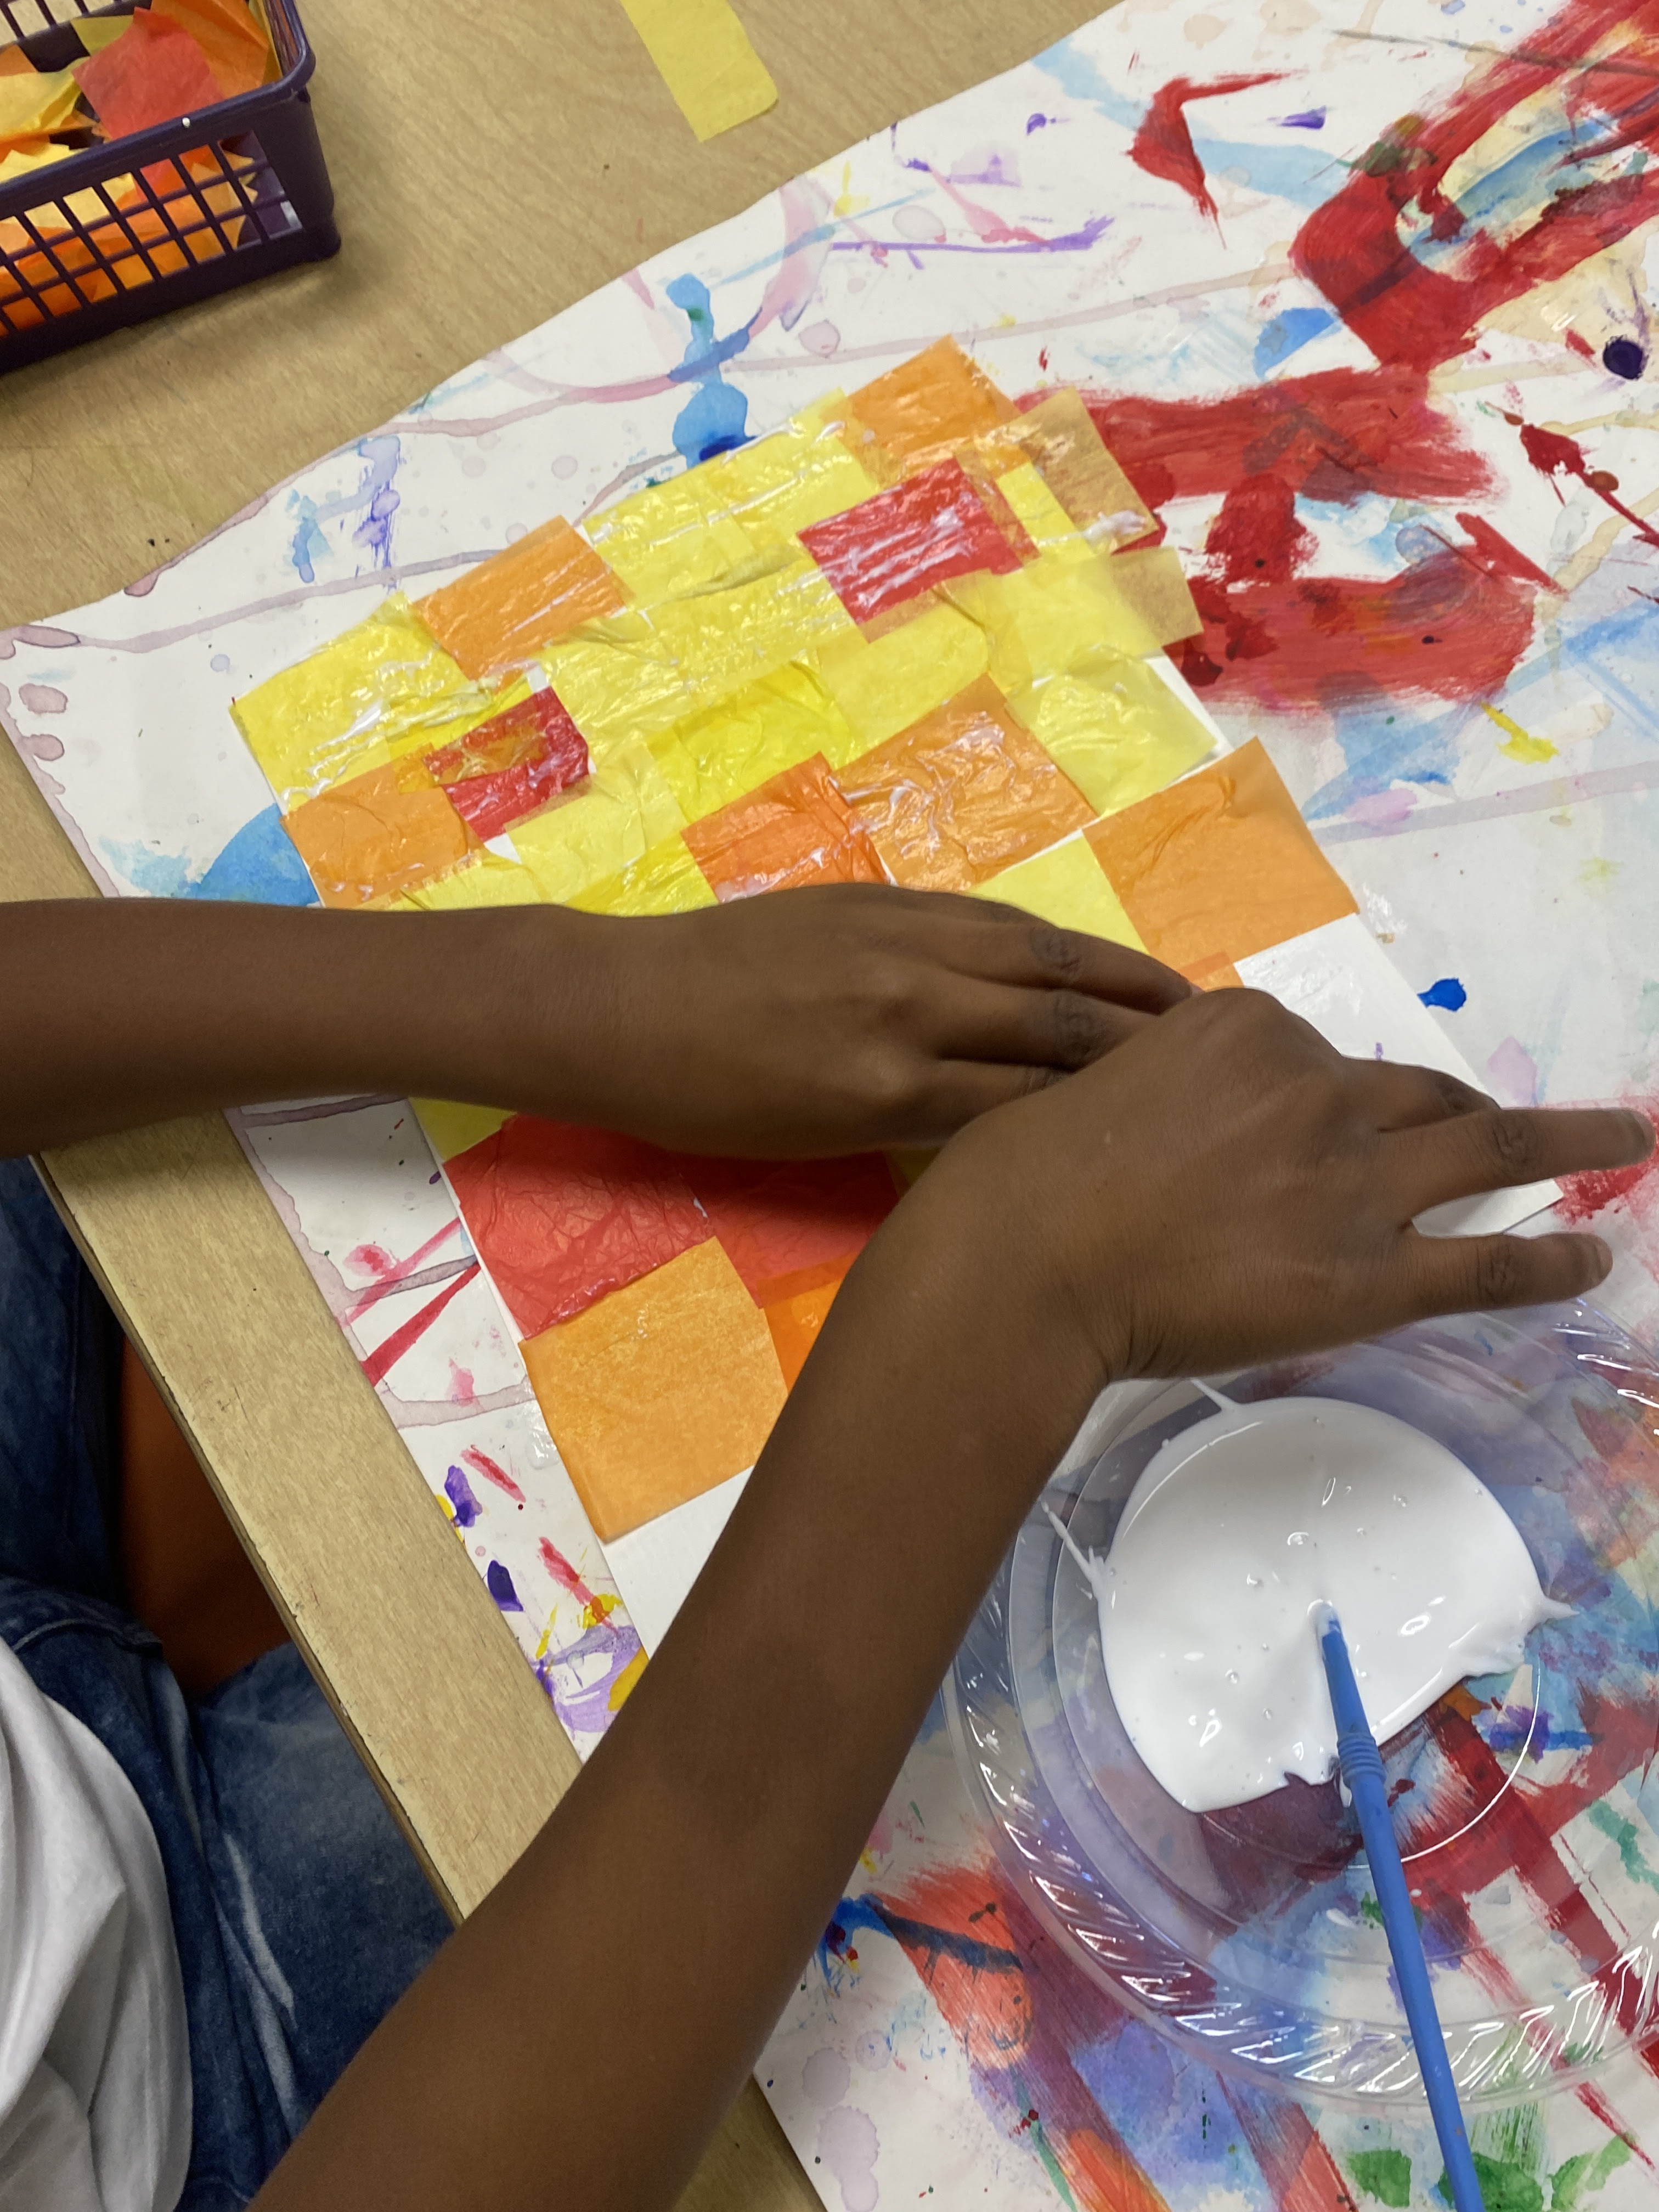
         This is always a favorite lesson. Students get to use tissue paper, mod podge and oil pastels. This idea came from Mrs. Picasso's art room. For some reason it won't let me share the link to the original idea. This is how we made ours. 
Students used mod podge and attached warm colored tissue paper squares onto a multi media 12" x 9" piece of paper. When I ran out of mod podge I made the homemade version of just glue and water. 


          On day two, students glued a 12" x 9" piece of blue construction paper onto a piece of black                                            construction paper. I think the size was around 18" x 12". 
                        They drew swirls with oil pastels (only cool colors) all around the blue paper. 

On the tissue paper collage they turned it on the back and drew a large leaf. They cut this out and then drew the veins on the front (sorry I forgot to take pictures). The last step was to glue it in the middle of their blue paper. They loved these!


Monday, November 6, 2023

1st grade scarecrows art lesson

 1st Grade scarecrow art lesson 

This lesson was inspired by the book "The Scarecrow" by Beth Ferry. There are so many books available about scarecrows so take your pick! I saw this lesson on Elementary Art Fun blog and changed it a bit. 

I provided a pattern for the scarecrows face. Providing a pattern for the face helps this age have a starting point on how big to make their scarecrow. 
My 1st graders were encouraged to draw a hat and decorate the scarecrows clothes. Many of the students added crows and corn to their drawings. They were then to outline their drawings with a black marker and color it with oil pastels. 

We discussed how to blend the colors using a small rolled up piece of paper towel. 
Students colored the sky with liquid watercolors. 

I found some old shredded paper so students used it as straw and glued it around their scarecrow's sleeves and hat. Pretty good for 1st graders!!!


Sunday, November 5, 2023

5th grade Yayoi Kusama Pumpkins

 5th Grade Yayoi Kusama Pumpkins 

This is a great lesson for 5th grade. Yayoi Kusama is a contemporary artist from Japan who is known as the princess of polka dots. I found a lot of resources on line for kids. There are also several children books available as well. 
I taught the children how to draw a pumpkin on day one of the lesson. They could draw a typical round pumpkin or an oblong pumpkin. They were then to fill in the pumpkin with dots. For each section of the pumpkin the center had large dots and then on each side of the large dots were medium size dots and then on the end were tiny dots. The blogger Britt Curley actually had a great way to explain it. You can find her post here https://artroombritt.blogspot.com/2018/11/kusama-dot-pumpkins.html
While they were working on their pumpkins I called about six or seven students at a time and they were to pick a complementary color 12" x 9" piece of construction paper to stencil their back ground at
 another table in the art room. We used black tempera paint, sponge brushes and stencils that I had purchased from the company Temu. 


This took 50 minutes. On the next day students finished making their dots, cut out their pumpkin and glued it to their background. 


They loved them!