Please hang tight while I reload all the photos back.

My photo
I currently work at Davenport A+ Elementary School in Lenoir, NC.

Wednesday, September 28, 2016

abstract tree mural 1st grade art project

Abstract tree mural 1st grade


I wanted to do a mural that could be displayed all year in the school with my first graders. Using tempera paint with first graders was a little risky for me so I came up with another idea. I saw a similar design on coloruswell.com. An artist named John DeFaro drew a tree on a poster for students during a workshop and then provided swirly designs for them to color.
I painted a tree in our school hallway. In the art room we discussed designs and patterns in art. Students were provided a circle to decorate (I printed these on card stock). 
They used black permanent markers to outline their designs and then used color sticks (made by crayola) to color them.


Using heavy duty masking tape we stuck them to the tree.  Hopefully it stays  up all year! Next year I plan on removing the circles and having the next 1st grade classes make a new design (maybe birds?). Our first graders go  to another building when they graduate to the second grade.


Wednesday, September 7, 2016

Inclusion student ideas for the art room

Inclusion student ideas for the art room

I have students who are developmentally delayed in my classroom. A few of my students are severely delayed and need a full time aid. It is hard keeping these students engaged with the activity I'm teaching the rest of the class. I want these students to attempt to make what we are making and then they can do the extra activities I have prepared for them. Many of these students are at the scribbling stage so they "fly" through the art project. Reverting to my years as an intervention specialist and ideas from other art teachers, I prepared a big bin with items in it just for them. Their aid knows to go to the bin and pull out the various art projects when they are finished with what we are making for the day. You can ask the occupational therapist at your building for ideas. 
 You need adaptive scissors and brushes. Ask your OT if she can spare some extra ones to keep in the art room.
This is called an Adapt-a-cut and Adapt-a-Hold. These are great tools for students who have limited fine motor skills. The Adapt-a-Hold holds the paper in place and the Adapt-a-Cut allows students to push it through the paper they need cut safely.

I have a sign to place in front of the student that makes noises while I'm giving instructions.  Our intervention specialist made this for me from the Boardmaker program.
I also had our intervention specialist make this for my class to help my students that need a visual schedule of their art time with me. This is also made from the Boardmaker program.
This is a visual step by step of how to paint for those students who need visual reminders.

I asked our speech therapist if she would write a social story for one of my autistic students who needs reminders on the appropriate behavior in art class. She also used the boardmaker program. This is just a few of the pages.


My speech therapist is awesome!


 I tape my inclusion students' paper down to keep it stable while they are working. I also have play dough for them to play with when they are finished. 
I have big crayons, broken crayons and crayons I melted into a muffin tin for students to color with. The muffin shape crayons work great with students who are still in the fisted grasp stage.  

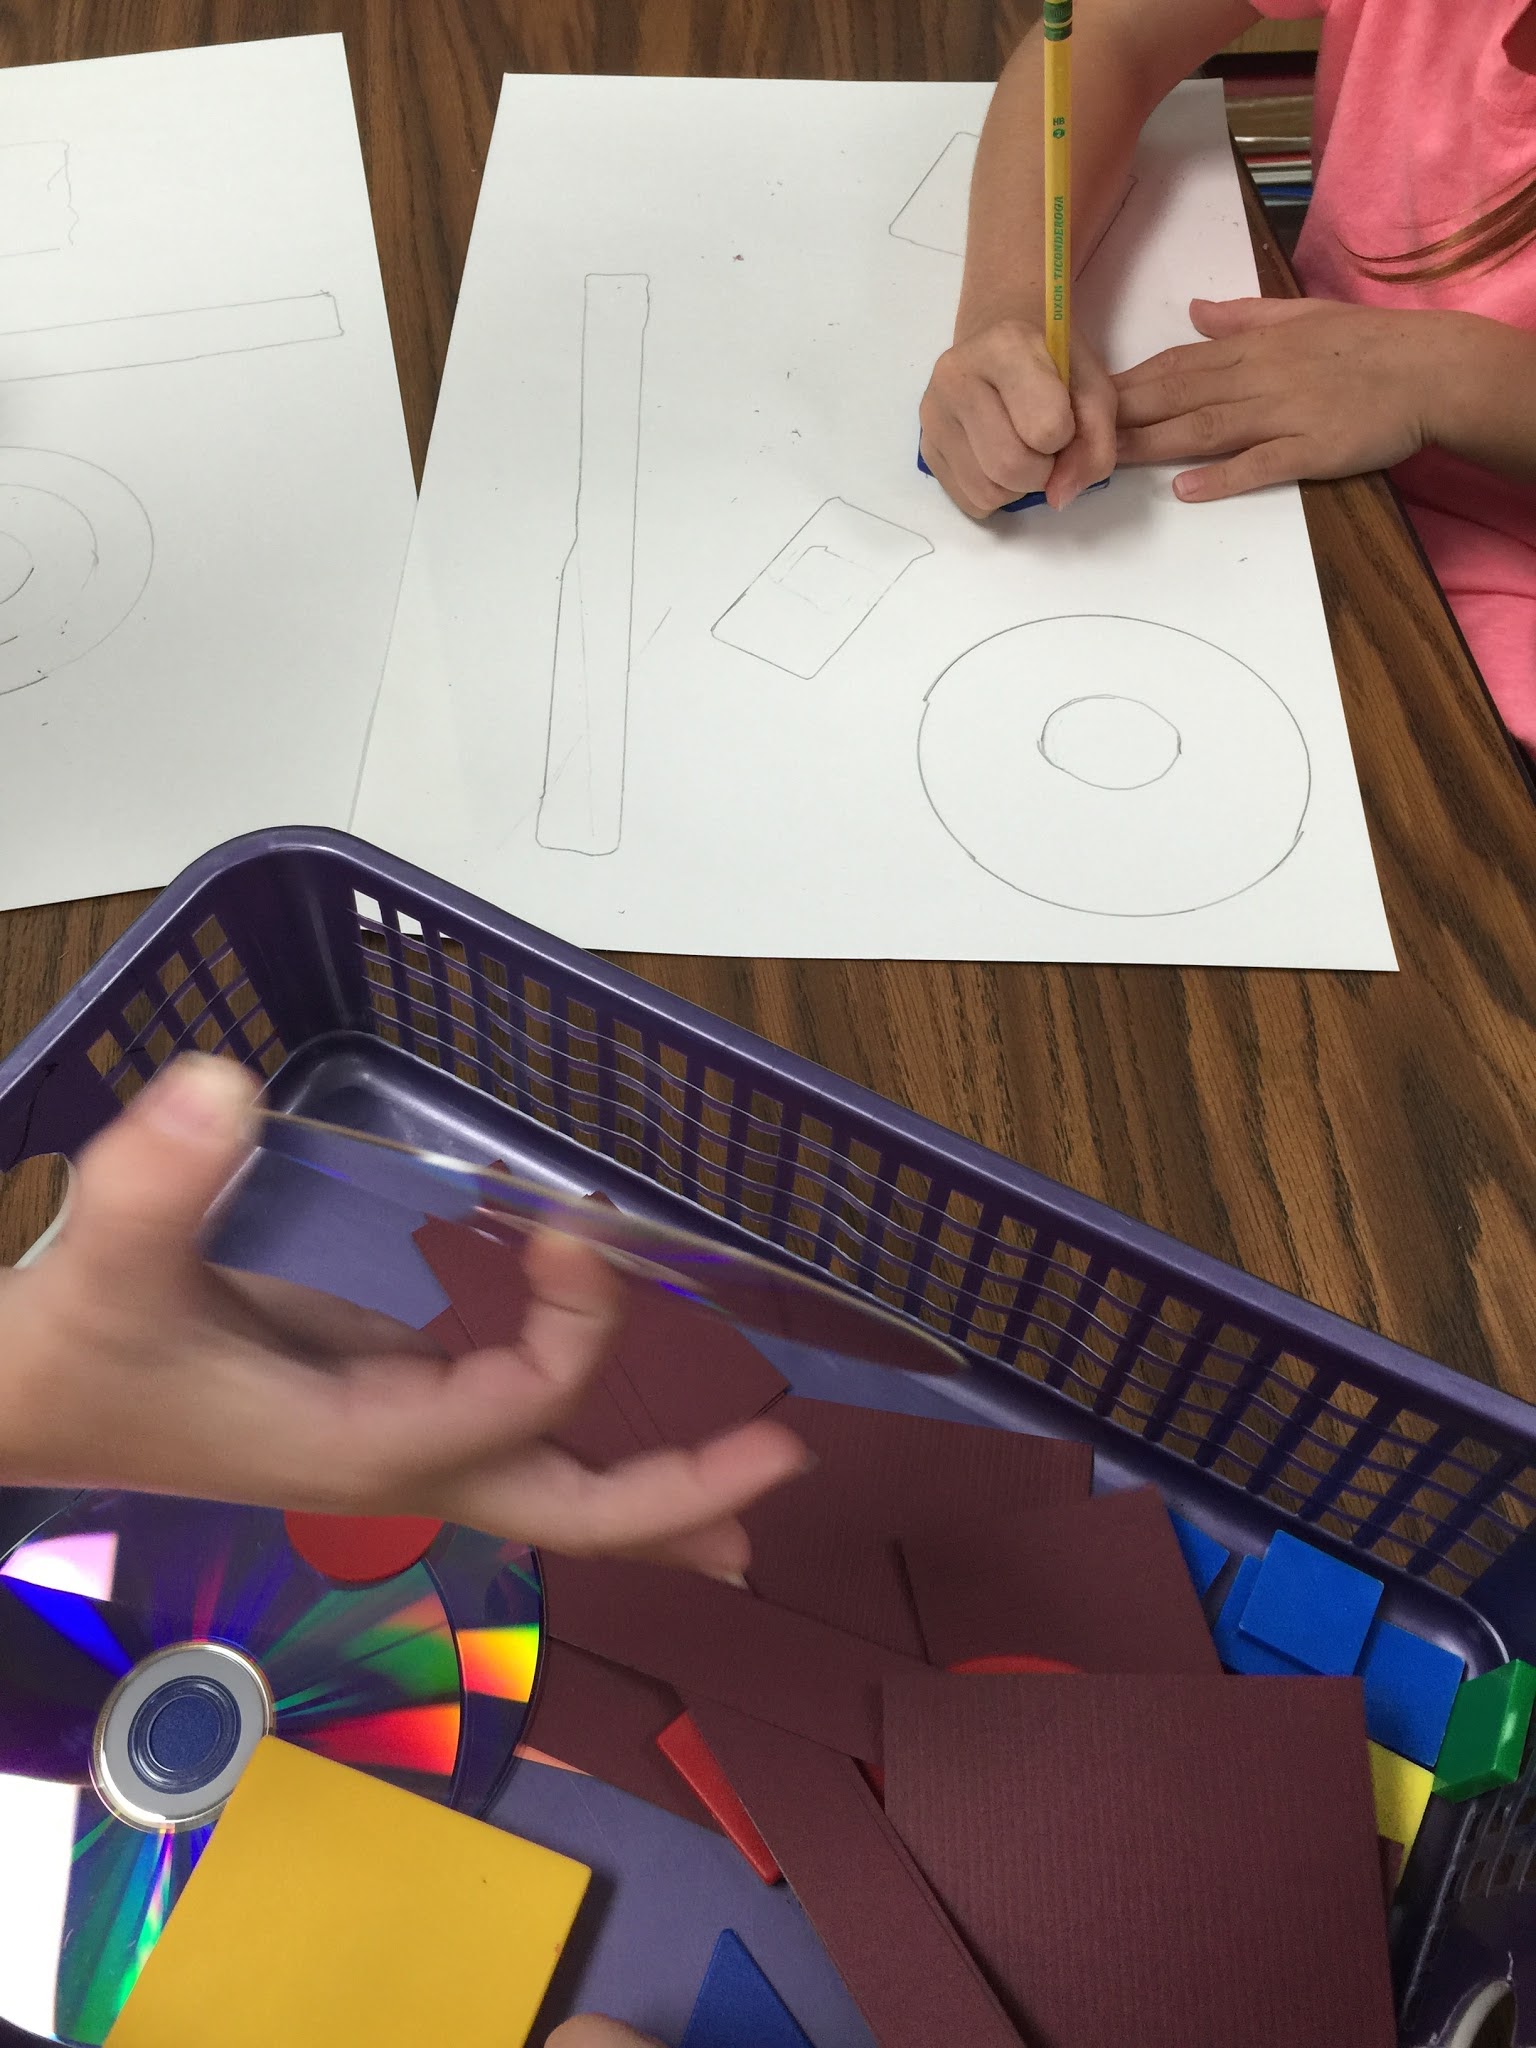
 I have taken scrap construction paper and drew various lines on them for students to practice cutting.


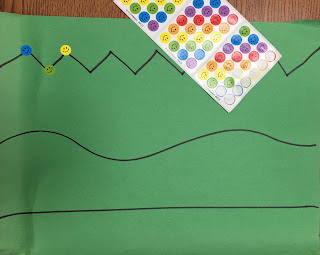
 Have students apply stickers and stick them to various lines. Students can also design their own stickers as well.
When the typically developing students use watercolor palettes I have my students that have severe fine motor delays use a tempera cake palette for better control.

 I have a sponge soaked in paint with sponges that have little handles on them for my students to use if the painting lesson I'm currently teaching isn't appropriate for them.

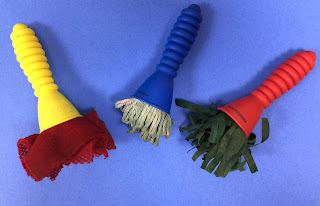
Students can use these textured brushes as well. 


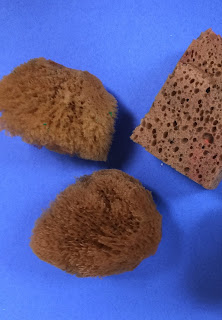
Natural sponges are fun and they are big enough for them to grasp easily. 


 Combs, toothbrushes...anything you can think of to give them variations for painting techniques.

 Paint combs make great textures in the paint but can be hard for some students with  disabilities to grasp. You can do hand over hand with these.
 Wrapping bubble wrap around the students' hands makes a fun painting technique.
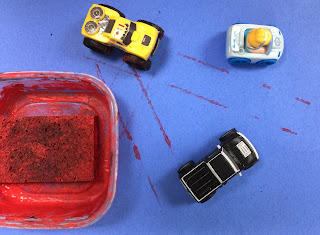
 Rolling cars in paint is another option.

 Baby wipes are in the bin for easy clean for the aids. 
 Art board books for quiet time. 

Beads to string on yarn and pipe cleaners (watch mouths!).
Links to connect.

 Various stamps and a giant ink pad. 

One of the classroom teachers was getting rid of these so I grabbed them for the art bin. 


A doodle sketch, small dry erase board and marker for free drawing. The paraprofessional can draw various lines or basic shapes for students to trace or copy.


And paper!
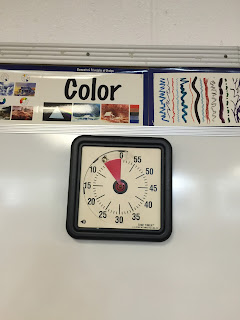
A visual timer also helps students keep track of how much time is left until class is over. 

Ask the occupational therapist what she is working on with the students for ideas. 


Fundraiser Idea for kindergarten art

Fundraiser Idea for Kindergarten art

I have my annual art fundraiser at the beginning of the year so parents can order things to give as Christmas gifts. I use the company Square 1 Art.  Kindergartners are still learning how to write their name and how to use art materials so I need something simple. 
On day 1, students sponged painted the background. With kindergartners this took about 30 minutes. They are still learning the procedures in the art room!


On day 2, I had them write their name in the template and then I painted their hands black to make the hand print. While others waited their turn I played an art DVD for children called "I Can Fly, kids and creativity". 
On Day 3, students glued a heart onto their hand print. We discussed the color wheel and complementary colors. Students were to pick the complementary colored heart for their hand print. Many of the kindergarten teachers read the book "The Kissing Hand" by Audrey Penn to their students on the first day of school. It's about a raccoon who misses his mom when he goes to school. The mom gives the little raccoon a kiss on the hand to help him remember his mom's kisses through out the day. The illustrations show the kiss leaving a heart. It's fun to see if any students make a connection to the art and to the story. We spent a couple of minutes reviewing how to use a glue  stick. For the remaining of class I taught a new lesson. 


Tuesday, September 6, 2016

Kandinsky abstract glue painting 1st grade art lesson

Kandinsky Abstract painting


                                                          Demonstrating part one. 

I started the lesson by introducing lines in art. I showed a video on YouTube called "The Line Song" by Scratch Garden. It is only about two minutes long. Another resource I have used is the book "Lines That Wiggle" by Candace Whitman. It's a book about how a line turns into all kinds of different things.


We then completed a worksheet together on lines. I  found a great idea for a worksheet from the blog "artisbasic.com". It's just a worksheet where they fill in the various kinds of lines. I had to make my own because I couldn't get it to download for me. 

My classes are 50 minutes long so at the end of class I read "The Noisy Paint Box: The Colors and Sounds of Kandinsky's Abstract Art" by Barb Rosenstock. It's a wonderful children's book about Kandinsky's journey of becoming an abstract painter. 

The next art class we reviewed lines and Kandinsky's art. We viewed his various paintings noting the shapes and lines he used in each one. I then demonstrated how to trace various shapes and lines onto paper to make an abstract painting. Thanks to the blog "Art With Mrs. Smith blogspot" for this idea of my lesson. This was a good time to introduce how to use a ruler for drawing straight lines. 


After they traced shapes and added various lines they then traced everything with black glue. It helps to tell the children to get the tip of the glue as close as they can to the paper. 


The next class we added watercolors. The results were amazing. I was so proud of my 1st graders (and this is in August!). 


This one won the Superintendent award at our annual art show!