Please hang tight while I reload all the photos back.

My photo
I currently work at Davenport A+ Elementary School in Lenoir, NC.
Showing posts with label neon oil pastels. Show all posts

Tuesday, December 10, 2024

4th grade holiday light oil pastel and chalk collage

 4th-grade holiday light oil pastel and chalk collage


Thank you to https://www.artwithmrsfilmore.com/holiday-lights-5th-grade/ for this great lesson! 

I did this with my 4th graders and they had so much fun! 

I provided a pattern of a bulb for students to trace. They traced six of these on a 12" x 9" piece of black paper. Remind them to put them close to the top and beside each other or they won't have enough room for all six! 

Students could use either neon or regular oil pastels to color in their bulbs. After they were colored, they traced the bulb pattern six times onto a 12" x 18" piece of black construction paper with a slightly curved line in the middle. They took a white colored chalk and blended lines around the bulb and then added another colored chalk to the white to match each bulb. The last step was to cut them out and glue each bulb to the outline. 

They loved making these and all of them were successful! 


Friday, November 22, 2024

3rd Grade Starry Night Oil pastel Owls

 3rd Grade Oil Pastel Owls

Students were given a 6" x 9" piece of scrap paper to make their owl pattern. They folded the paper in half and then I demonstrated how to draw half of an owl so that when they cut it out it would be the same on both sides. 
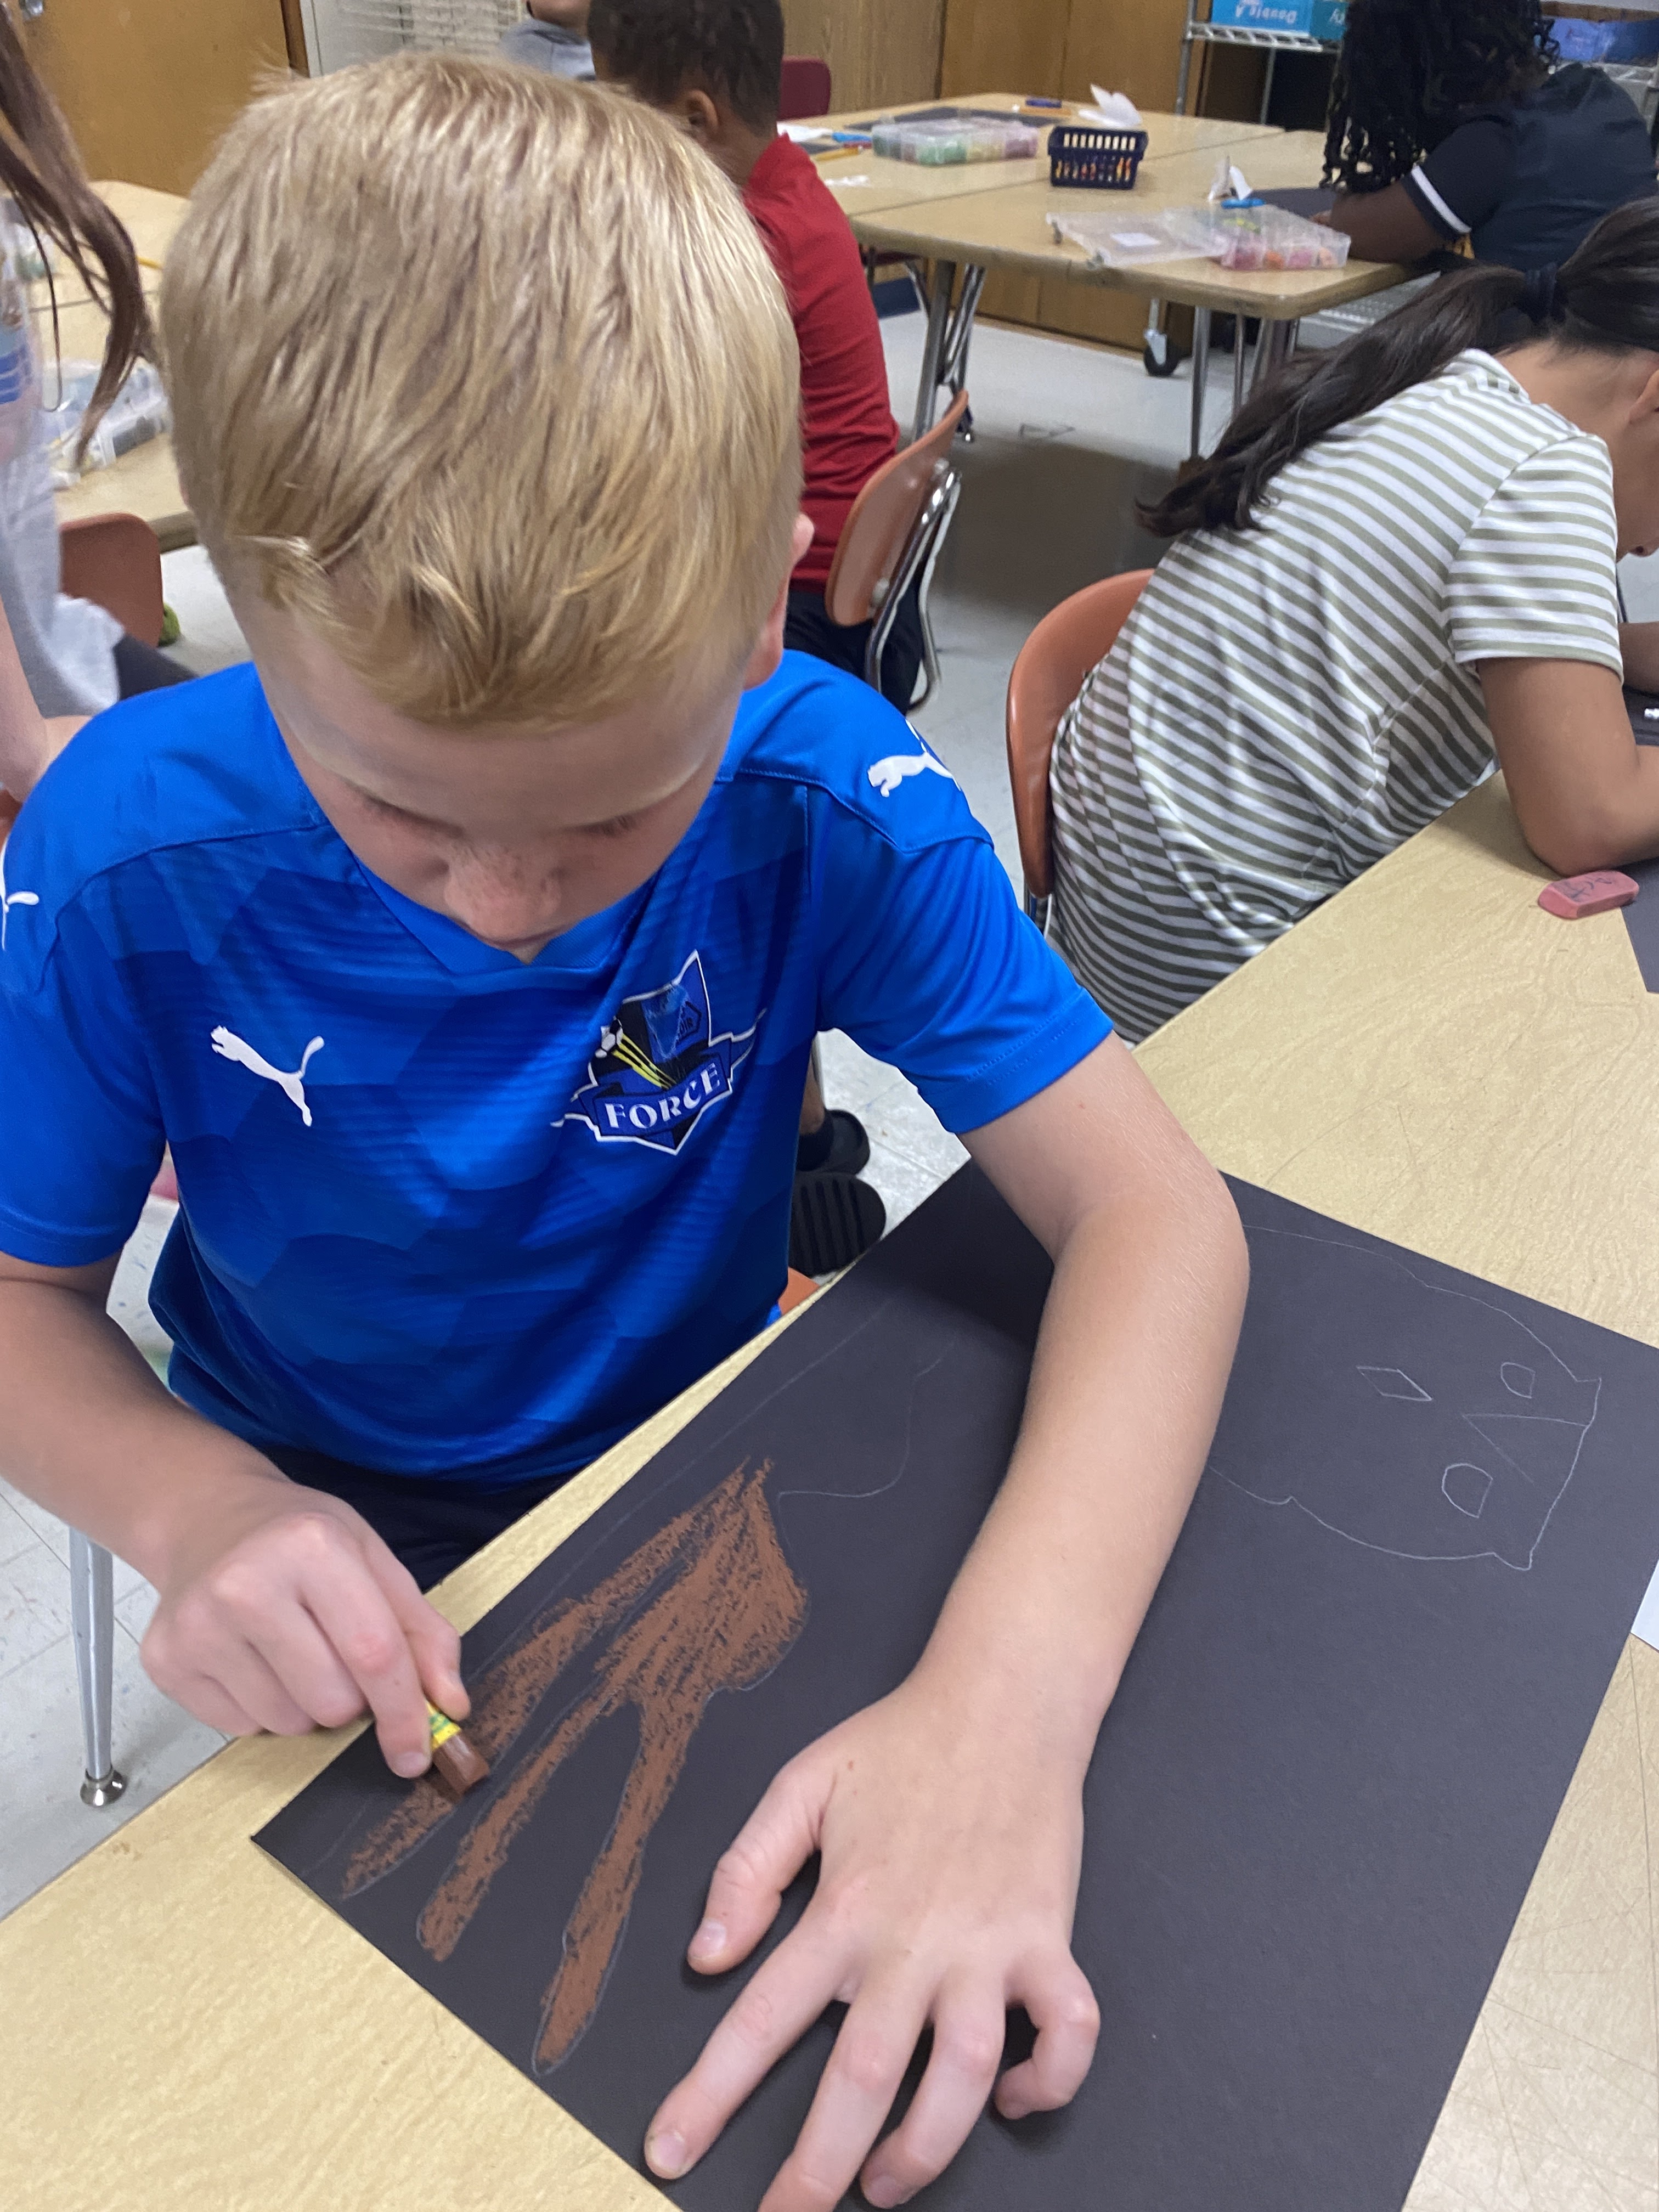
3rd graders drew a large tree branch across their 12" x 18" black paper and colored it with oil pastels. They traced their owl pattern on the branch and then they could use neon oil pastels or regular oil pastels to color them. The last step was to add a starry night to the sky like Vincent Van Gogh! 


Thursday, November 30, 2023

3rd grade winter mittens art project

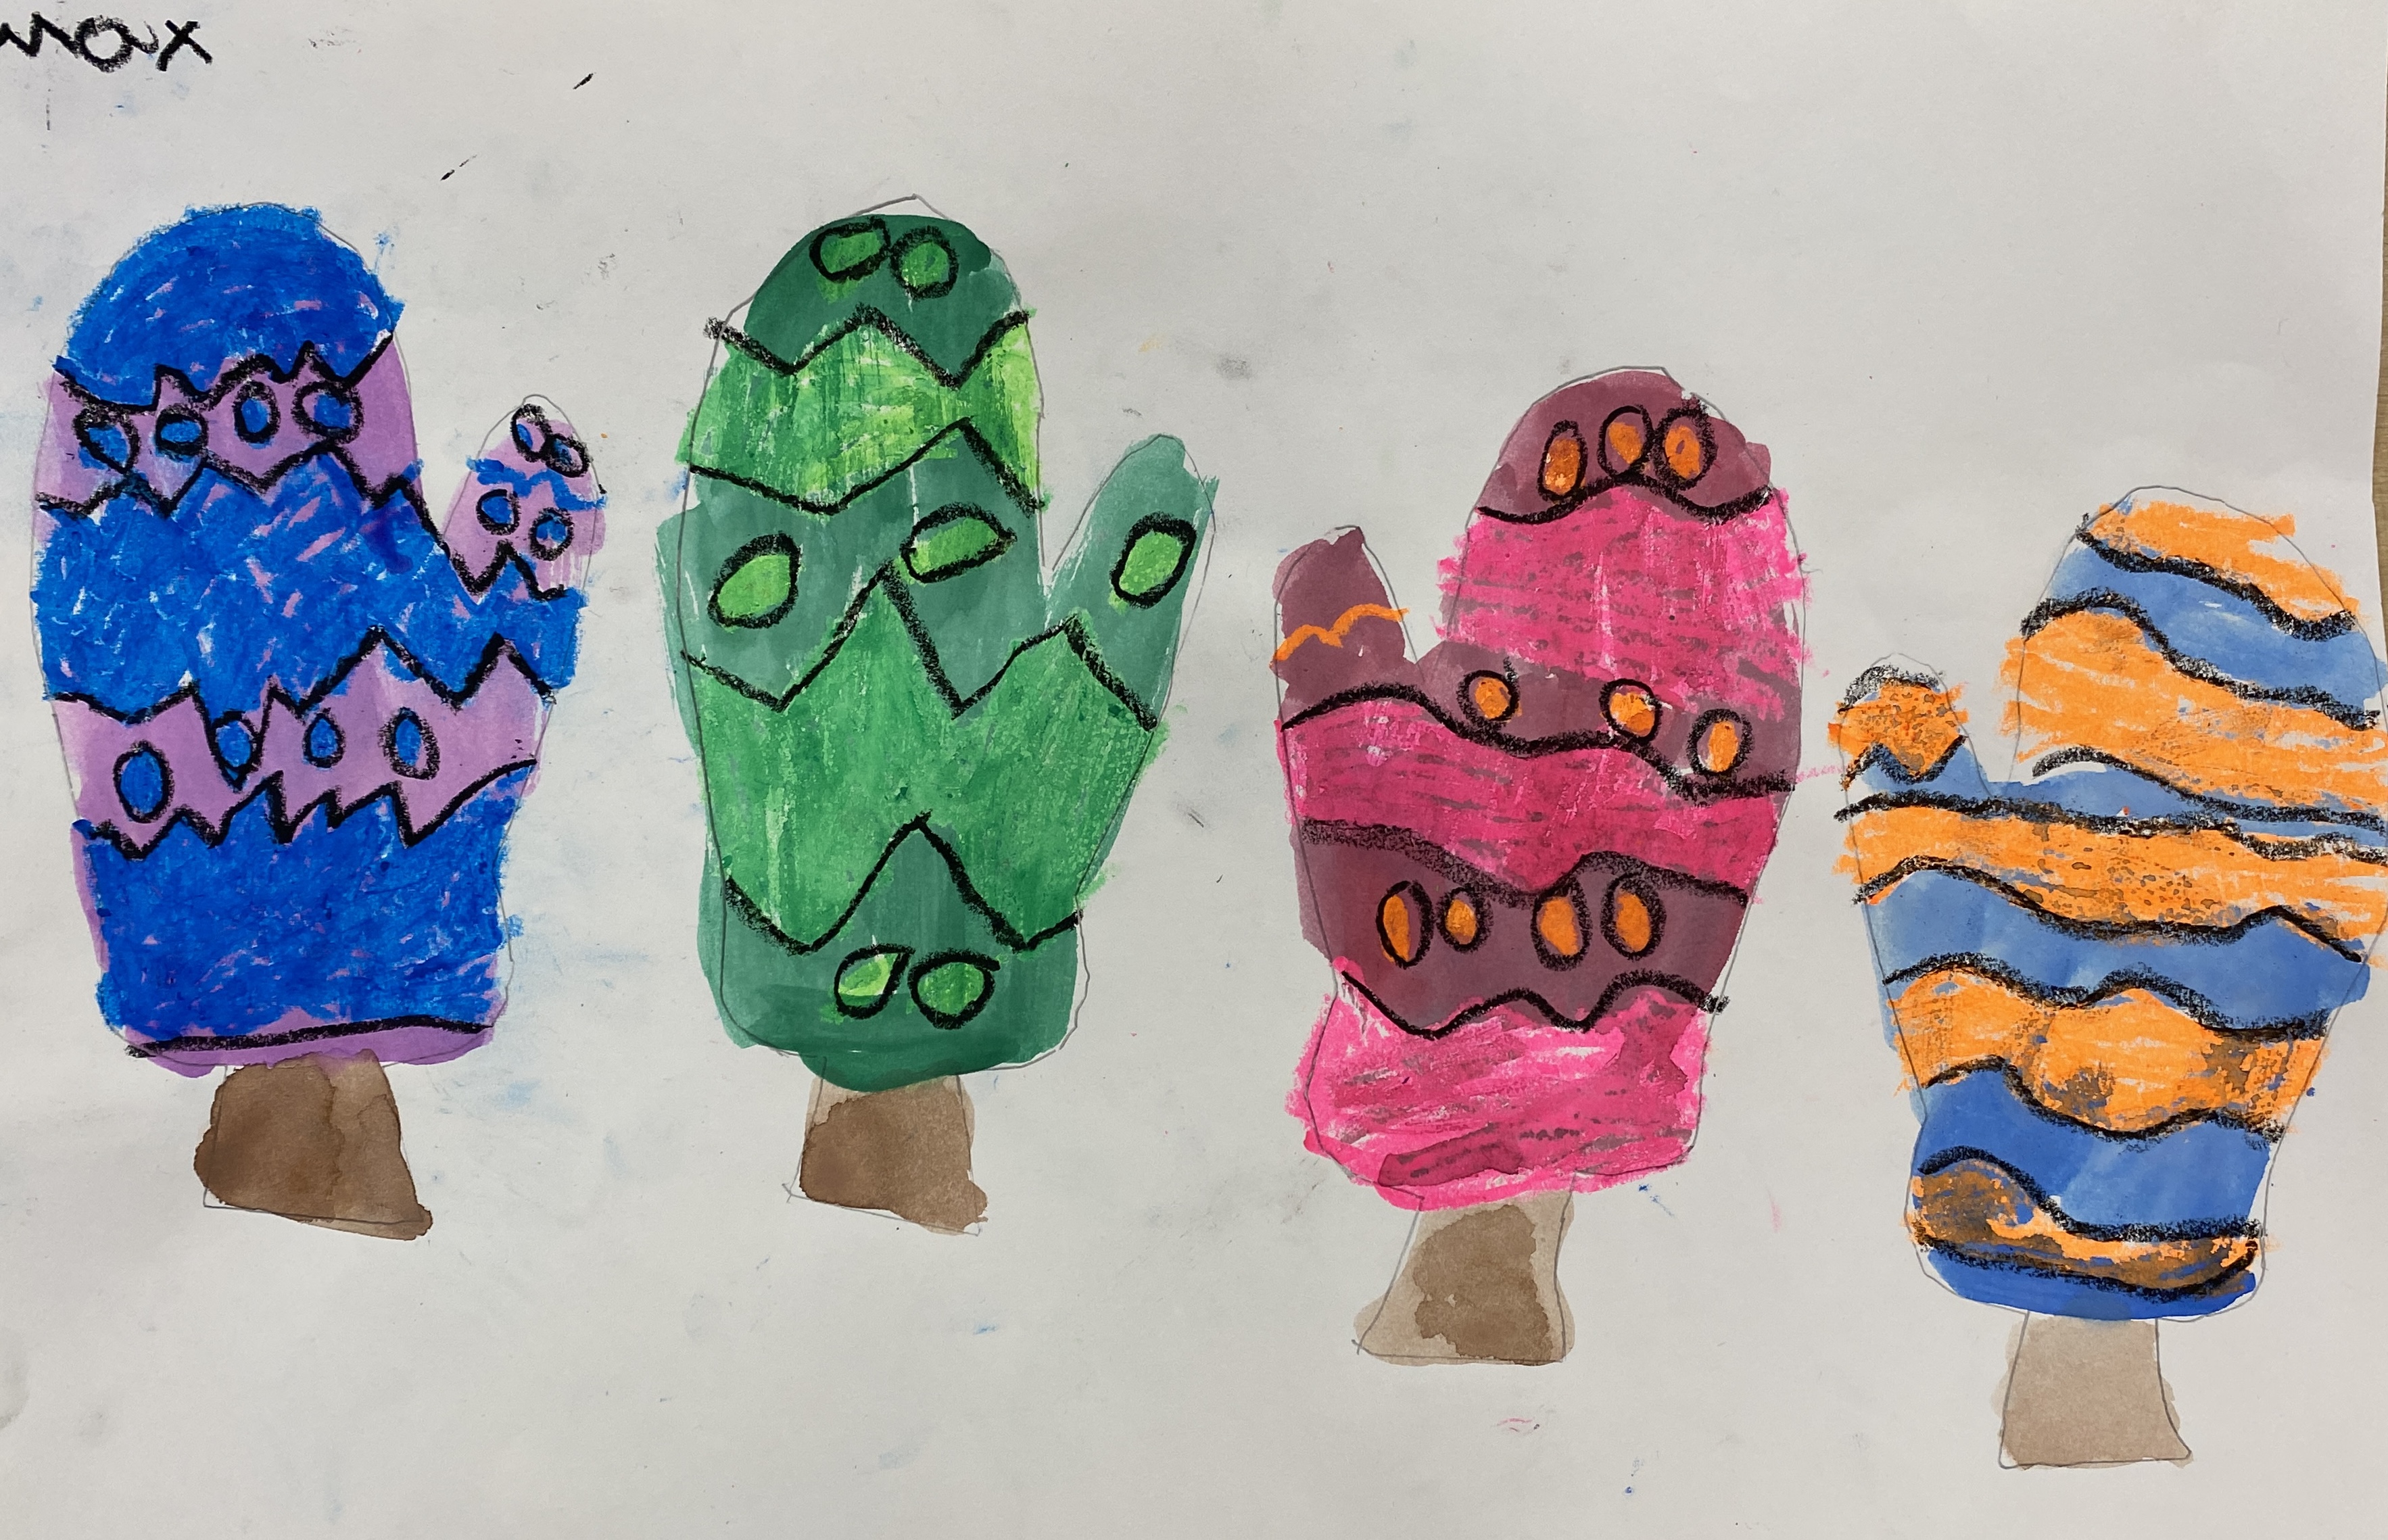
 3rd Grade Winter Mittens art project 

I found a photo of something like this on Pinterest. It was a painting by adults but I thought my 3rd graders could do something similar. 

If you want to see how I taught this here is the link

https://youtu.be/bLXfo7TeBeY 

                Students painted a curvy or loopy line across a 12" x 18" piece of blue construction paper. 
They then used a q-tip and painted dots all over their paper. They loved this part! 
 I provided mitten patterns for my 3rd graders to trace. I reminded them to make sure they drew two left hand mittens and two right hand mittens. They used 12" x 18" multi media paper. 

We discussed various pattern ideas and then my kiddos used neon oil pastels to draw their designs. They loved the colors!
When the mittens were complete they painted over the pastels with liquid watercolors. I would remind them to keep the lids on each cup of paint while they aren't using them. I've had to many students ruin the watercolors because they drip paint over them. 


They could paint outside the lines since we would be cutting them out. 
Finally when the mittens were dry, they cut them out and glued them on their snowy sky paper. 


                                     I think they turned out great and they loved making them. 

Monday, October 28, 2019

Kindergarten Starry Night Owls

Kindergarten Starry Night Owls
You can watch my demonstration videos below. Sorry I couldn't find my finger painting video! 


                                             Part one. I don't know why it seems like I am yelling!

                                                                             Part two.
On the first day of the project we discussed Van Gogh's Starry Night. 
Students then finger painted their version of the painting on 12" x 18" multi-media paper using blue and purple finger paint. We painted it vertically since we would be gluing an owl in the middle. We discussed the wind, the village and of course the stars. 


All kids need to experience finger painting! Yes it's a lot of work but the kids love it. Cover your tables with newspaper and then I went around to each student and gave them a spoon full of purple and blue paint to mix. This took one fifty minute class period. 
On the second day I instructed students on how to draw an owl from the letter "U". They traced them with a black marker and colored them with neon oil pastels. We talked a lot about using good craftsmanship (coloring all the spaces) and doing our best. 


On day three students finished coloring their owls and cut them out. I have found if I teach them to concentrate on just cutting off the white paper then they are less likely to cut off the feet and ears. Works like a charm (well most of the kids it does!).  

Students glued a tree branch about midway down the paper and then their owl on top.