Please hang tight while I reload all the photos back.

My photo
I currently work at Davenport A+ Elementary School in Lenoir, NC.
Showing posts with label sculptures. Show all posts

Monday, February 2, 2026

3rd grade Cast Iron Pour sculptures

 3rd Grade Cast Iron Pour Sculptures

I’m excited to share a special project made possible through a grant from the Education Foundation. With this support, my students had the incredible opportunity to collaborate with the Western North Carolina Sculpture Center in Lenoir, North Carolina, to create their own cast-iron low-relief sculptures.

Cast iron is used to make many everyday objects — from pots and kettles to artistic sculptures and industrial metal parts — but seeing the process up close brings a whole new appreciation for the craft.

At the Sculpture Center, a mold was created using a clay and sand mixture designed to hold molten iron safely in the desired shape. My students then carved their own MirĂ³-inspired designs into the mold surface, carefully planning each line and texture. Watching their ideas take physical form was inspiring.

Once the molds were ready, the Sculpture Center team poured molten iron into each one. After the iron cooled, the castings were removed, revealing the students’ finished sculptures in solid metal — a powerful transformation from sketch to carving to iron.

Each year, the center also hosts a Cast Iron Day where families can come watch and even participate in the process. It’s an amazing community event that celebrates art, craftsmanship, and hands-on learning.

I’m so grateful for the grant, our partnership with the Sculpture Center, and the chance for my students to experience art in such a lasting and memorable way.


Randy  Knauf photographer 


Wednesday, April 30, 2025

Matisse paper sculptures

 Henri Matisse Paper Sculptures


I found this idea on the blog https://www.limerickeducatetogether.com/third-class-artists/ and revised it a bit. 

Taking inspiration from Henri Matisse's paper cut outs students created paper sculptures using construction paper, glue and water and a balloon. 
On day one students cut out organic and swirl shapes from 6" x 6" construction paper rectangles. They needed about 12 pieces to cover their balloons. 


On day two students covered their balloons with a glue mixture and their cut papers. Don't let them overlap to much or their papers will become to heavy and pop their balloon. This was really messy but the kids had a great time! It was hard for them to balance them on a cup so they just constructed them on the tables and then laid them on the art shelves to dry. 


They loved the results! 


Wednesday, February 19, 2025

Alexander Calder 4th grade sculptures


My 4th graders really enjoyed this project's process and end results. On the first day, we did mono-printing on Gelli plates that I purchased through an education grant. We used regular copier paper and old pages from a dictionary and tempera paint.  They used paint combs, forks, and various found objects to create implied textures on the plates. My students really enjoyed this process and caught on quickly. 


On the second day of class, we viewed the many works of Alexander Calder and set to work on our sculptures. Each student was provided with a piece of molding clay and a craft stick/dowel rod. They traced their shapes with various lids etc. and used Elmer's Glue All to attach them to the rod. Students could add beads in between the shapes if they wanted. I made little name tags for them to tie to the base. 


Definitely a win for the process and end product! This took three, fifty-minute class periods. 


Thursday, January 14, 2021

Foil Relief sculptures in 1st grade

 1st grade Foil Relief Sculptures


Part One demonstration video.


Part two demonstration video. 

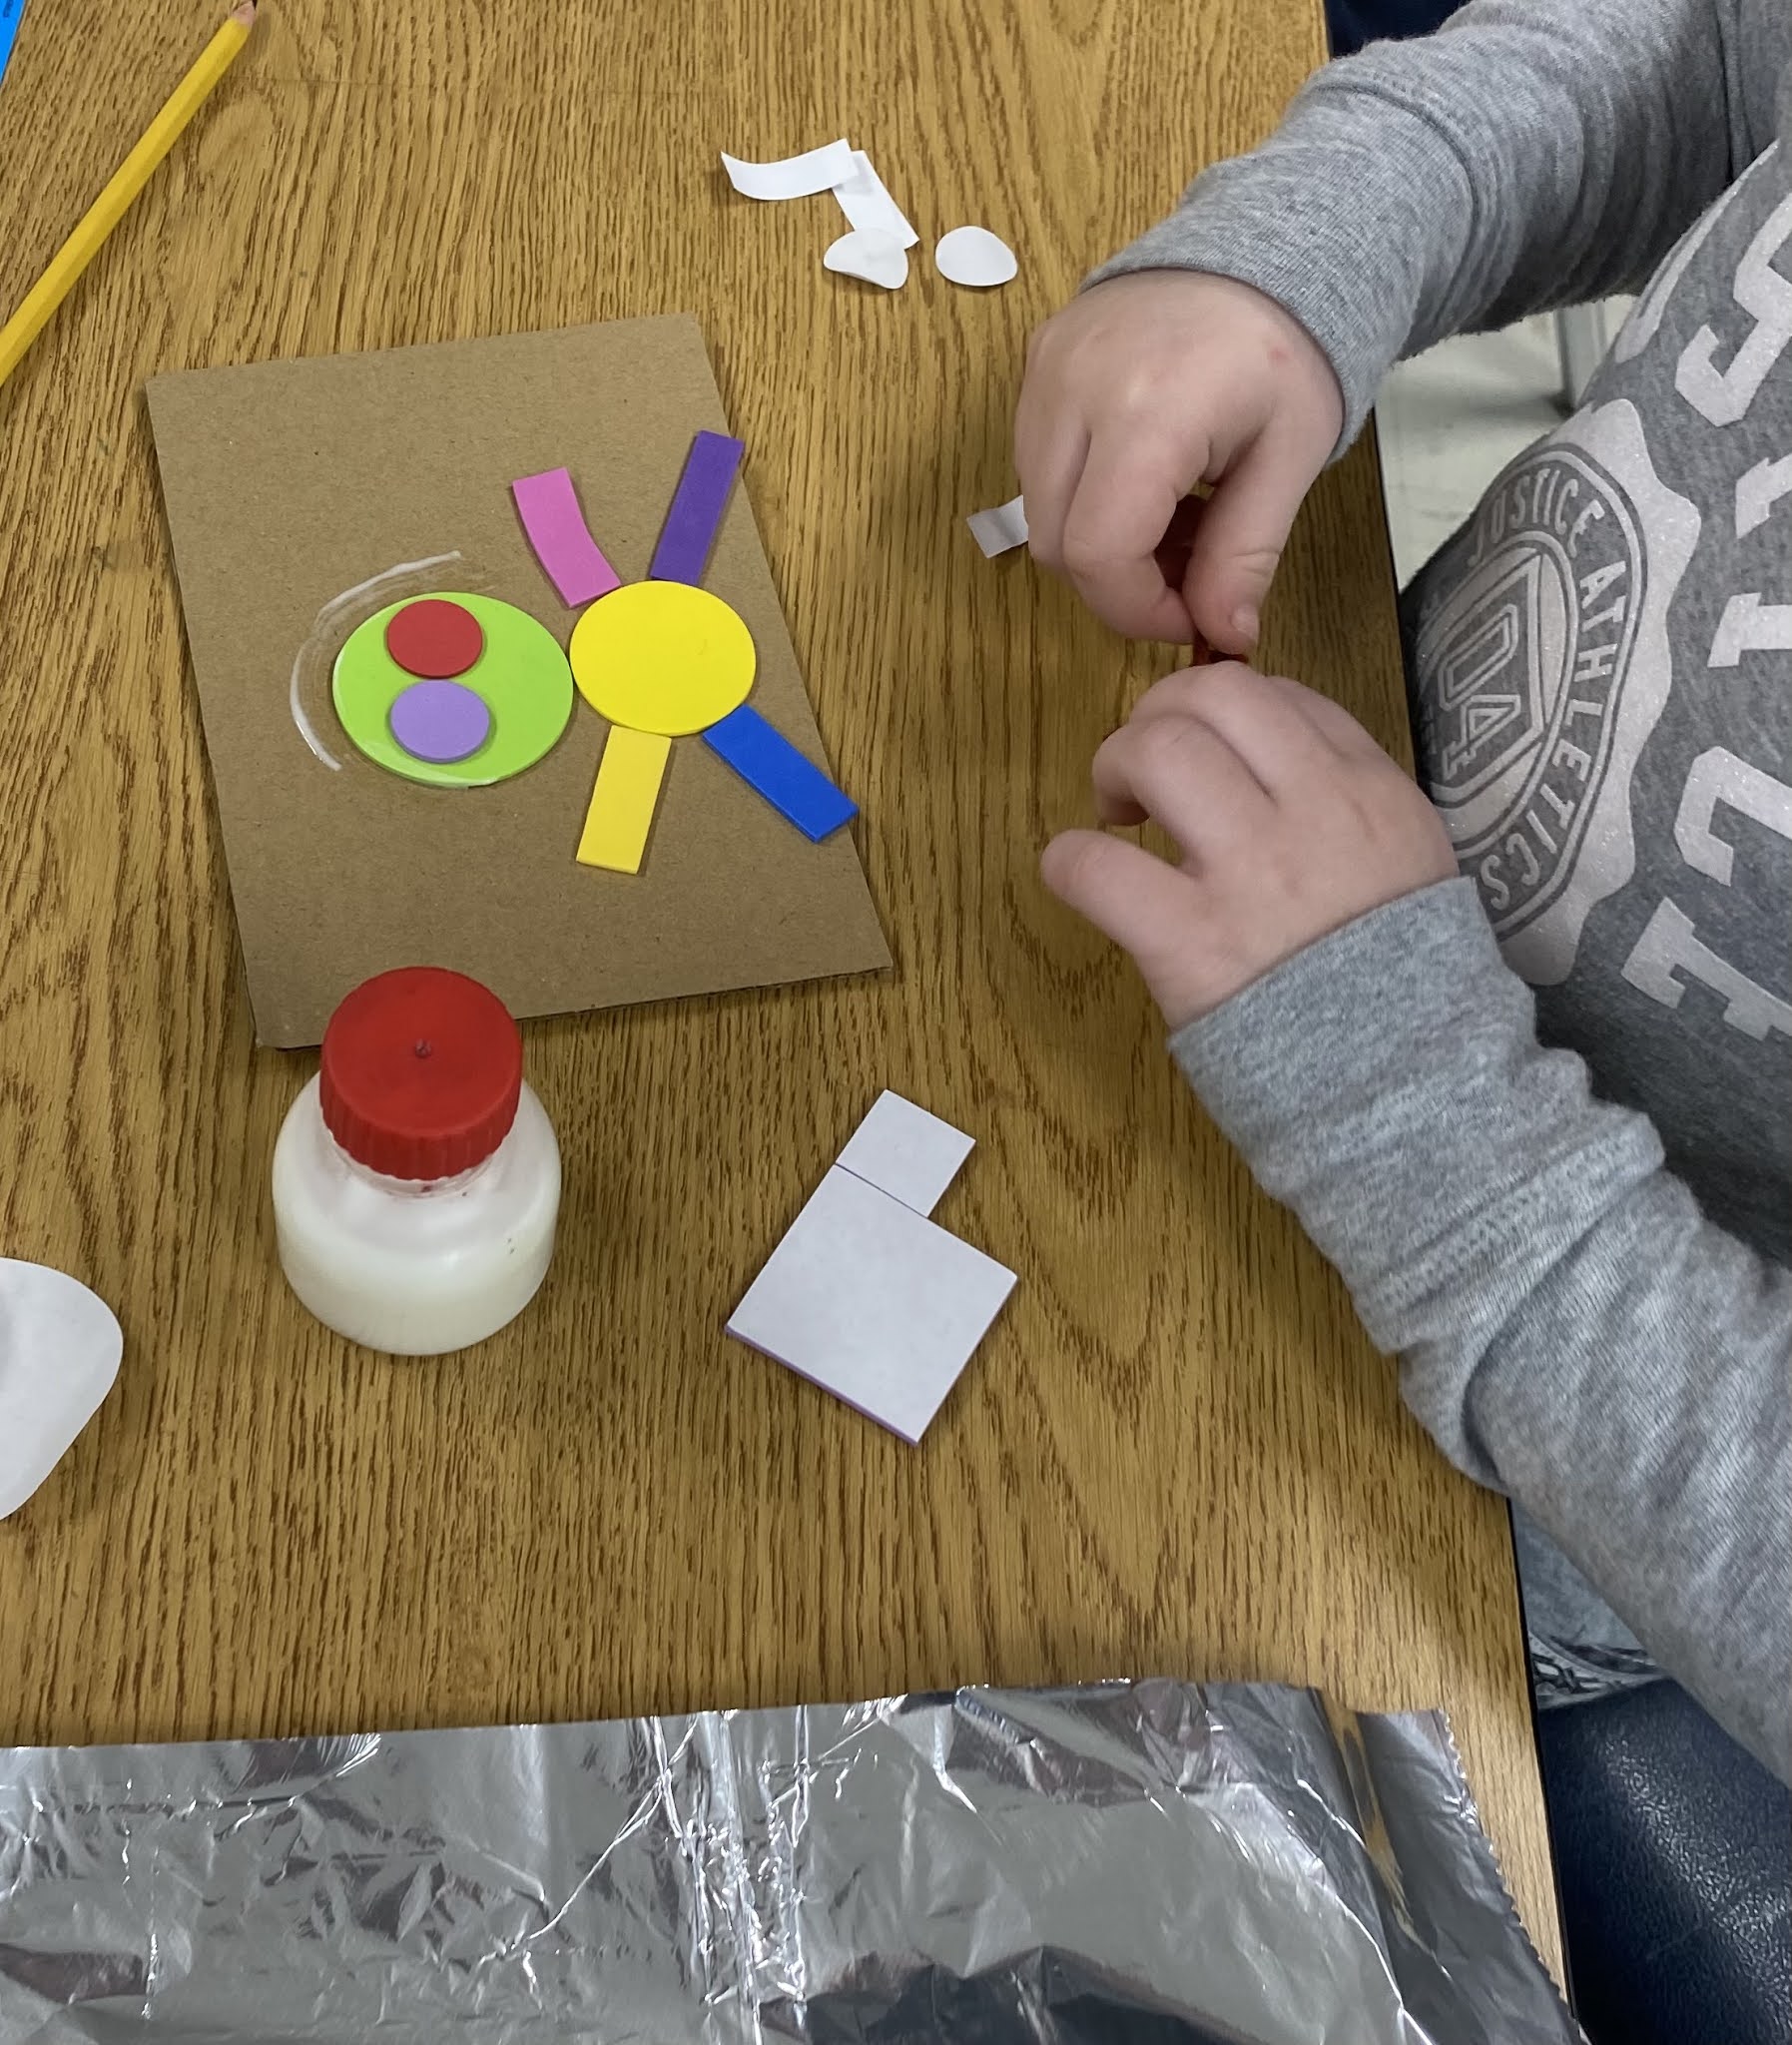
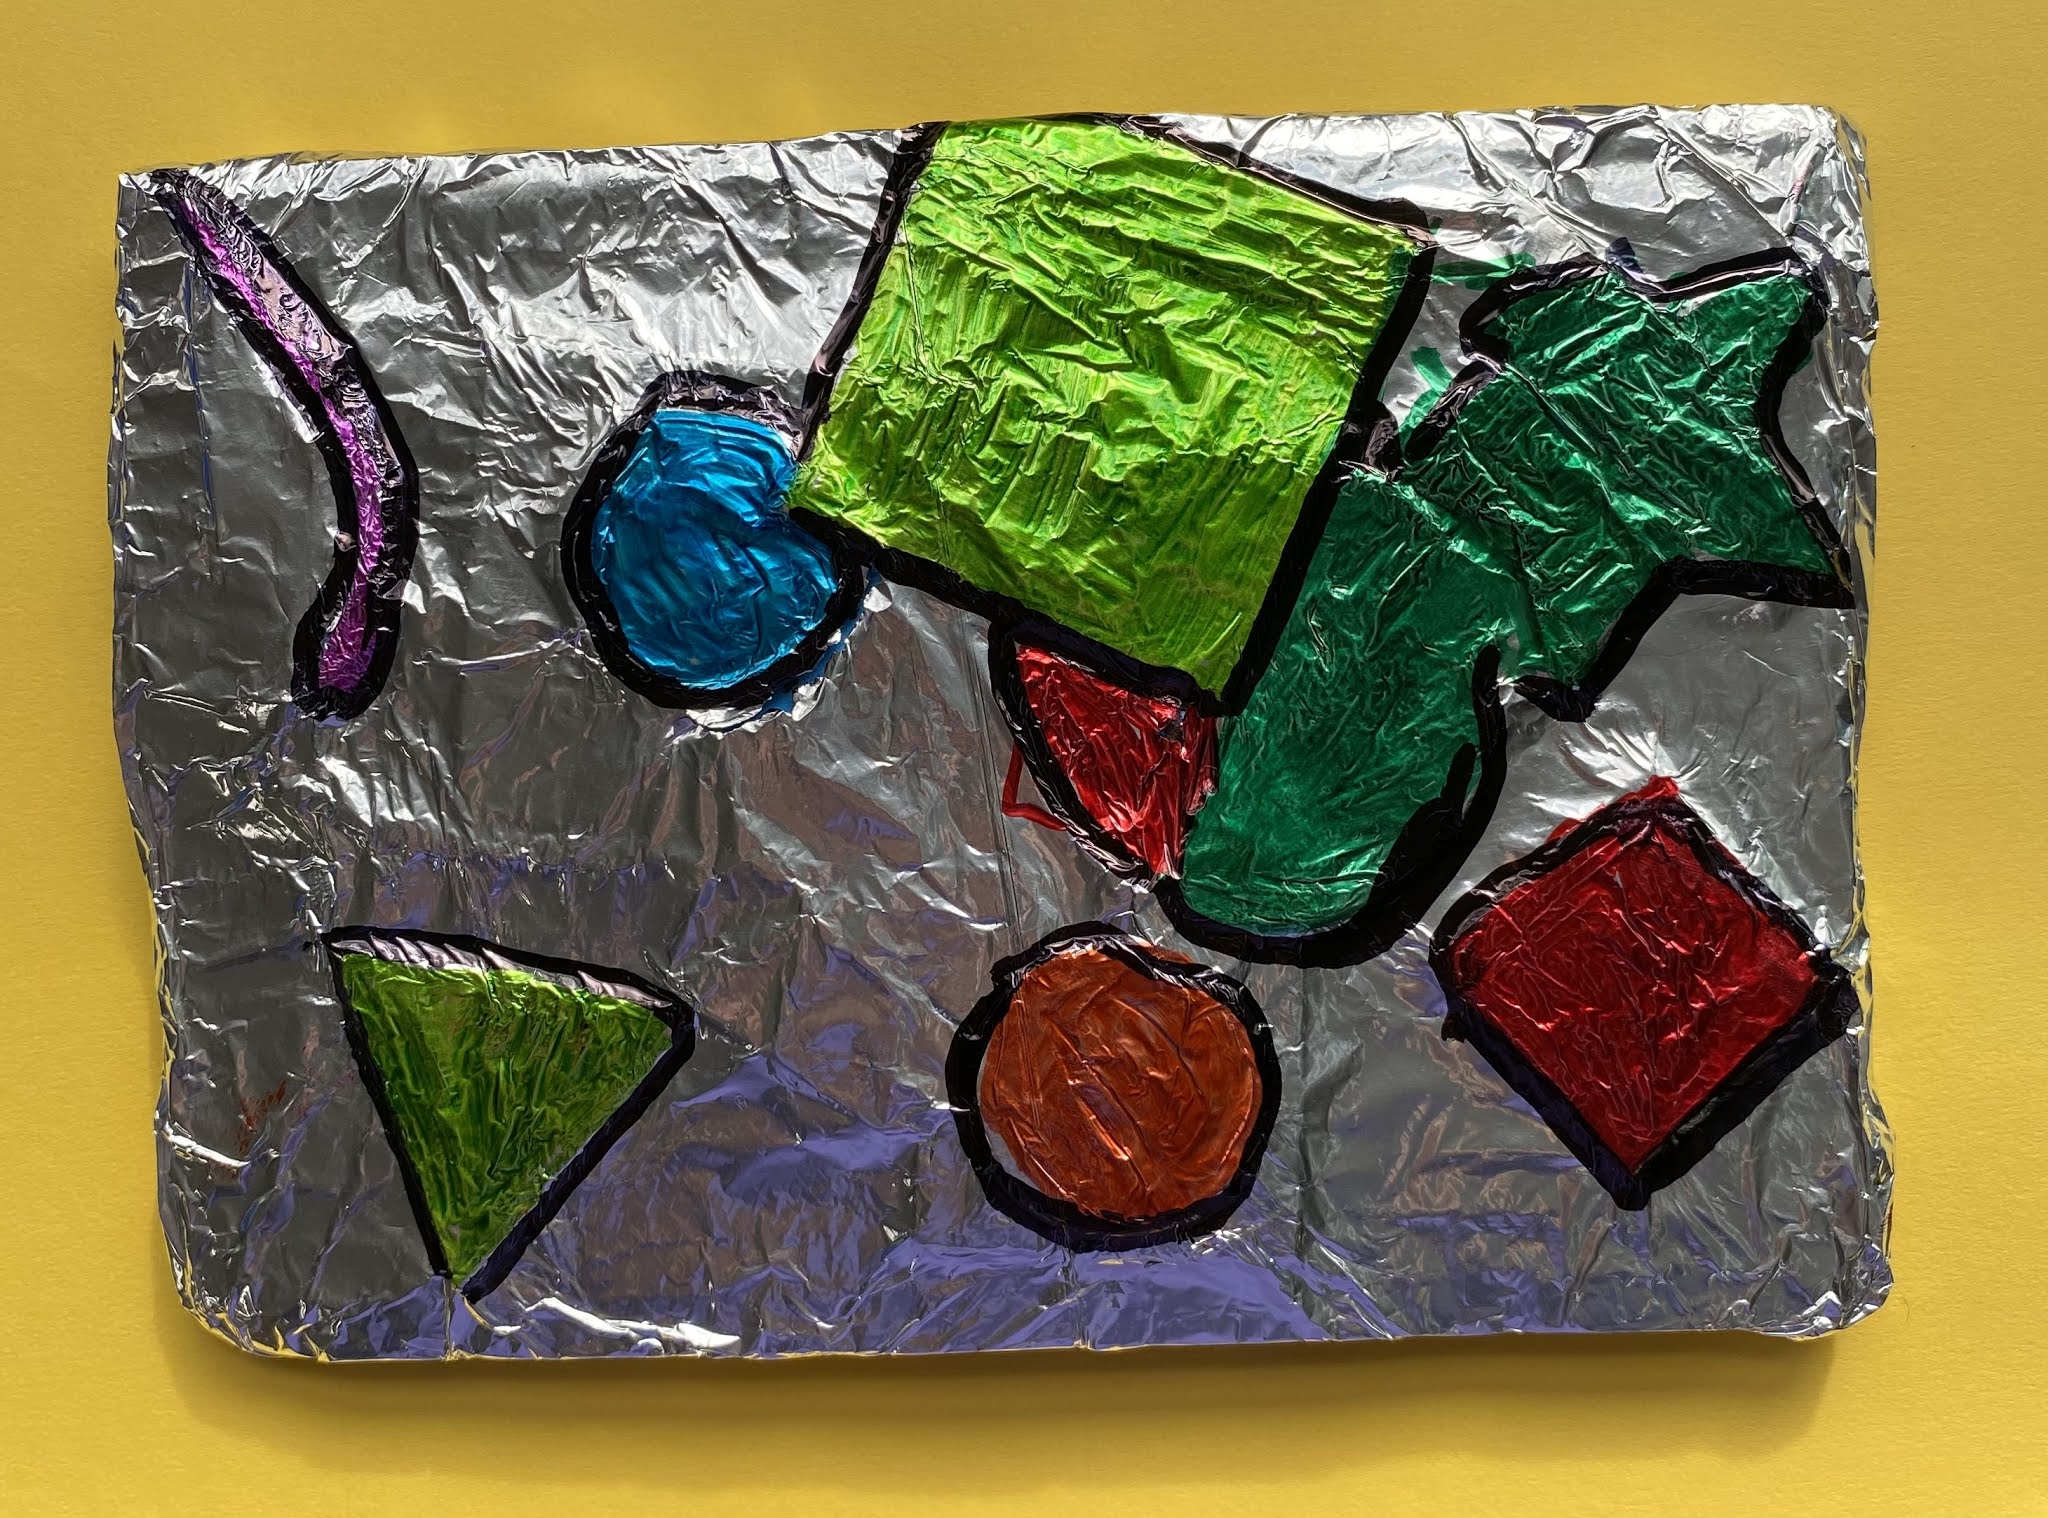
For this project you need cardboard, peel and stick foam shapes, glue, pieces of yarn, foil and permanent markers. I purchased EcoSwift 5" x 7" corrugated cardboard filler inserts sheet pads 1/8" thick (200 a box) and 9" x 10 3/4" pop up foil sheets (box of 500) from Amazon. If you use washable markers they rub right off on the aluminum foil. 

On the first day students planned and assembled their sculptures. 

I had them put glue all over their shapes and on the cardboard before they put the foil on top. This would keep the foil from moving when they started to color it. Glue jars are the best for this level! Again, I got them on Amazon. They are actually called "Colorations Glue Jars". They come in sets of 12 for $30. They are worth it! Kiddos just brush the glue on instead of squirting it. I had them then flip their cardboard over so it is on top of the foil and then they just folded the edges around it. 

On the next day students used permanent markers and added color. 


I think they turned out great and the kids loved making them.