1st-grade color wheel art lesson
Please hang tight while I reload all the photos back.
Wednesday, February 19, 2025
1st grade color wheel art lesson
Wednesday, December 4, 2024
1st grade holiday ornaments
1st Grade Holiday Ornaments
My 1st graders received about a fist-sized amount of air-dried clay for these adorable ornaments. They flattened them out on a board and then used rolling pins to flatten them out. I provided patterns of stars, circles, or hearts for them to trace around with a wooden stylus stick. They could add textures with additional tools such as textured rolling pins and paint combs. The last step was to poke a hole towards the top for the string. I thought it would be too challenging for them to carve their initials on the back so I provided slips of paper for them to write their names. They placed these under their clay after they were finished.Friday, May 17, 2024
1st grade Clay hearts
1st Grade Clay hearts
Monday, November 6, 2023
1st grade scarecrows art lesson
1st Grade scarecrow art lesson
This lesson was inspired by the book "The Scarecrow" by Beth Ferry. There are so many books available about scarecrows so take your pick! I saw this lesson on Elementary Art Fun blog and changed it a bit.
I provided a pattern for the scarecrows face. Providing a pattern for the face helps this age have a starting point on how big to make their scarecrow.My 1st graders were encouraged to draw a hat and decorate the scarecrows clothes. Many of the students added crows and corn to their drawings. They were then to outline their drawings with a black marker and color it with oil pastels.
Tuesday, October 10, 2023
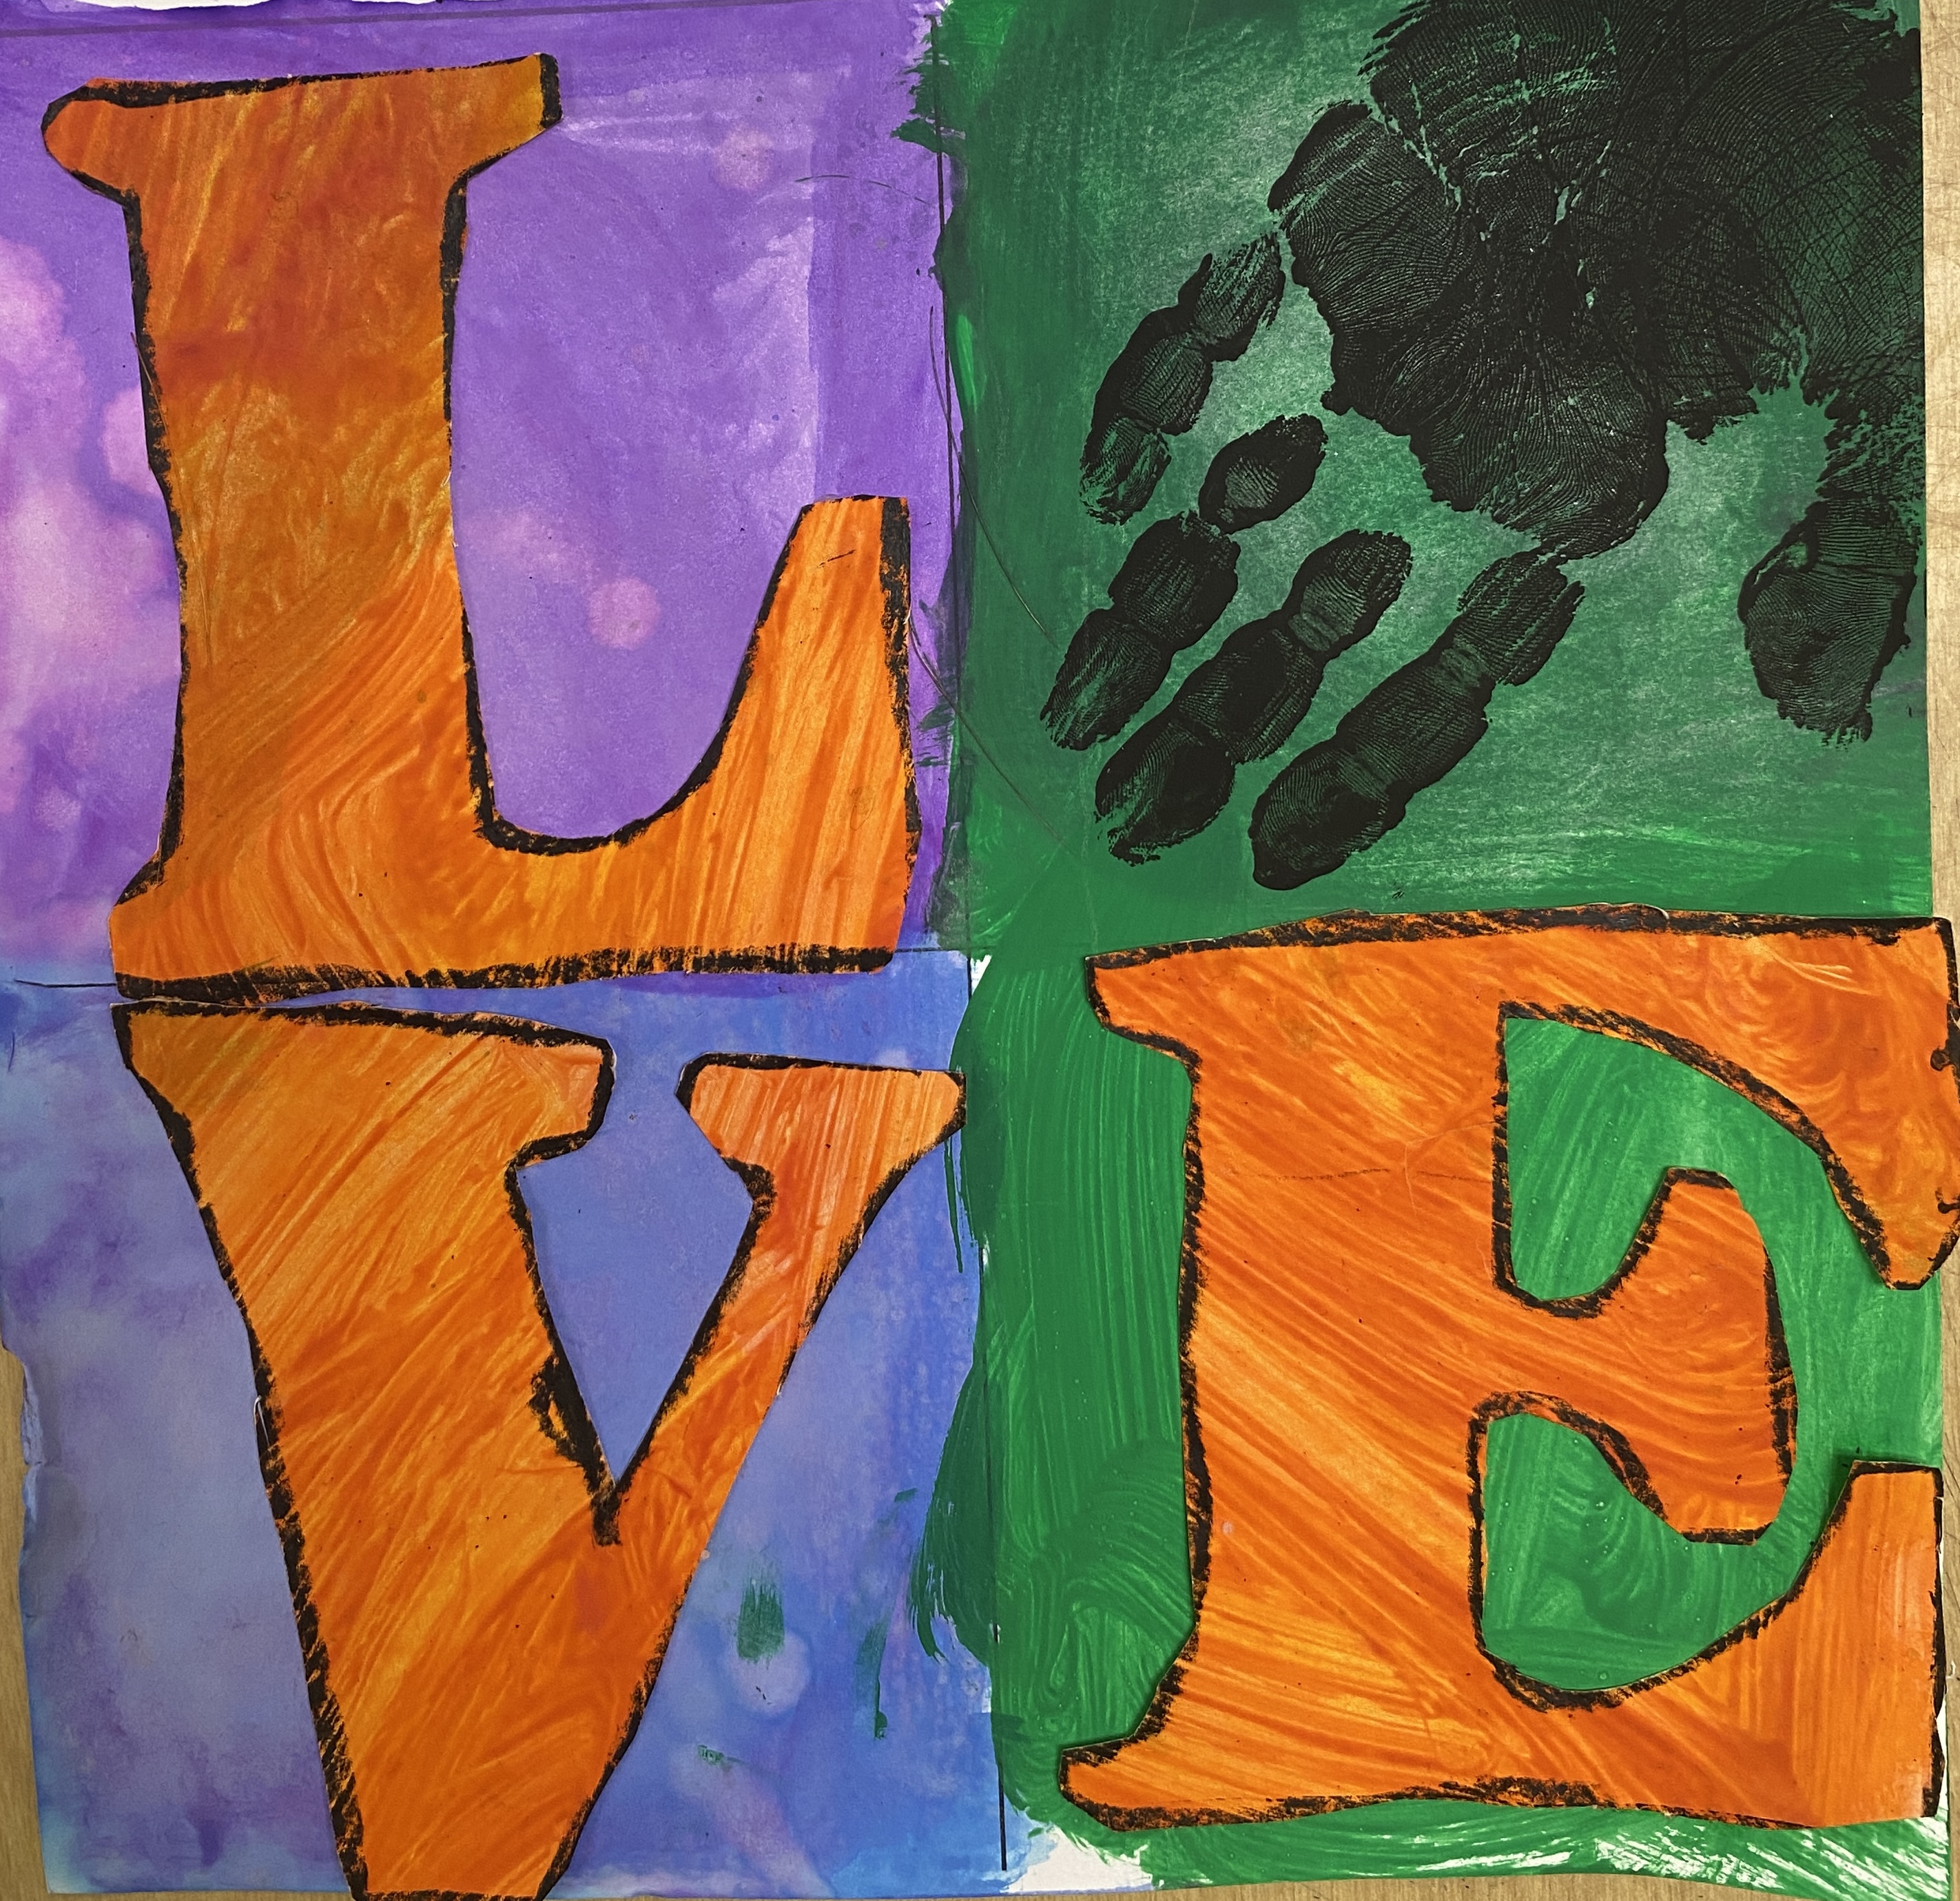
1st grade Robert Indiana Square 1 Art project
1st Grade Robert Indiana Square 1 Art
I found this art lesson on Instagram from scholtenart. He has some great ideas!
I went ahead and copied four boxes on the square 1 art paper for the kiddos. This makes life so much easier!
On the square 1 art paper that is provided I printed four boxes on the copier. On this paper students used cool colored tempera paint and painted each box. Remind them to not paint over the line where their school and name appears!
On an 8" x 8" square piece of paper students painted the warm colors and then took a paint comb and scraped various lines through out the paint.
This was day one.
On the second day, I helped them lay out the stencils for LOVE (except the O) on the 8" x 8" paper. They traced the letters with a black crayon and then cut them out.
While they were working on this I went around the room and painted their hand for the letter "O" of their art project. Students then glued the letters to their square 1 art paper. Since this is at the beginning of the year some of my kiddos had trouble cutting out the "E" but overall everyone did great!