Please hang tight while I reload all the photos back.

My photo
I currently work at Davenport A+ Elementary School in Lenoir, NC.

Monday, January 8, 2024

4th grade radial symmetry snowflake art lesson

 4th Grade Snowflake paintings


This lesson comes from Leah Newton. Just click on the link to see the original idea. 

We reviewed the term radial symmetry and discussed how snowflakes were created. Youtube has some great kid videos on how they are created. 
I gave the 4th graders choices of colors. They glued an 8" x 8" , a 10" x 10" and a 12" x 12" together. On the 8" x 8" they folded it into fours and then drew a snowflake design. Using tempera paint they painted the snowflake with their choice of white, purple or blue (they could mix these as well). Students could also use a Q-tip to paint dots around their design as well. 
If you want to see the video of me teaching it click on the link here 

https://youtu.be/qWKOOtWfxAQ


This student decided to outline her snowflake with a black marker. 


They had so much fun creating these! 

Tuesday, December 5, 2023

5th Grade Christmas ornament painting art lesson

 5th Grade Christmas ornament watercolor painting


I found this idea from the  Tiny Art Room blog.  She said she found it on Pinterest so I'm not sure who thought up this great lesson but here is how I taught it. 

I began the lesson by talking about still lifes and showing examples of Van Gogh's sunflowers. We discussed the difference between still lifes, portraits and landscapes.

Students were given three different circles to trace. They were to overlap them and then add shadows and a highlight. I did a quick lesson on shadows and lights for this part with the kiddos. 

If you want to see how I taught this here is the link. Just copy and paste it in your browser. 

https://youtu.be/UxcyyENu2S4 

          I would number each circle so students make sure they have one of each shape. 

 Students drew hangers and erased lines to make the ornaments appear they overlap. This took one 50 minute class period. 

The next step was to outline all the lines with a black crayon and color the highlights with a white crayon. My students complained that they needed the crayon to have a finer tip. They probably could have used a black fine tip marker but it wouldn't have had the same effect with the watercolors. 


They still turned out nice! The last step was to paint the ornaments with watercolors. If they dripped paint onto their background then they were encouraged to come up with how to mask it. Have a look! 


Thursday, November 30, 2023

4th Grade Fall Leaf collage

 4th Grade Fall Leaf Collage 

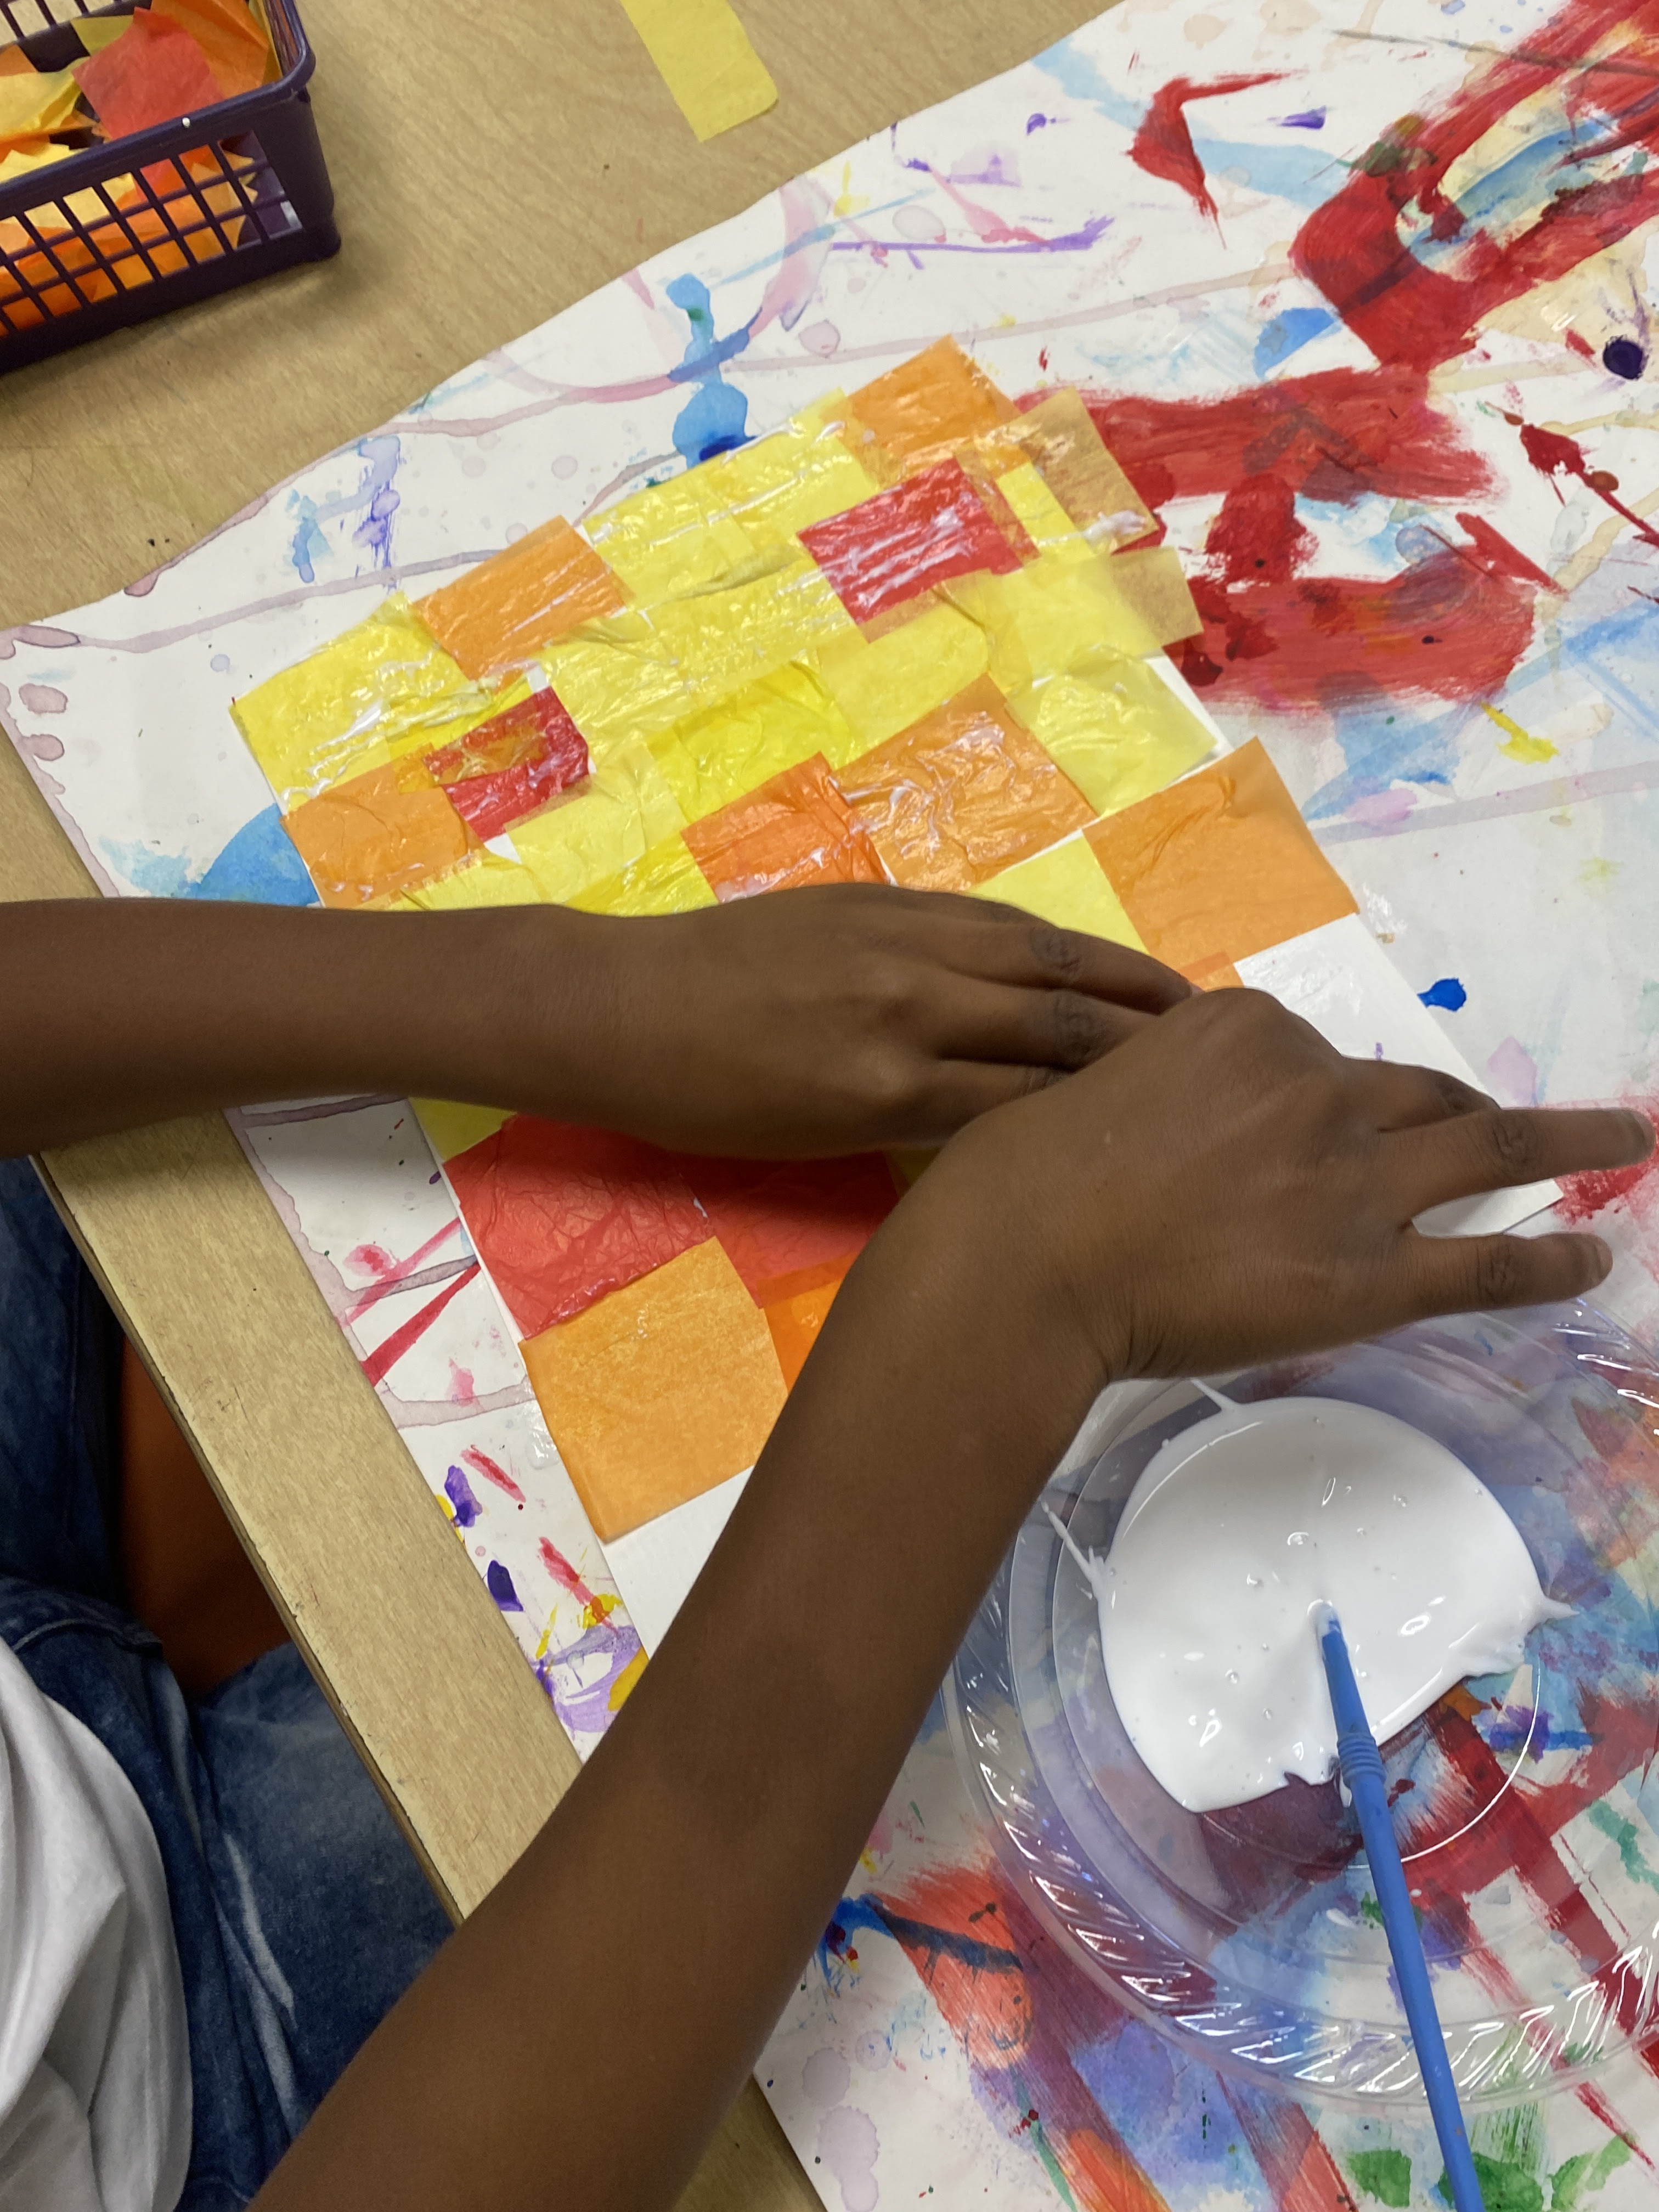
         This is always a favorite lesson. Students get to use tissue paper, mod podge and oil pastels. This idea came from Mrs. Picasso's art room. For some reason it won't let me share the link to the original idea. This is how we made ours. 
Students used mod podge and attached warm colored tissue paper squares onto a multi media 12" x 9" piece of paper. When I ran out of mod podge I made the homemade version of just glue and water. 


          On day two, students glued a 12" x 9" piece of blue construction paper onto a piece of black                                            construction paper. I think the size was around 18" x 12". 
                        They drew swirls with oil pastels (only cool colors) all around the blue paper. 

On the tissue paper collage they turned it on the back and drew a large leaf. They cut this out and then drew the veins on the front (sorry I forgot to take pictures). The last step was to glue it in the middle of their blue paper. They loved these!


3rd grade winter mittens art project

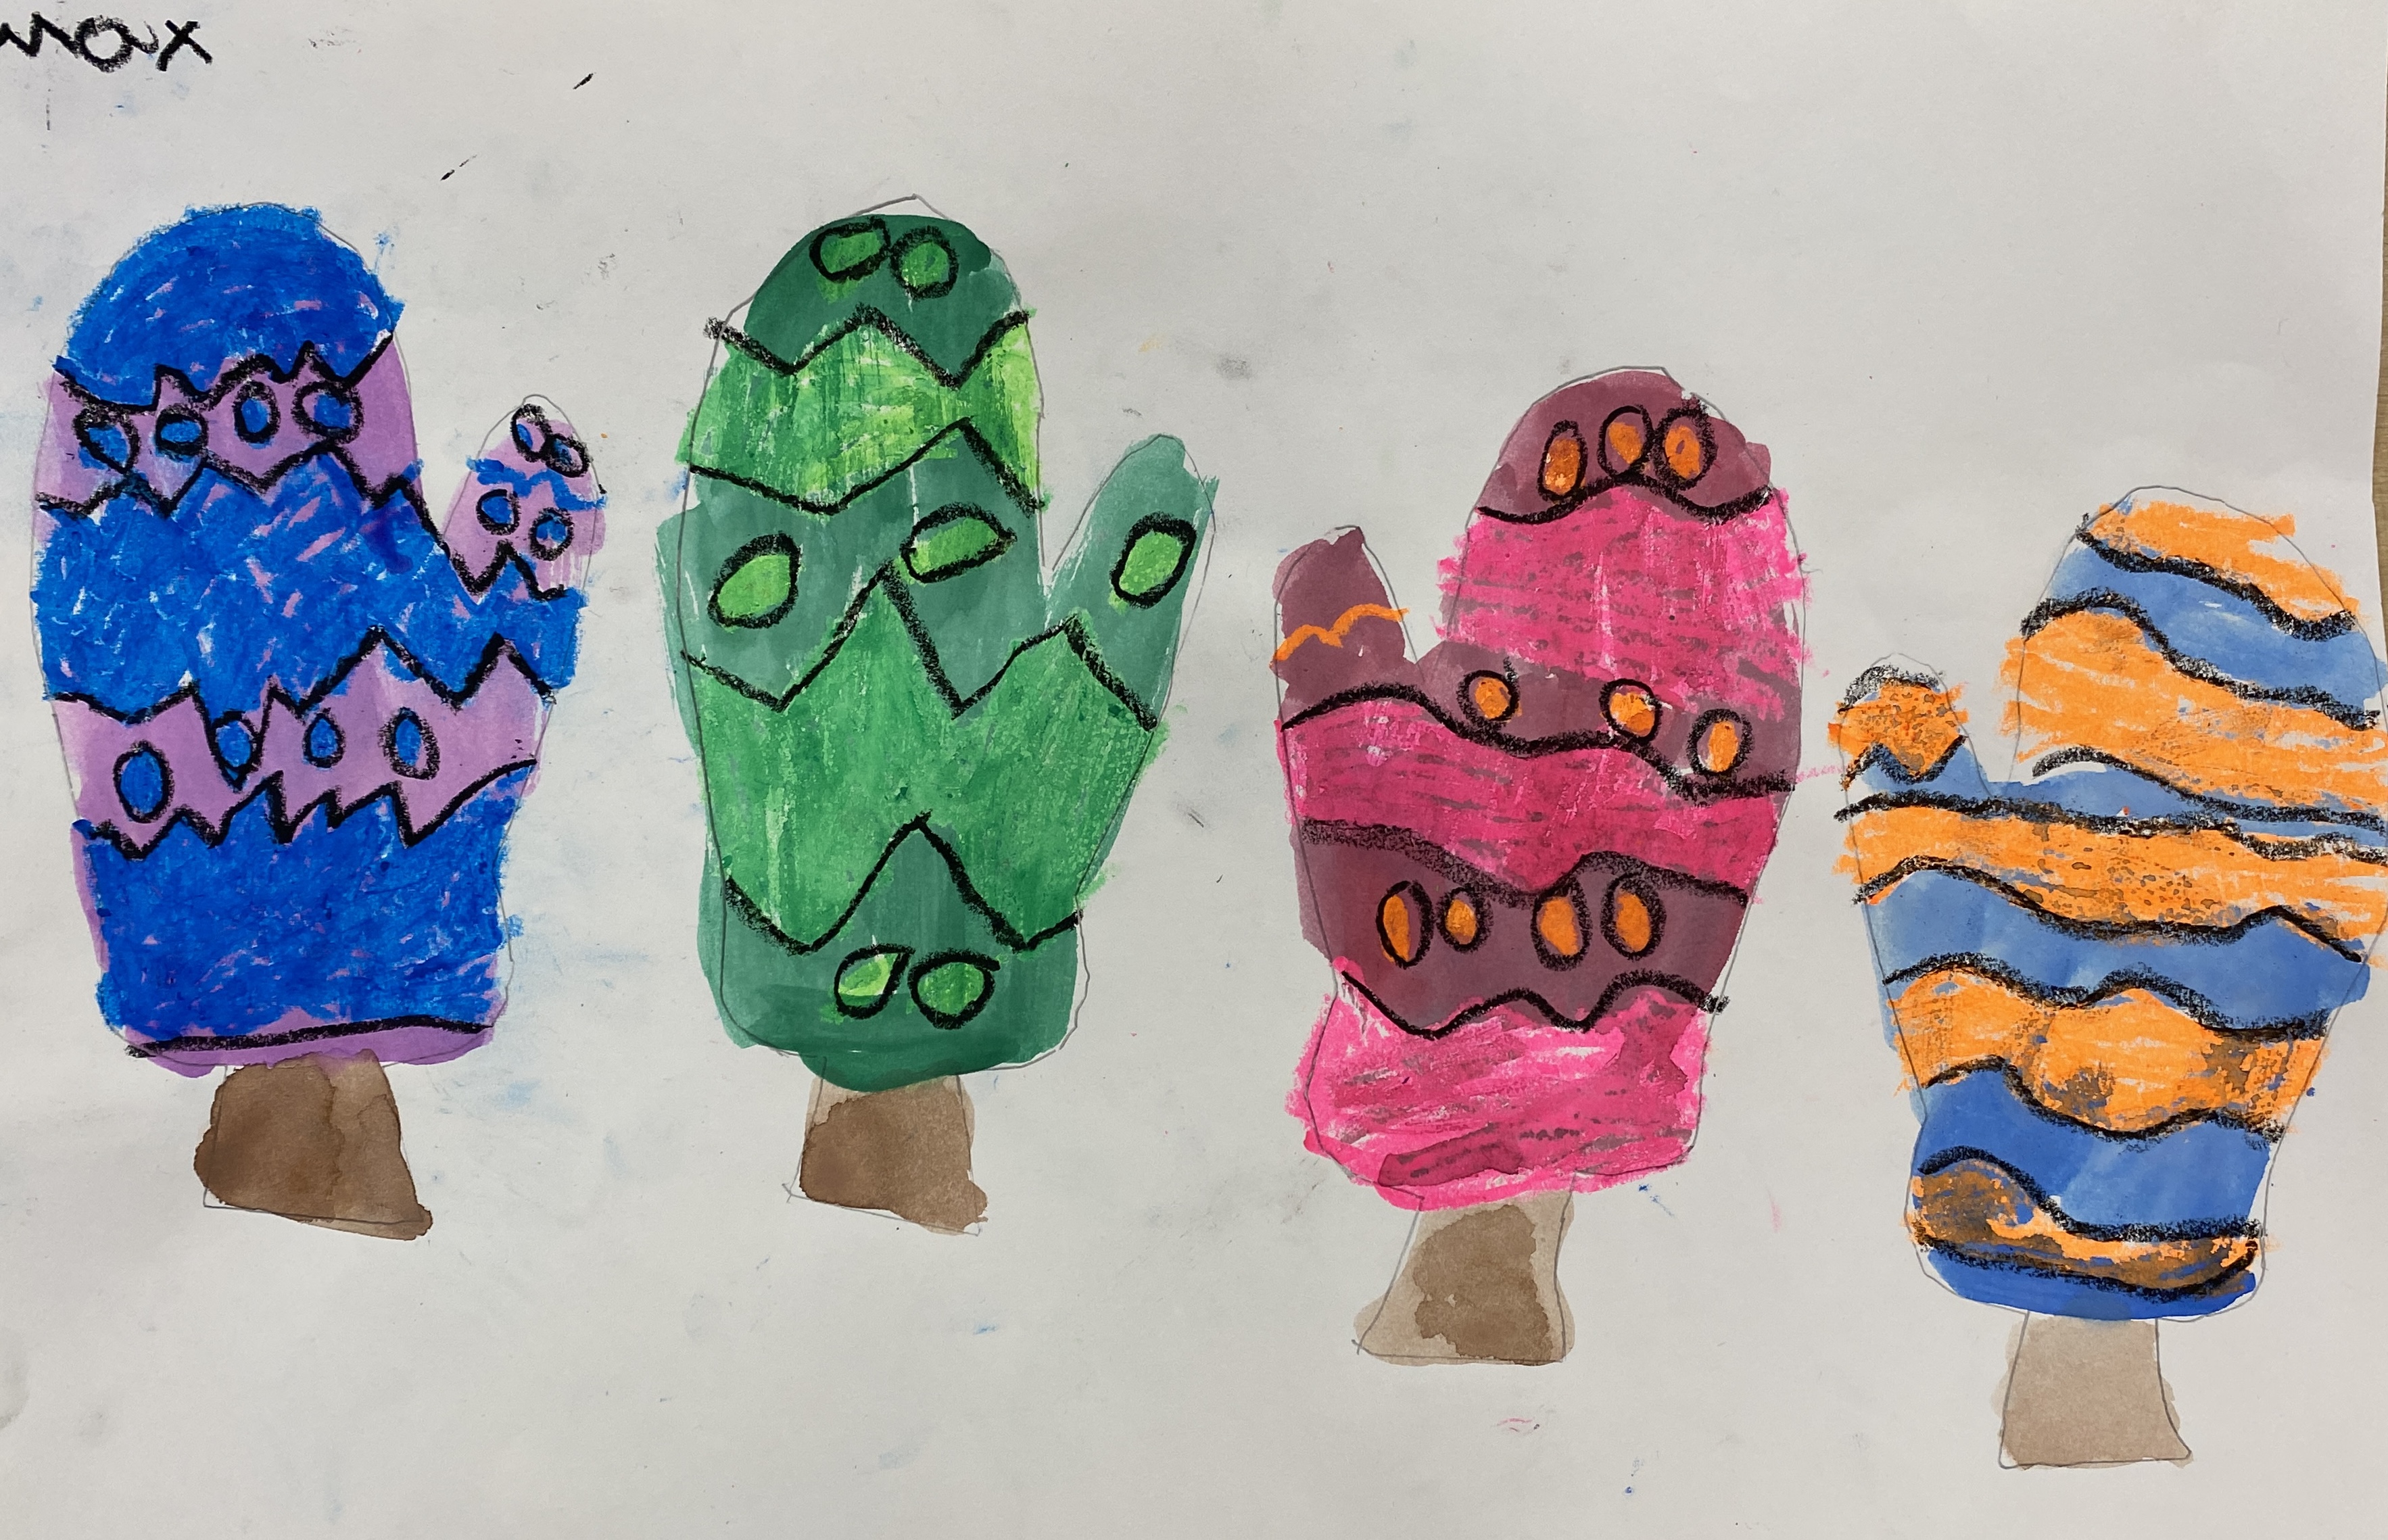
 3rd Grade Winter Mittens art project 

I found a photo of something like this on Pinterest. It was a painting by adults but I thought my 3rd graders could do something similar. 

If you want to see how I taught this here is the link

https://youtu.be/bLXfo7TeBeY 

                Students painted a curvy or loopy line across a 12" x 18" piece of blue construction paper. 
They then used a q-tip and painted dots all over their paper. They loved this part! 
 I provided mitten patterns for my 3rd graders to trace. I reminded them to make sure they drew two left hand mittens and two right hand mittens. They used 12" x 18" multi media paper. 

We discussed various pattern ideas and then my kiddos used neon oil pastels to draw their designs. They loved the colors!
When the mittens were complete they painted over the pastels with liquid watercolors. I would remind them to keep the lids on each cup of paint while they aren't using them. I've had to many students ruin the watercolors because they drip paint over them. 


They could paint outside the lines since we would be cutting them out. 
Finally when the mittens were dry, they cut them out and glued them on their snowy sky paper. 


                                     I think they turned out great and they loved making them.