Please hang tight while I reload all the photos back.

My photo
I currently work at Davenport A+ Elementary School in Lenoir, NC.

Thursday, December 1, 2016

Winter trees kindergarten line and value study

Kindergarten Winter Trees


I found this great idea from http://drawthelineat.blogspot.com/2012/12/value-pine-trees.html. I just added a couple of things. 
 I showed a video from https://www.youtube.com/watch?v=DQEVllmeWH4. It is a perfect video about lines for primary grade students. It's called "The Line Song" by Scratch Garden. We then drew various lines on the board. 
I then explained to the children that we would be painting different values of green. We discussed values, shades and tints in paintings and how to make each one.


Part One. 


Part two.
 
Students folded a 12" x 9" multi media piece of paper into fourths. We painted the first box  with green paint and using a popsicle stick scratched (sgraffito) a type of line into the paint. I gave each table a paper plate of green paint to share. 
On the next box students painted it green and I went around the room and squirted white paint into their box. They were instructed to mix it to make a tint and then scratch another type of line in the box. Remember this is kindergarten! If I had green, white and black paint already on their plate, someone would use the wrong color! I also didn't have them wash their brush out each time. 
On the third box we reviewed what a shade was. Students then painted the box green and I added a bit of black paint to their box. They mixed and scratched a different kind of line in the box. Finally on the last box, they painted a darker shade of green and scratched another type of line. 
This took the whole 50 minute class period. 


On the next day I showed the students evergreen trees in the winter. We discussed the season winter and the shape of the trees. 
I instructed the students to cut their boxes and how to make triangles on the back of their papers. I provided brown construction paper squares for the tree trunks. Students then glued their papers to a 12" x 18"  piece of green construction paper. We reviewed the terms "landscape, foreground, background, and middle ground" and the placement of their trees. 


Using a white crayon, students added snow to the bottom of their trees. Students could also add snowflakes if they had time. I love this lesson. Next time I think I will have them sponge paint snow around the bottom of the trees. This part of the lesson took the whole 50 minute class period. Thanks to Jen from "Draw the Line at".


Thursday, November 17, 2016

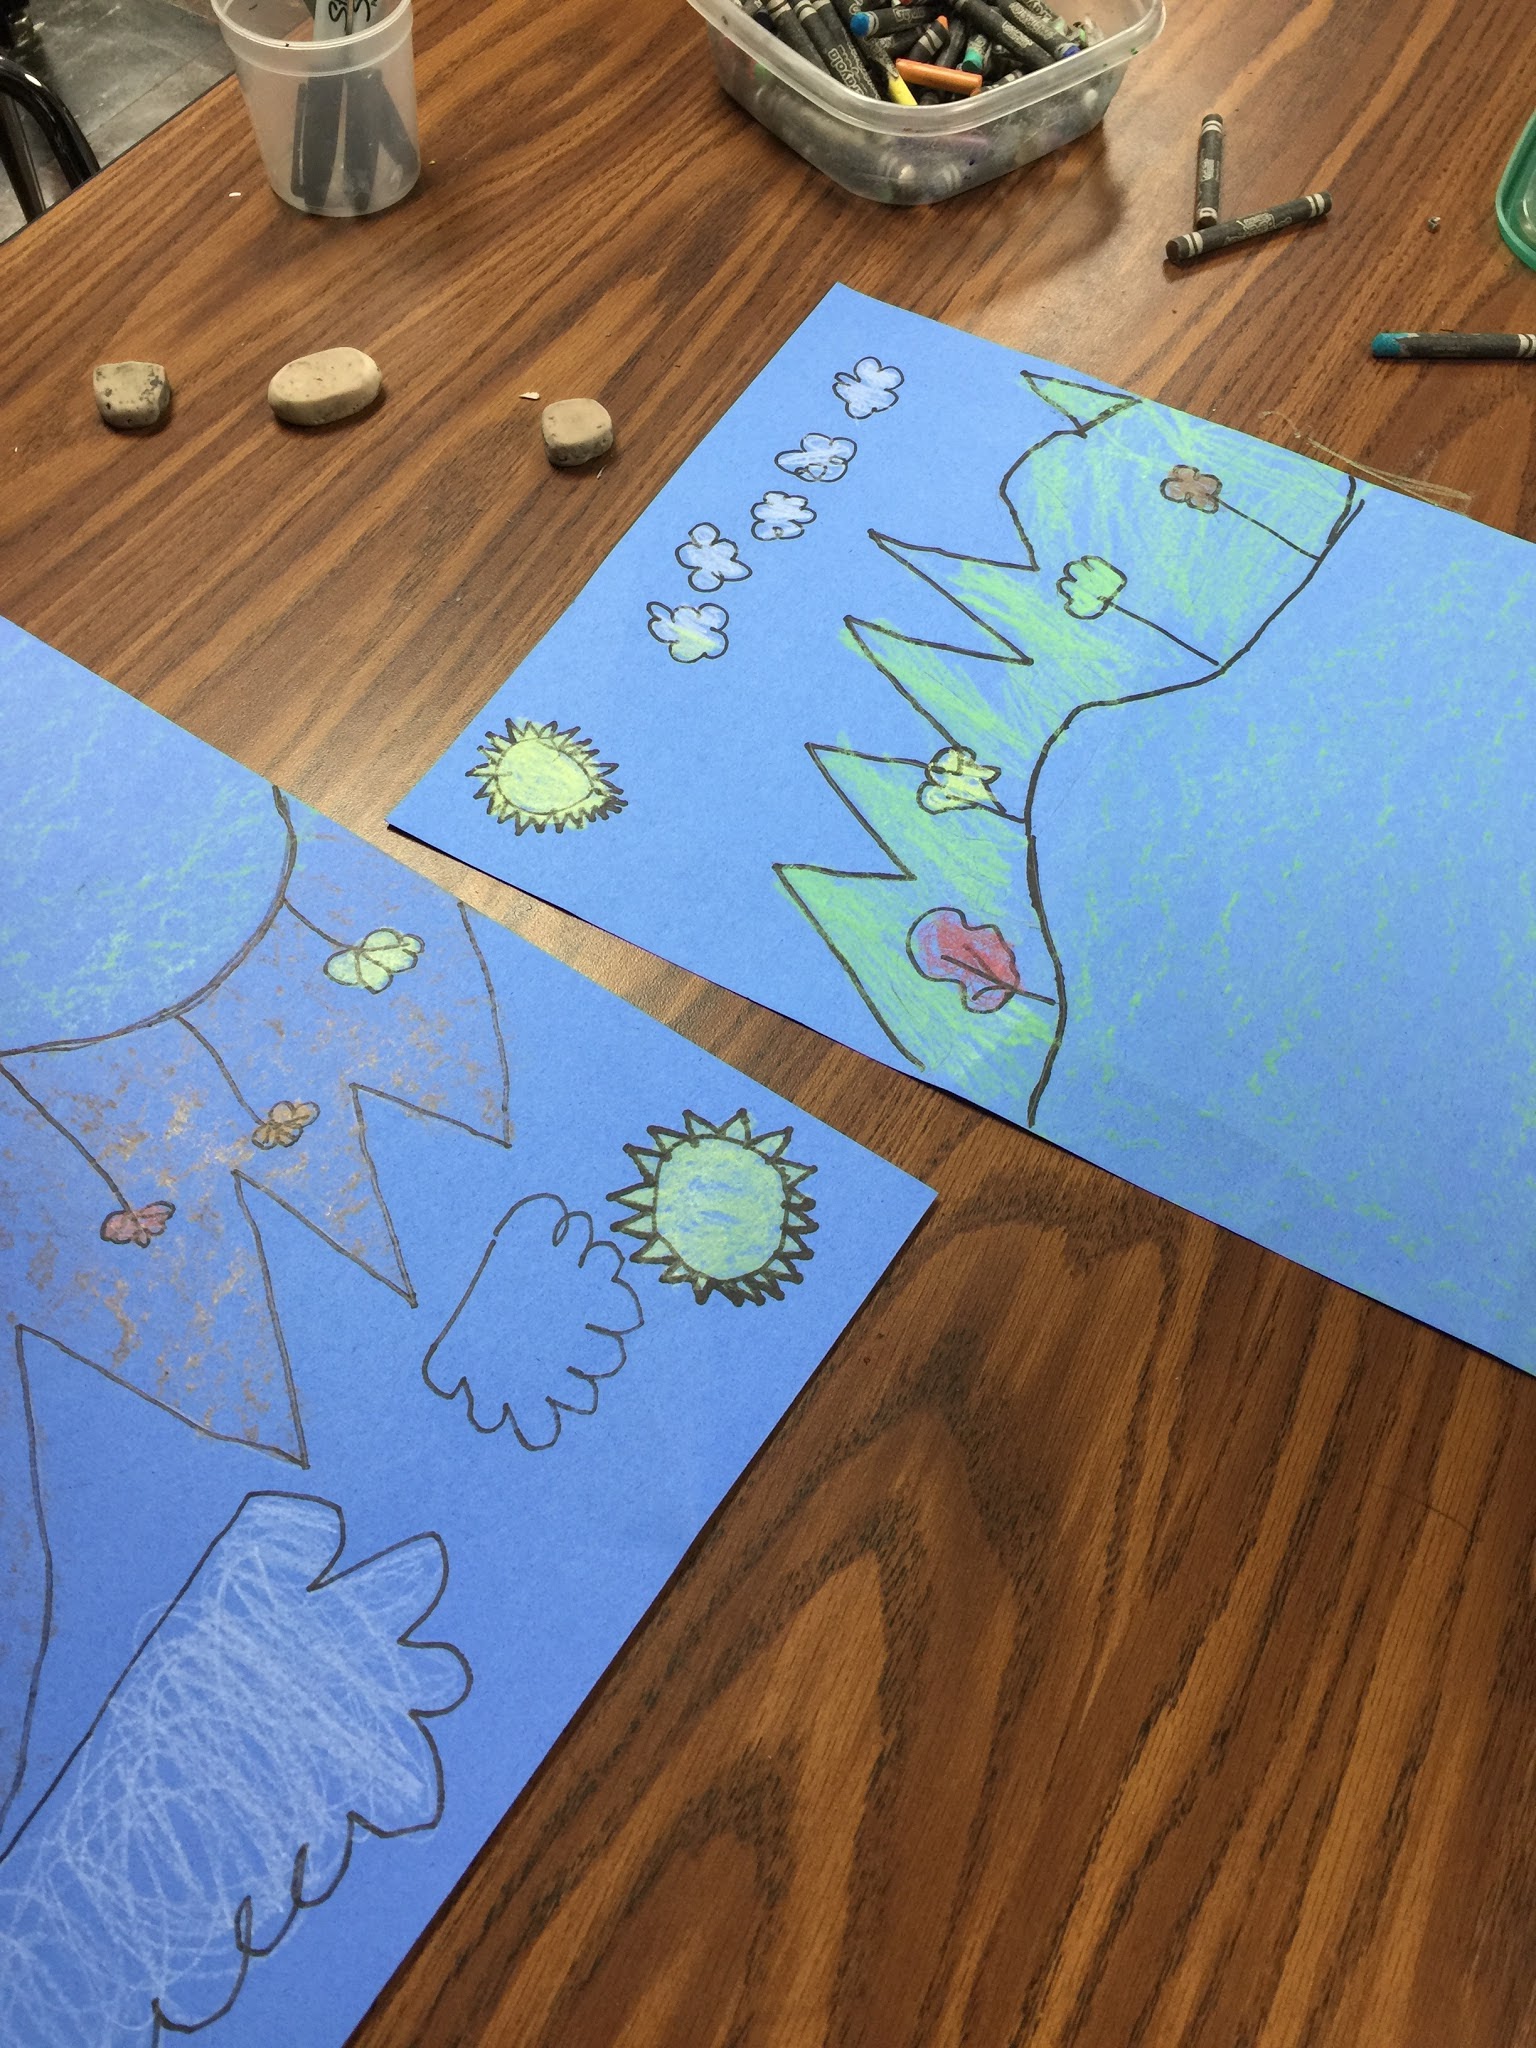
patterned landscape art lesson for kindergarten

Patterned landscape art for kindergarten

I'm always finding great ideas on Pinterest. You can find it here http://reliefteachingideas.com/textured-landscapes/
I just changed it a bit for my kindergartners. 
We discussed patterns in art and found patterns on each other's clothes. Students were so excited to find that many of them were wearing a pattern! This was also a great link to math. 
I taught them how to draw a landscape. You can click on the link above for directions. We discussed the difference between a portrait, landscape, seascape and a still life. 

We discussed good craftsmanship in our art (coloring the shapes solid). This is so hard at the kindergarten level. They want to rush their coloring! My student teacher made a poster for the kids to reference to. Again, another idea found on Pinterest! You can find it here http://primarilyartwithmrsdepp.blogspot.com/2016_07_01_archive.html
This took about two, fifty minute class periods. 
On the third day students painted watercolors over the drawings to create a crayon resist. 

The results were all different. Next year when I teach this I think I will save it for the end of the year. My patience was a little thin after telling the students many times to go back and color in their white spaces! 


Wednesday, November 16, 2016

Leaf collage 1st grade

1st grade Leaf Collage

This is a lesson I saw on Mrs. Picasso's art room blog. She has some great ideas! You can see it here:  http://mrspicassosartroom.blogspot.com/2013/11/warm-cool-swirling-leaves.html
My students loved this project. 
We reviewed warm and cool colors and what colors we see in the Fall. Students then painted their 12" x 9" multi media paper with Mod Podge (I made mine with 3/4 glue to 1/4 water) and then layered tissue paper squares (warm colors only) onto the paper. 

The last step was to cover the whole thing again with Mod Podge. I did a whole unit on warm and cool colors before this lesson so this was review. This took the whole fifty minute class period. 
On the second day I taught the students how to draw a leaf on the back of their paper (look at Mrs. Picasso's art room blog for directions on this http://mrspicassosartroom.blogspot.com/2013/11/warm-cool-swirling-leaves.html). 
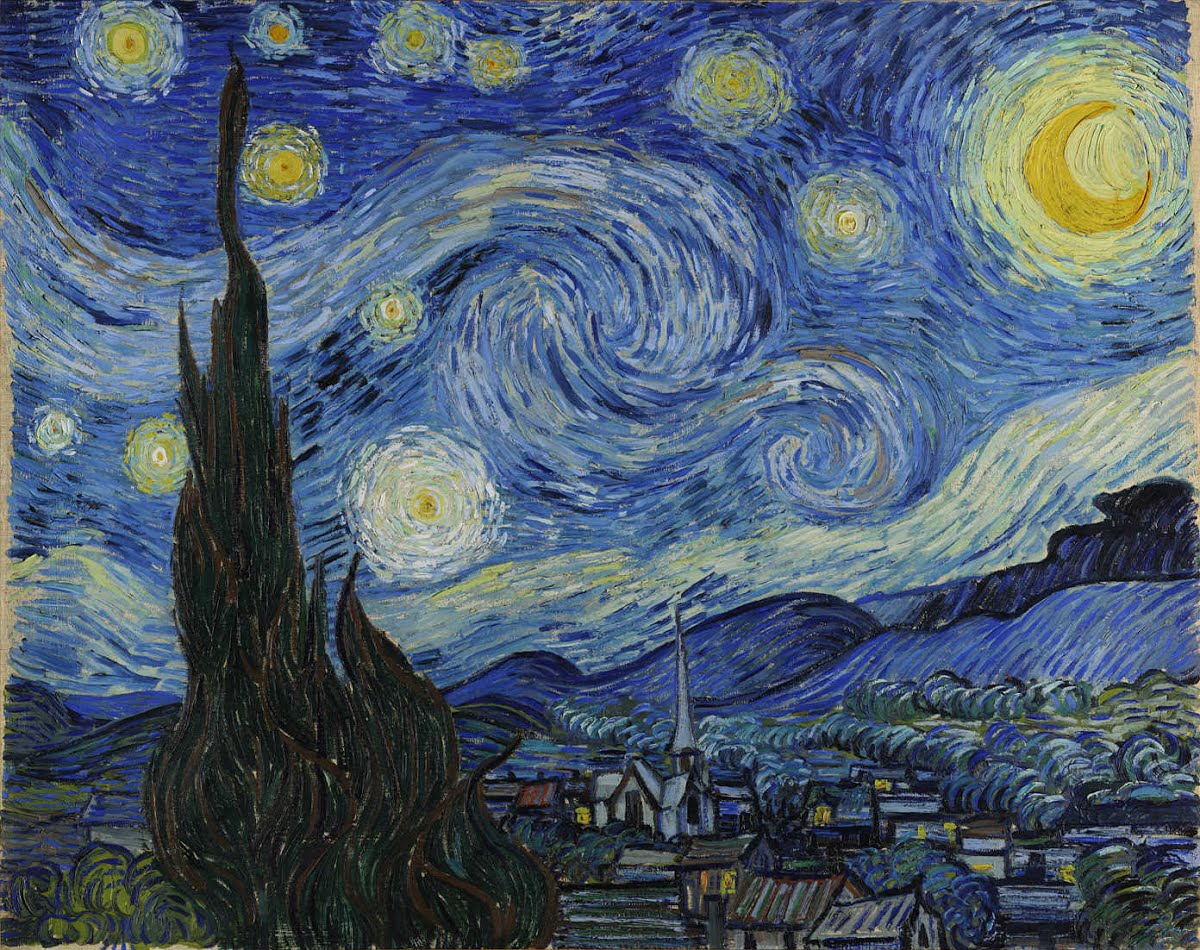
I showed them "Starry Night" and we discussed how Van Gogh made wind in his painting. 
I  demonstrated how to put glue on the back of their paper (don't get to close to the edge!).  


They then added the wind just like in "Starry Night". 

The last part was to glue the leaf onto the blue paper. 


This was such a fun and easy project for all!


Monday, October 31, 2016

landscape and scarecrow kindergarten art lesson

Scarecrow and landscape art project

 We began the project by looking and discussing the difference between a landscape, seascape, portrait and a still life. I did a demonstration on how to make a horizon line. Students then could add mountains, trees, clouds, pumpkins and a sun. We used construction paper crayons to color them. This took one 50 minute class period.


The next class period I read the book "The Little Old Lady Who Wasn't Afraid of Anything" by Linda Williams. It is one of the students' favorites and I don't feel it is geared towards Halloween as much. I allowed the kids to work on their landscapes while I read. I didn't show the students the pages because I wanted them to focus on the story and their coloring! 

After the story I provided each table a Tupperware container of construction paper squares and rectangles to  make their scarecrows.
 I encouraged them to  add patches to the pants and shirt as well as buttons etc. Even though I provided rectangles and squares for them to make their scarecrows, I think they still all turned out differently!