Here are pictures of my classroom.
Below is how I distribute jobs to students. Each student has a shape on the back of their chair (duct taped). They are to look at the poster in front of the room to see what they are to get for their table. This works out so well. Make sure you use a picture with the words for non-readers. They are laminated with Velcro on the back. 

This is how I keep all of them organized. I laminated cardstock and added Velcro. This makes my life so much easier!
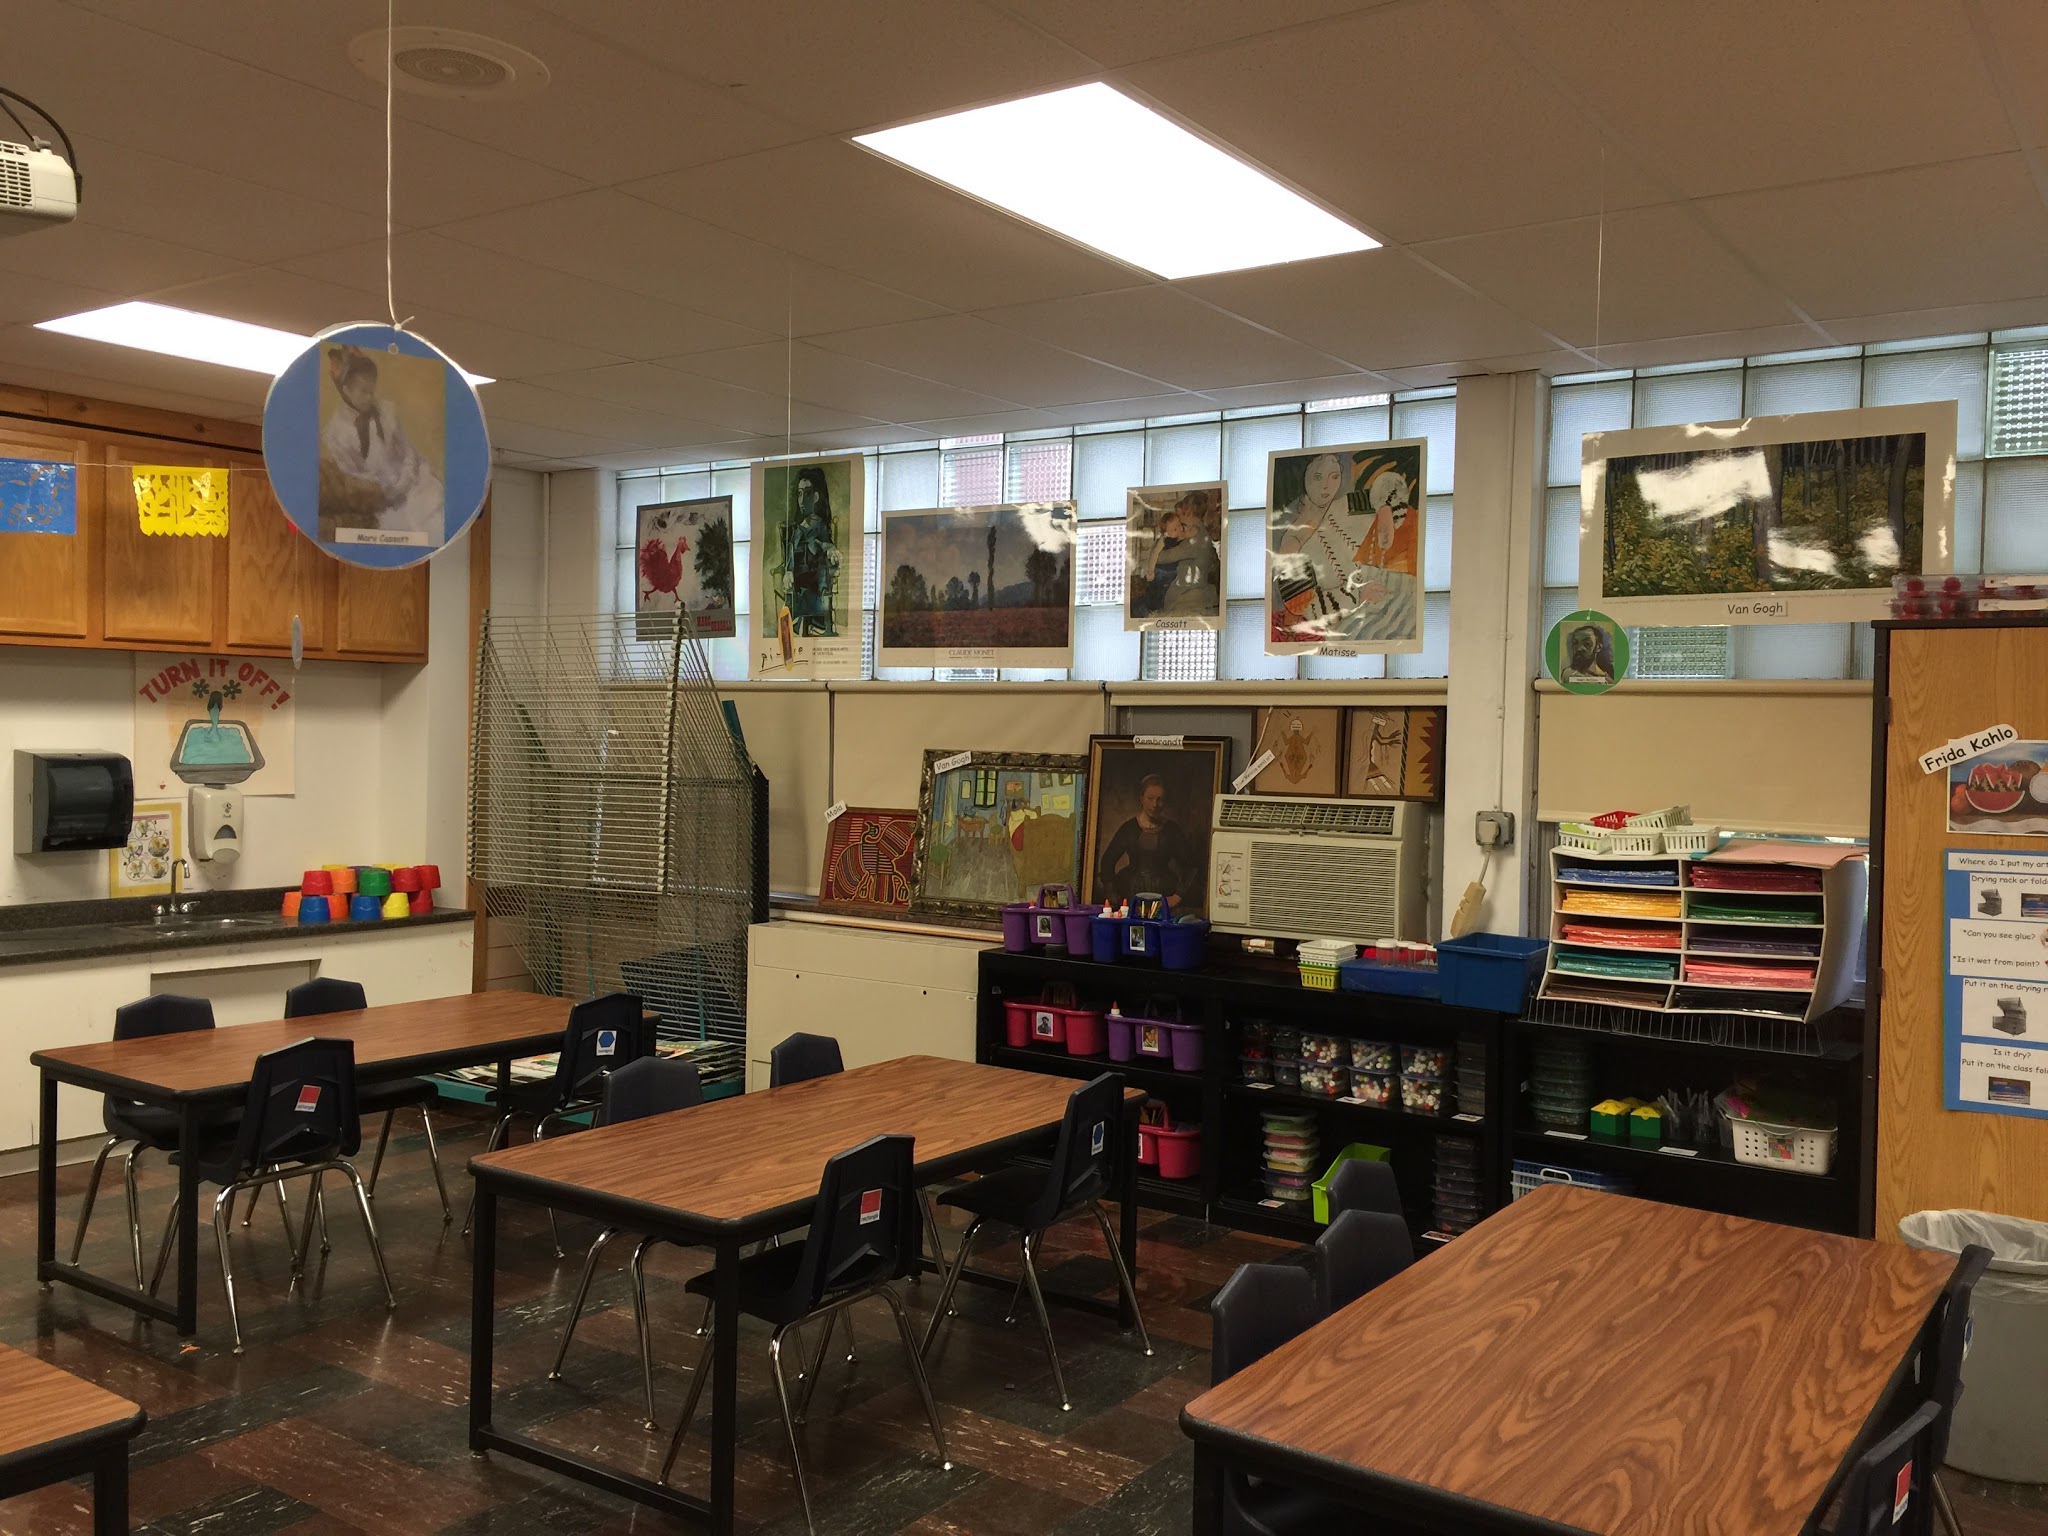
Each table has a different artist hanging above it. These are artists we discuss through out the year. The children are always delighted when I mention their table's artist.
I have a noise level chart to let children know how loud they are to be during a lesson.
Each class has the opportunity to earn a star for their behavior in class. After ten stars then their class earns a free day. I put various art materials out and the children get to pretty much make what ever they want. If a student has work they need to finish from previous lessons then they have to finish it first before they can do the free day activities. Here is the chart I use. I put faces on the magnets and move them to reflect their behavior. Green for good, yellow for try harder and red for make better choices. I got the idea from mpmschoolsupplies.
Students must enter the classroom quietly and sit Mona Lisa style. I love to see the children give me a Mona Lisa smile!
I try to have everything labeled for the children to find and put the materials away quickly. It is best to have a visual cue along with the words for non readers.
When students are finished with a project then they can go to the book area. Because I am a former intervention specialist and classroom teacher I wanted children to read books about art instead of doing free art. In the past I have found that some children rush through their project so they can do free draw. I have collected children art books from garage sales and second hand book stores. This collection has taken me about 28 years!
Being an Ohio teacher we are required to post the common core standards we are working on. I bought these on teachers pay teachers.
Make sure to have an area for pencils that need sharpened. I sharpen the pencils. Children love to use the electric pencil sharpener!
Tired of the kids asking you where to put their art? Refer them to a poster like this.
I have a visual timer for the students to monitor their time.
I also have a map of the world so we can discuss where the artists are from that we are studying. I add labels to mark the places.
I teach kindergarten and first grade so many of them are into the Ninja Turtles. I made these posters and put them on my door for students to look at while they are waiting for their teacher to pick them up. I found the one in the upper right corner on line somewhere.