Please hang tight while I reload all the photos back.

My photo
I currently work at Davenport A+ Elementary School in Lenoir, NC.
Showing posts with label 2nd grade art lessons. Show all posts

Wednesday, February 19, 2025

2nd grade Picasso cubism portraits

Students used the "Roll a Picasso" game I found online. You can find the original here bloglovin picasso game


 I found many of my 2nd graders struggled with the concept so I didn't want to spend most of their art time teaching the game. With those who struggled I allowed them to pick a facial feature of their choice and copy it. 
Students used rubbing plates to create the implied textures after they drew the portraits. My 2nd graders then traced the outline of the portrait with markers and were encouraged to use complimentary colors for the rubbings. The last step was to paint the drawing with liquid watercolors. 


Wednesday, December 4, 2024

2nd grade winter construction paper tree collage

 2nd grade winter construction paper tree collage

I found this idea on Pinterest but it did not have a link. I only saw the image so if you know where the original idea came from please post a comment. Thanks! 

I provided various shades of green construction paper in two sizes, 6" x 4 1/2" and 3" x 2 1/2"  for students to make their trees. They folded the paper in half, took a ruler and drew a diagonal line from one corner to the other, and cut it. My 2nd graders then cut little snippets of paper from the folded sides of the triangle (don't forget to remind them to not cut the bottom of the triangle). We discussed overlapping and how trees in the woods look. They glued their trees onto a 12" x 18" piece of blue construction paper. The last steps were to cut little snowflakes from 1 1/2" squares of white paper and draw  dots of snow with an oil pastel. 


They really enjoyed this lesson!


Saturday, May 11, 2024

2nd grade Claude Monet watercolor resist

 2nd Grade Monet watercolor lilies with bridge

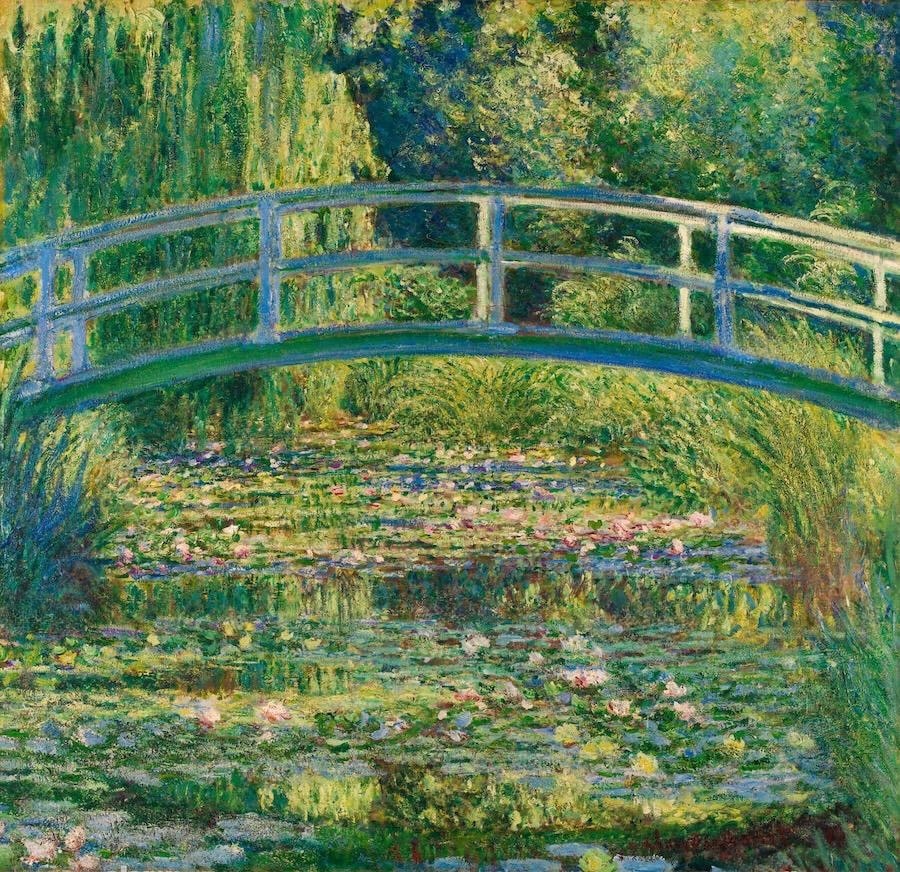
I showed the video  about the life of Claude Monet on YouTube. The one I used was "Claude Monet for Kids, Art History for Kids".  We discussed his life and I shared with the students various photos of his Japanese bridge with waterlily paintings. 
                                                          The Water Lily Pond, 1899 by Claude Monet

Students drew a bridge in the middle of their 9" x 12" multi media paper and lily pads with various shades of green pastels.  Quickly they covered their paper with water and brushed blue and purple liquid watercolors all over it. My 2nd graders then sprinkled salt all over their painting before it dried. The salt will soak up some of the paint and leave flakes of water glistening through the water like light. 
The last step was to glue squares of tissue paper on the lily pads. 


Wednesday, November 1, 2023

2nd grade Fall Reflections

 2nd Grade Fall Reflection Painting


My second graders had so much fun creating this art project. They painted a 12" x 18" piece of multi media paper with watered down blue tempera paint. Blue construction paper was to dark and I found this process had better results. The next art class they folded their paper in half vertically and drew tree trunks and branches on half of their paper starting on the fold. They folded it back over and used the side of a ruler to rub to make an impression on the other side of the paper. I had to remind them that this was just a reflection so we didn't want it to dark. 


After the trunks and branches were finished they used fall colors to paint leaves on the trees and some land. Each time they painted leaves on a tree they had to fold their paper back over and rub. They used their hands to rub this time since paint was easy to transfer to the other side. 


They were so happy with this lesson! 


Friday, June 30, 2023

 Mexican Mirrors 

Wondering what to do with all those CD's? Make Mexican mirrors! 
Students flatted out a paper plate and then glued a CD in the middle. 
They were instructed to make patterns all around the circle. 

Students then used markers to color in their shapes. 

The last two steps were to outline all the shapes with a black sharpie and then glue a circle that they had colored over the hole of the CD.

Great results!